|
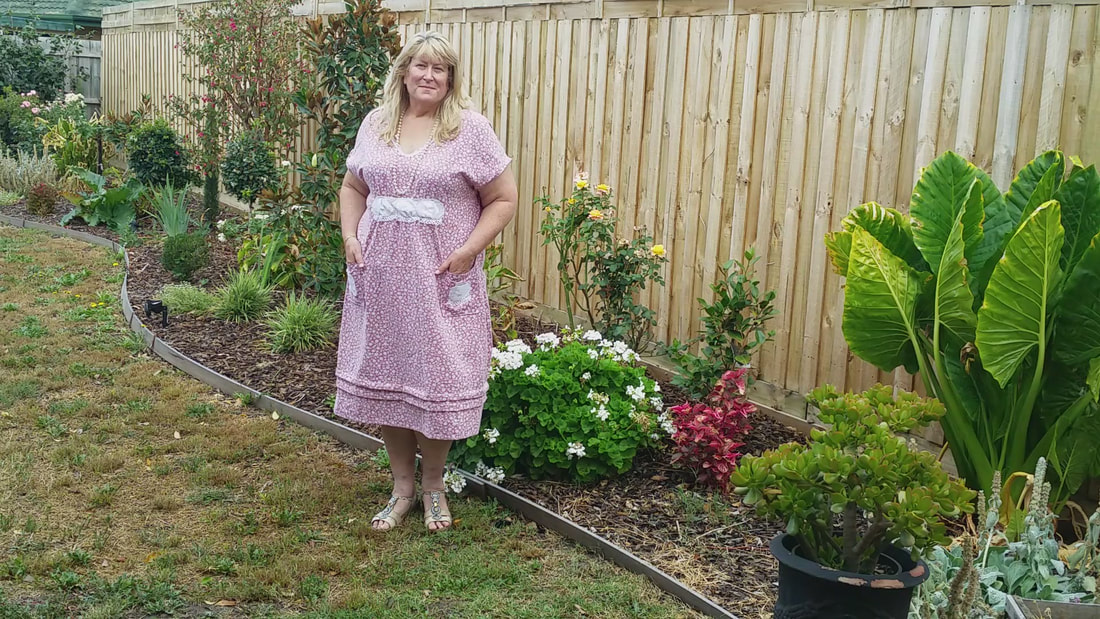
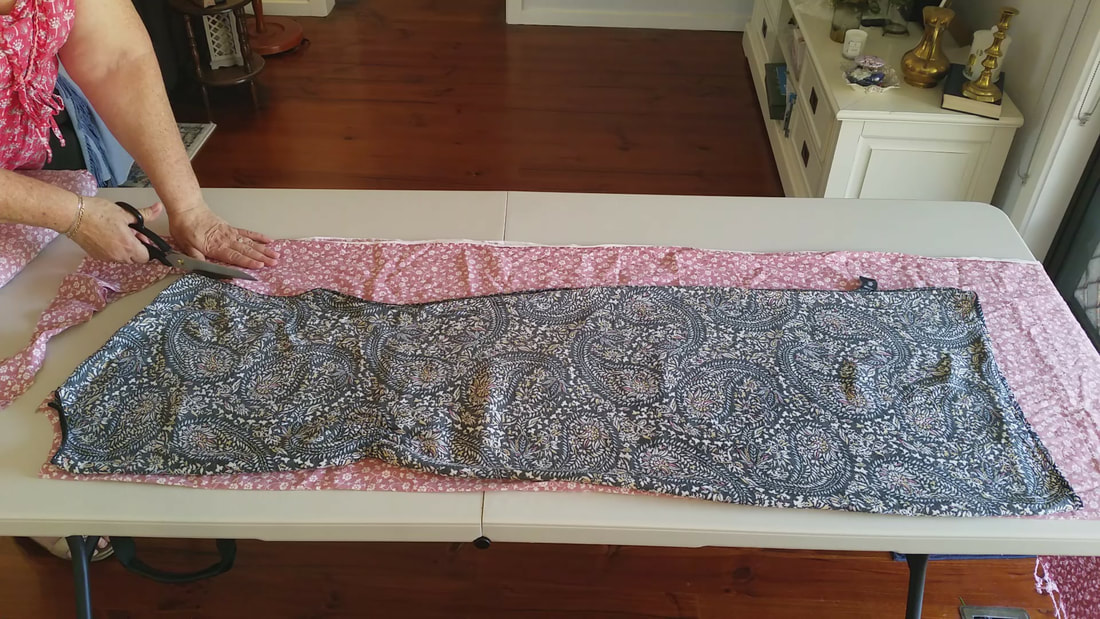
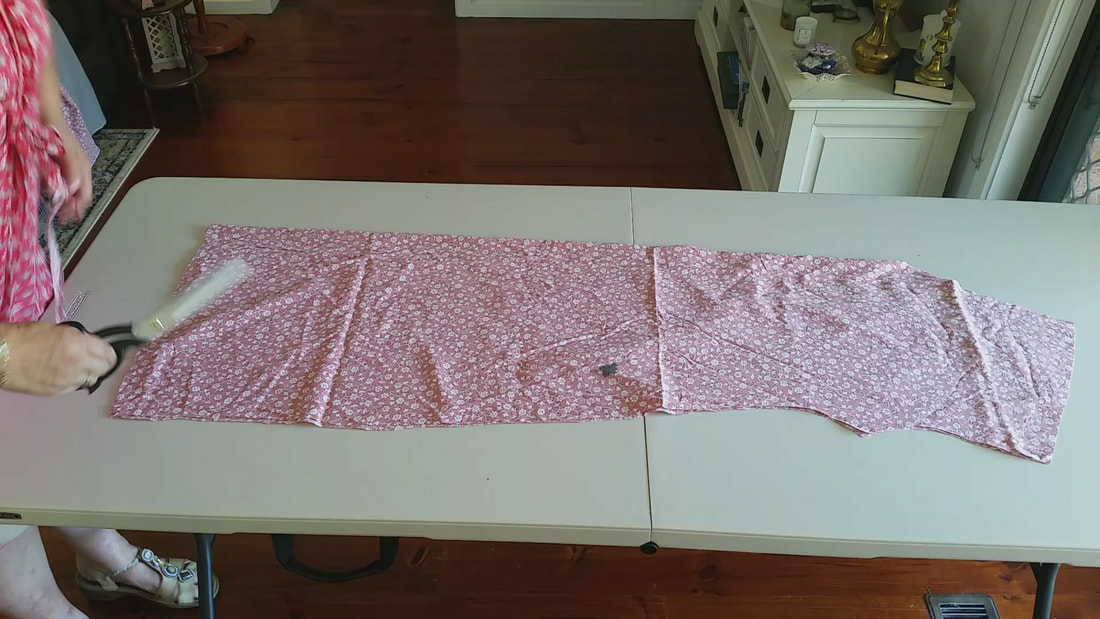
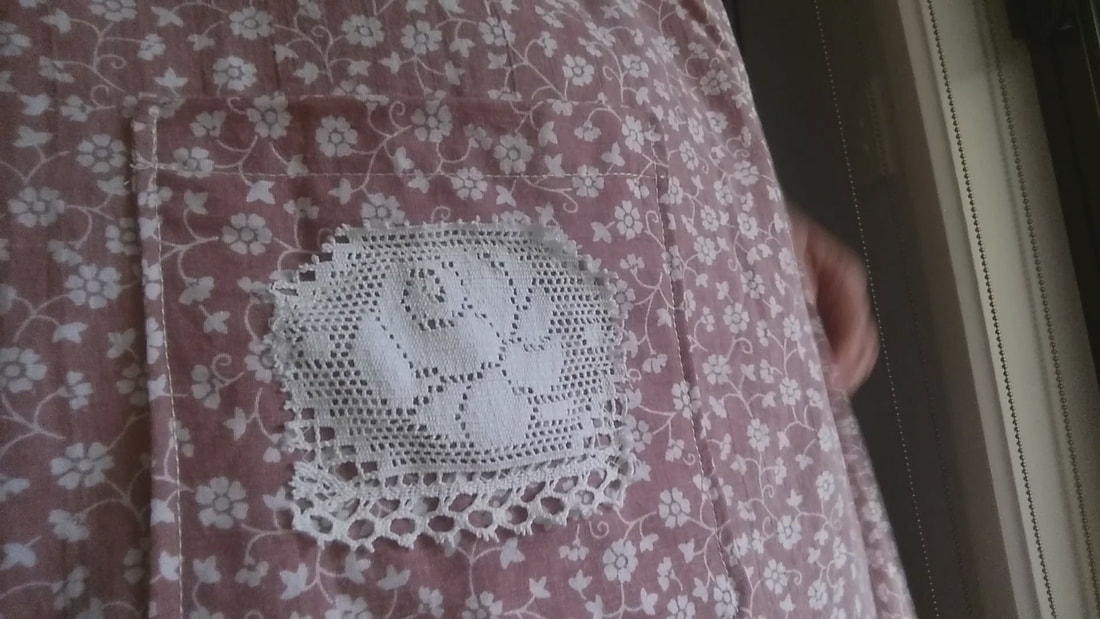
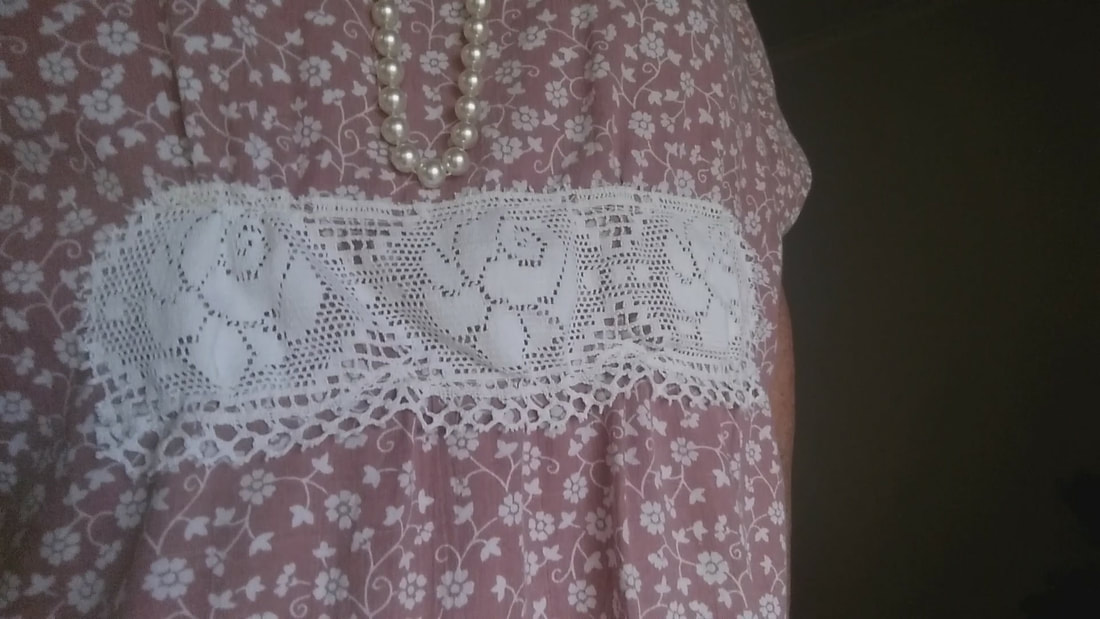
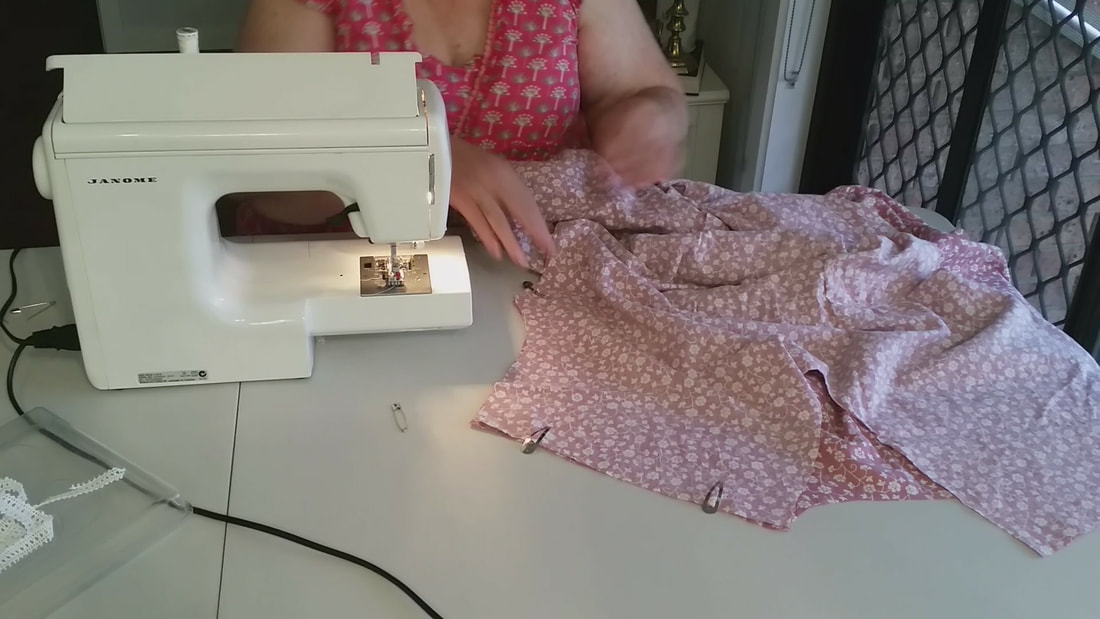
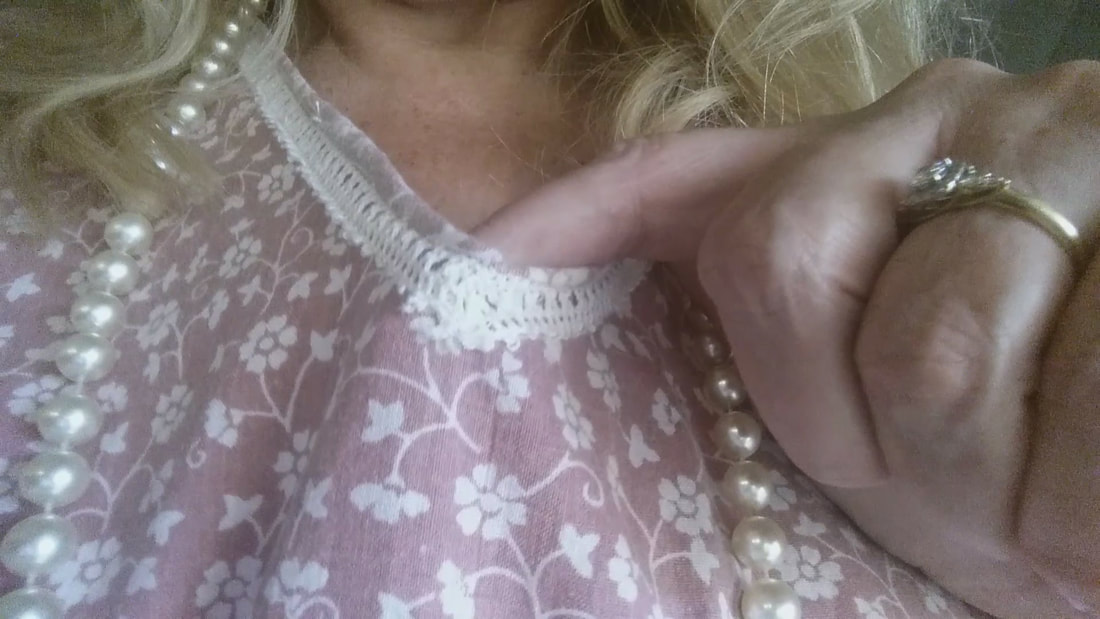
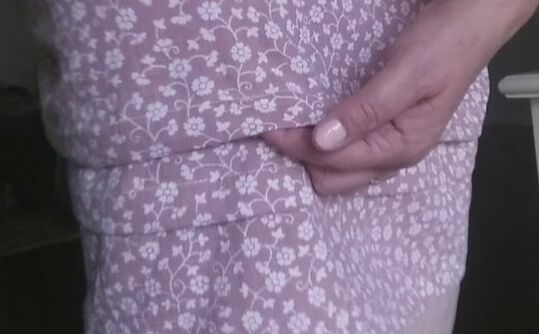
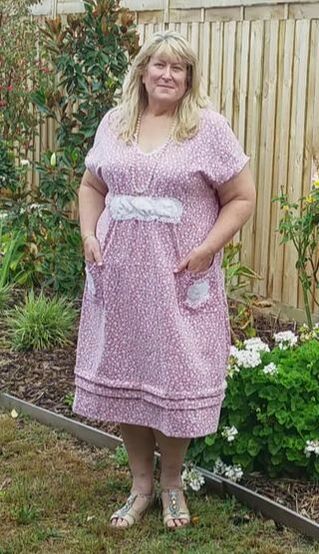
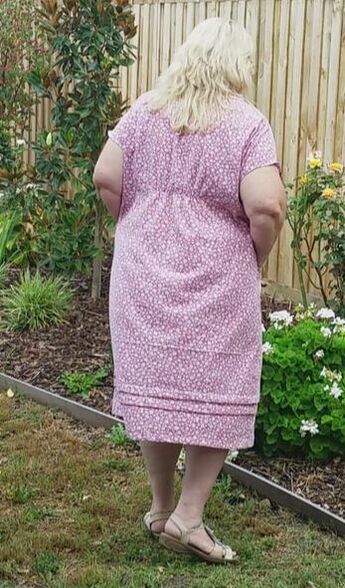
Sewing a dress on Saturday afternoon, to wear on Saturday night, was something I though nothing of doing when I was seventeen. But other than taking up a hem or resewing a seam that has frayed from wear, it's been years since I've sewn my own clothes. I've bought fabric and patterns on sale but haven't actually jumped in at the deep end and tackled a large sewing project. When I was a student, I sewed from necessity. Dresses were expensive to buy but fabric was cheap. Now it's the opposite. You can buy a dress in many cases that are way cheaper than it costs to make one yourself. But I longed to feel the thrill of wearing something I've created. Some YouTubers I watch have great tutorials on sewing and it's given me the bug to unpack the sewing machine and actually make up a simple dress. I'm using a cheap craft fabric that I picked up on sale years ago. It's cotton though, and I think it will be light and cool as the last hot days of Summer stretch into Autumn, here in Melbourne. But my northern hemisphere friends are eagerly awaiting the warmer day's of Spring to arrive. I can imaging wearing this romantic dress to pick the first blooms of the season with a basket slung over your arm and a pretty shade hat to guard your complexion. To make it up starts with preparation. The first step is to wash, dry and iron the fabric. Cotton is likely to shrink, so make sure this has happened before cutting out the fabric. Cut out the pattern using a loose fitting dress that only has four seams, the shoulders and side seams. Fold the dress in half with the back side facing out and place the fold on the fold of the fabric. Cut around it leaving a 1cm seam allowance. Add 4 cm to the bottom for hemming. I didn't because I wanted the new dress to be shorter. Then fold the dress in half with the front facing out so the v neckline is visible. Place that on the fold of another piece of fabric and cut around leaving a 1cm seam allowance all around. If you want the dress to be longer or shorter simply add or subtract that amount when cutting out. If a shorter dress is desired fold the bottom up to where you want it. A tip is to put it on and insert a pin where you want the hem to be. Because I had a stain on my fabric I decided to add pockets so had to make sure it would sit under a pocket placement before cutting it out. 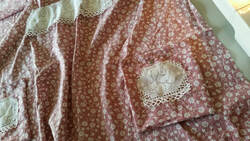 To make the pockets, measure a square by eye and cut it on the fold so that makes a rectangle. Turn it wrong sides out and stitch around leaving a gap to turn it out. Sew straight stitch about an inch from the fold. This will be the top of the pocket. The double layer of fabric will give it added structure and strengthen it. Last I sewed on a lace embellishment with zig zag stitch. Top stitched the pockets into place on the front panel. I sewed the pockets to the front before sewing up the seams because it was easiest that way. Also on the front panel I hand stitched a gathering thread under the bust and pulled it in. I sewed a thick panel of lace over it. However, when I tried it on after it the dress was made up, it wasn't gathered enough so I put it on the sewing machine and bunched the lace up as I sewed straight stitch at the top and bottom of the lace panel. This gave it the look I was after. You could instead treat the front the same way as the back, sewing a length of elastic on the wrong side, if you don't want lace. Instructions are following. 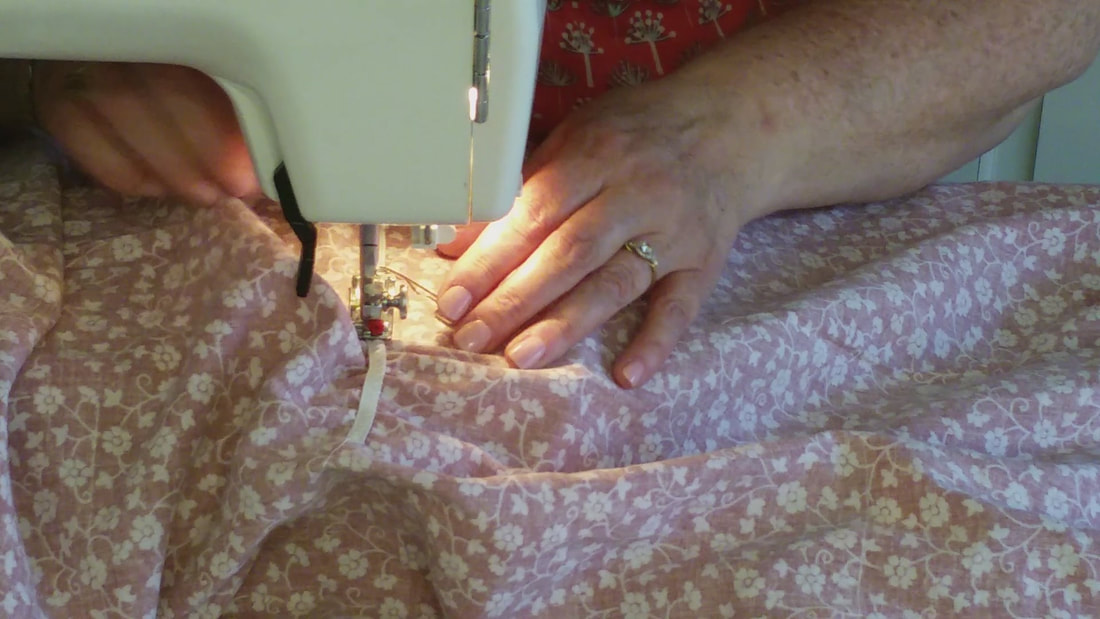 I sewed a piece of elastic to the back panel to pull it in like the original dress does which gives the dress shape. Start sewing the elastic and then stretch it as you sew to create the gathers. Work out where to place the start of the elastic by stretching it out and centering it over the back panel keep holding the left egde in place and let go of the other end. Pin the left edge to the fabric. This is where you'll begin stitiching. Sewing the front and back panels together can be done in any order but I like to sew the same direction for each seam. Start under the armhole and stitch down to the hem. I don't flick it over and sew up, start at the other arm hole and sew down so that the dress sits properly. I used quilting clips to hold the seams together until they were sewn but pins work great too. As this is a pull over your head style of dress you don't have to worry about buttons or zips however I did add lace for interest and to bind the neckline. I sewed the lace to the wrong side and flipped it over to the right side and top stitched it down. You could sew it to the right side and fold it inward and stitch if you don't want lace to show or use bias binding. I hemmed the dress turning it over about 2cm and then antoher 2cm and stitching it down on the machine using straight stitch. The arm holes were hemmed the same way but turning it over half a cm twice and stitching down. After trying it on it felt too plain at the hem and too long so I added interest by sewing two bands of folded over fabric, parallel with the hemline. I made them the about the same width as the hem and the top stitching on the pocket so that elements were repeated and made the design cohesive. Here's the finished dress. I've added lace because felt the all over small print needed something to lift it. I also like to accessorize with a strand of pearls. I've worn this dress quite a bit since I made it a couple of weeks ago. It's so comfortable and roomy. Being cotton, it's cool and breaths in the hot weather. Anyone could make a version of this dress, the lace could be left off. It would be beautiful with a matching bias binding around the neck and sleeves.
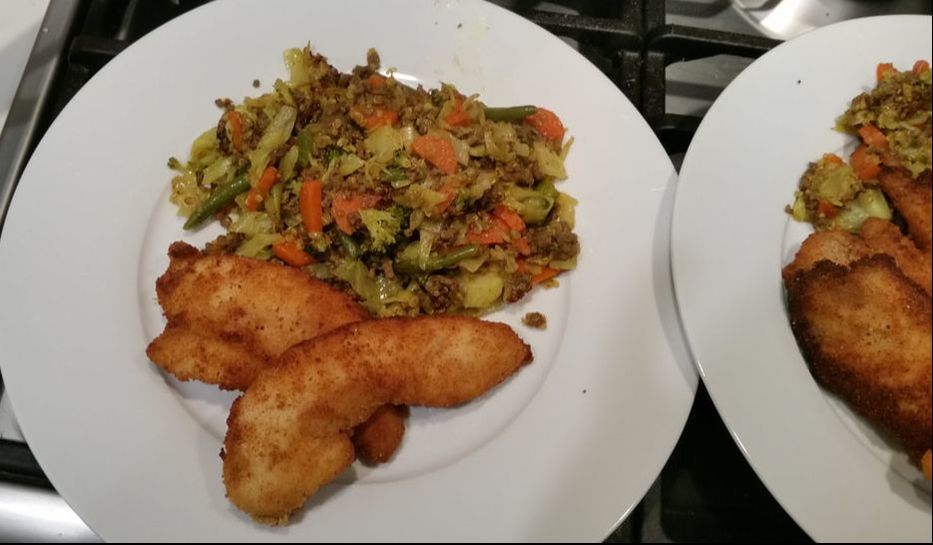
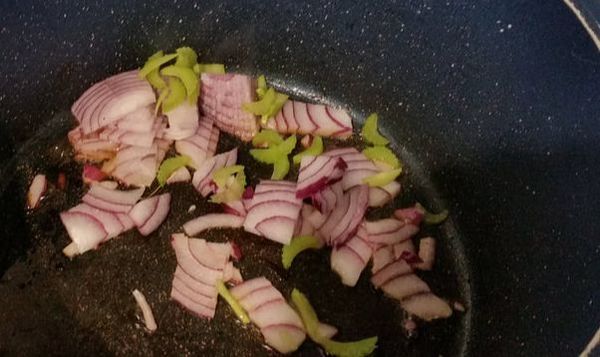
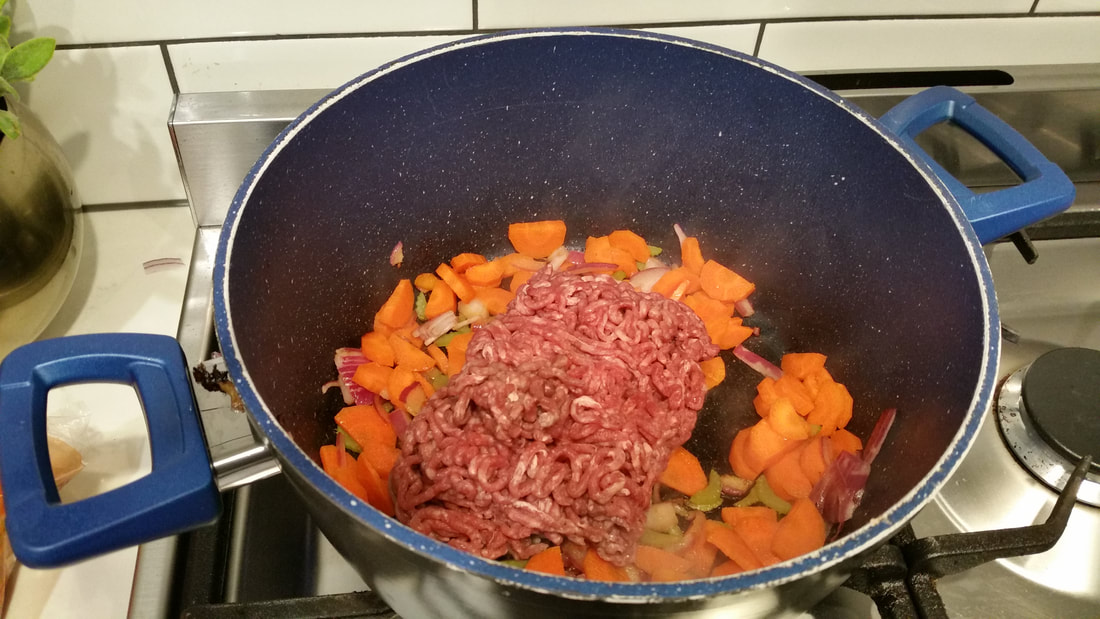
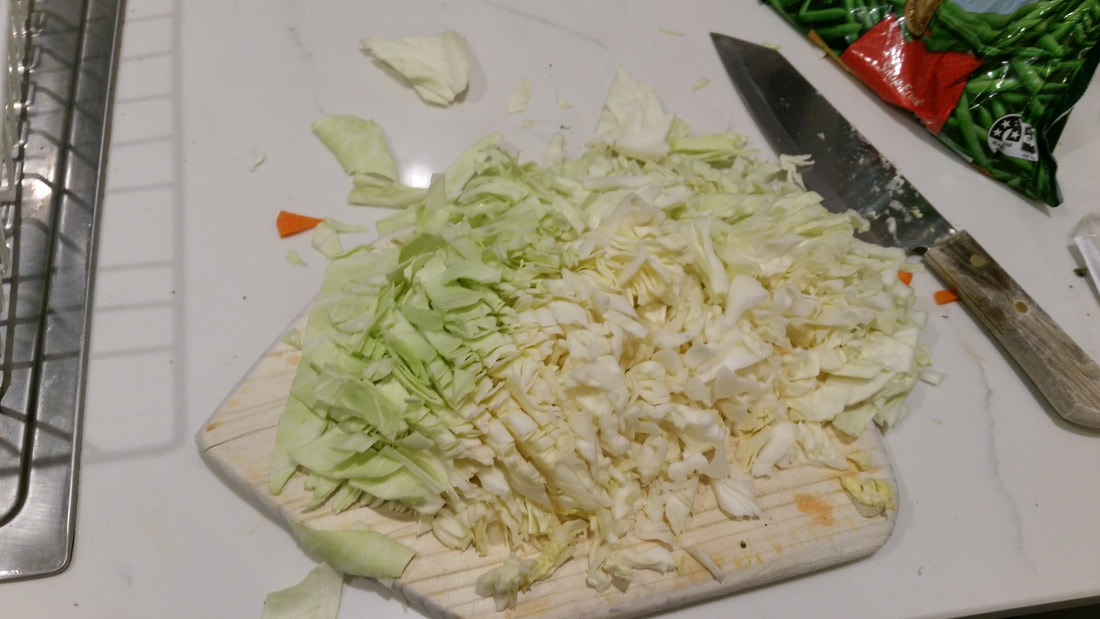
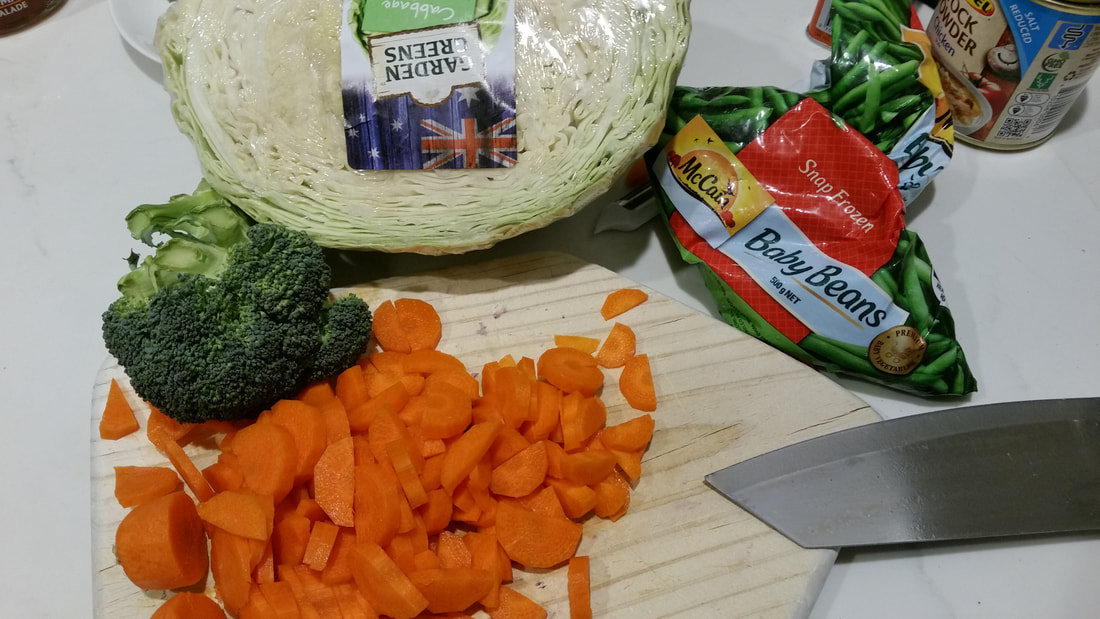
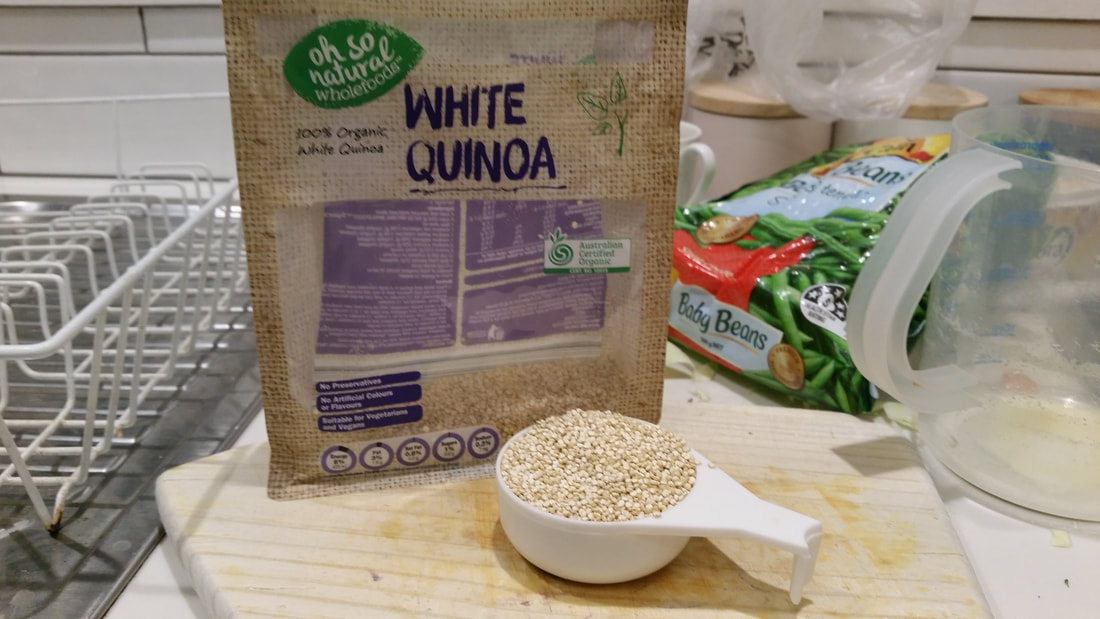
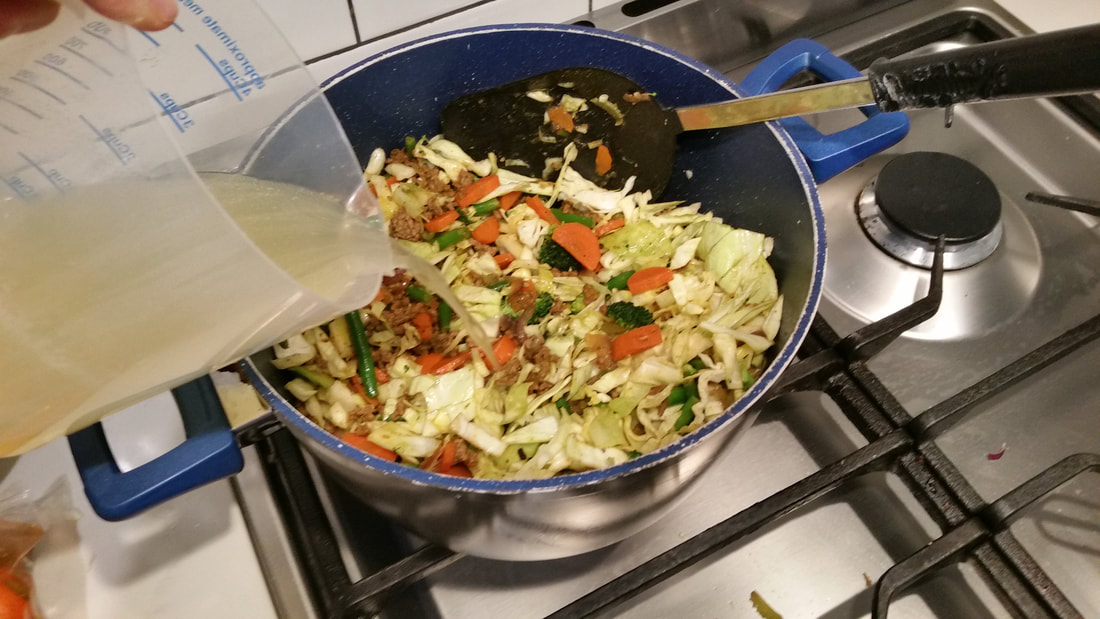
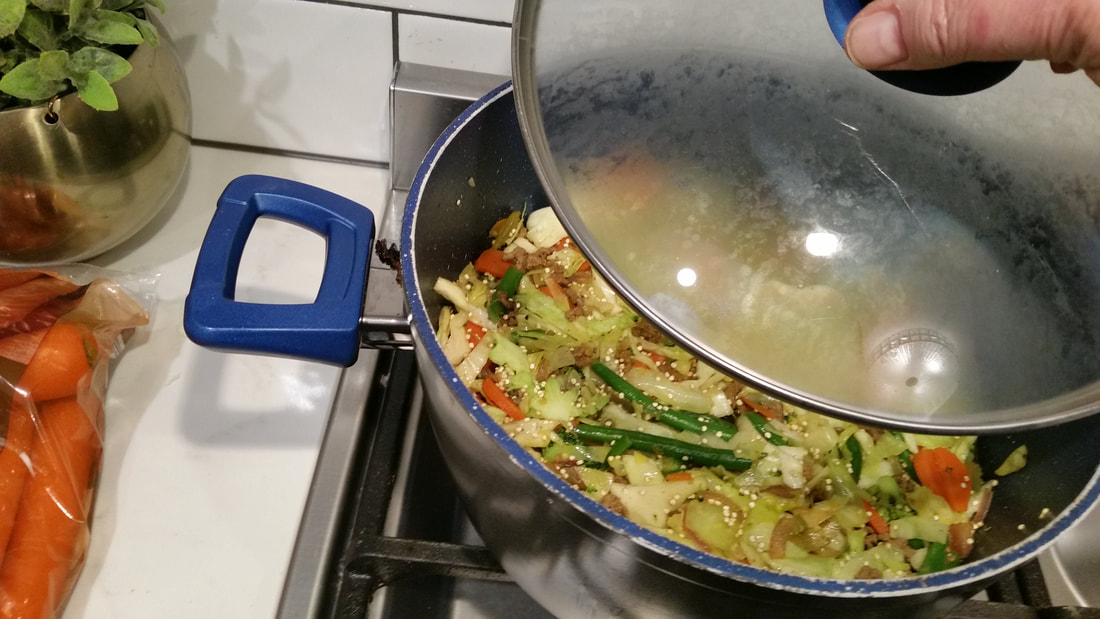
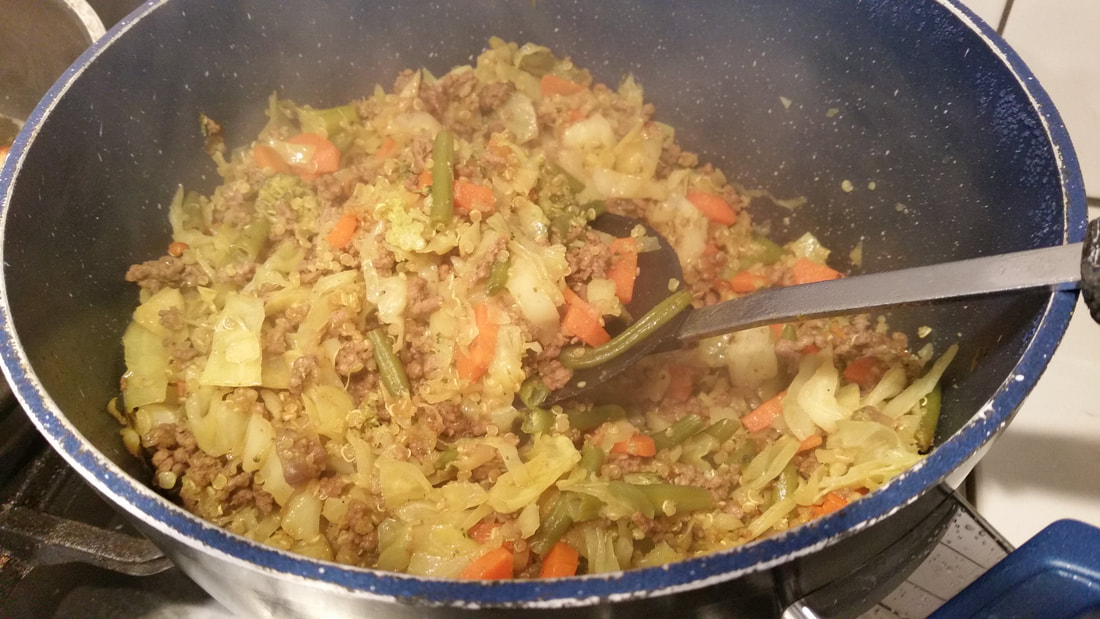
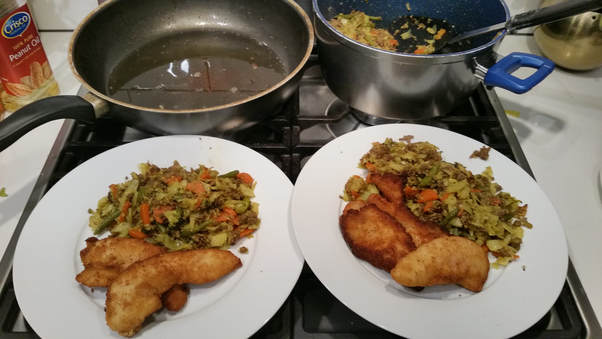
Because you make it from a dress you already own, it will fit any size. Use a shift style dress already in your wardrobe that you can pull on over your head. If you'd like it more fitted, elastic can be added all the way around under the bust line or at the waistline, whichever suits you best. The hemline detail required measuring and careful pinning to keep the lines accurate but this feature and for that matter, the lace wouldn't be needed on a larger print. The last book in the Baxter Sisters series is the middle sister, Ruby's story. She's a dress designer and of course grew up making her own clothes. A short stint working in the office of a fashion house was part of the inspiration for setting this book in that industry. I hope to have her story for sale this year. If you haven't read the Katrina or Natalie's stories you can find them here. Dora Bramden Heart melting, passionate romance. I always like to made something special for dinner on Saturday nights. So I made my favorite foods for dinner last Saturday. With the addition of a glass of your favorite beverage, for me and Sam that's red wine, some flowers and a candle you have a tasty, romantic dinner for two. Not just a romantic meal, it's healthy, easy to cook and beats going out in the cold to pick up takeaway. A budget friendly meal but more importantly, I can guarantee that I won't be glutened if I make it myself. The ingredients are staples in my fridge and food cupboard except one. I only need to remember to add a cabbage to my shopping list. Chop Suey (as my family always called it) is a favorite of mine since childhood. Mum used to make it with a packet of chicken noodle soup but I've needed to alter the recipe a little bit because I have Coeliac disease. I use gluten free, chicken stock power made up into a cup of stock. I have used rice successfully in the past and also gluten free pasta, broken into short lengths but I think this recipe which uses quinoa is my favorite. It's so good I think it's nicer than the original made with the soup mix. The list of ingredients are: 2 tblspns oil (I use olive oil) Half a red onion sliced into small strips Two carrots halved lengthways and sliced A small stick of celery, sliced Small floret of broccoli chopped 250gms beef mince 2 tspns of curry powder 1 cup of frozen beans 1/4 of a smallish cabbage 1/4 cup quinoa 1 cup chicken stock Method: Heat a deep saucepan like the one shown in my picture. Add the oil and stir fry the onion, carrot and celery, when the onion is transparent add the mince and continue to stir fry until the meat is browned. Make a clear space in the bottom of the pan and fry the curry powder for a few seconds then stir through. Add the beans, broccoli, cabbage, quinoa, chicken stock and stir to combine. Bring to a boil and cover. Turn the heat down to low and simmer for 10 minutes. Turn off the heat and let it sit on the stove without removing the lid for another 10 minutes and it will be ready. All the liquid will be absorbed by the quinoa which is how I like it. Give it a stir to fluff it up and serve. I like to drizzle some soy sauce over it before eating. It's lovely on it's own or you can serve it like I did with some crumbed chicken tenderloins. There's enough chop suey left for a third serve or leftovers. Yum for lunch the next day. If you wanted to make this meal stretch to four people add an extra 1/4 of a cabbage and an extra carrot to the recipe. I have a blog on my regular shopping haul if you're interested. It makes going to the supermarket easy. This recipe and and many other meals can be put together in less than half an hour from my weekly staples. I also have been posting other recipes on my blog you can find them under the cooking series category.
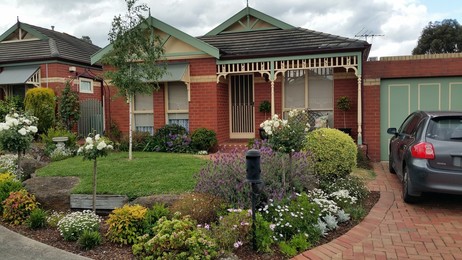
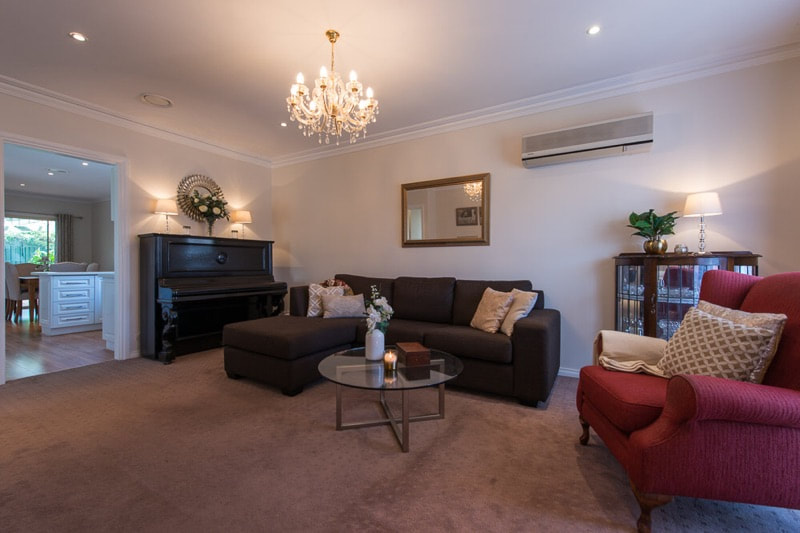
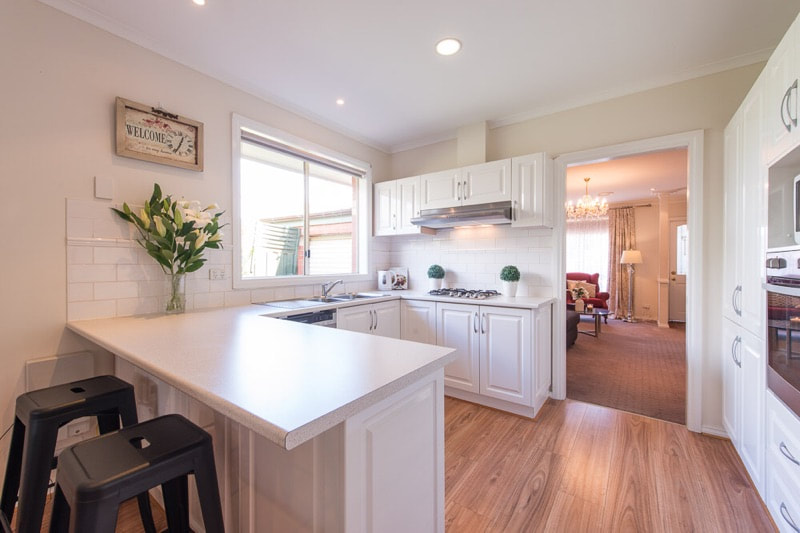
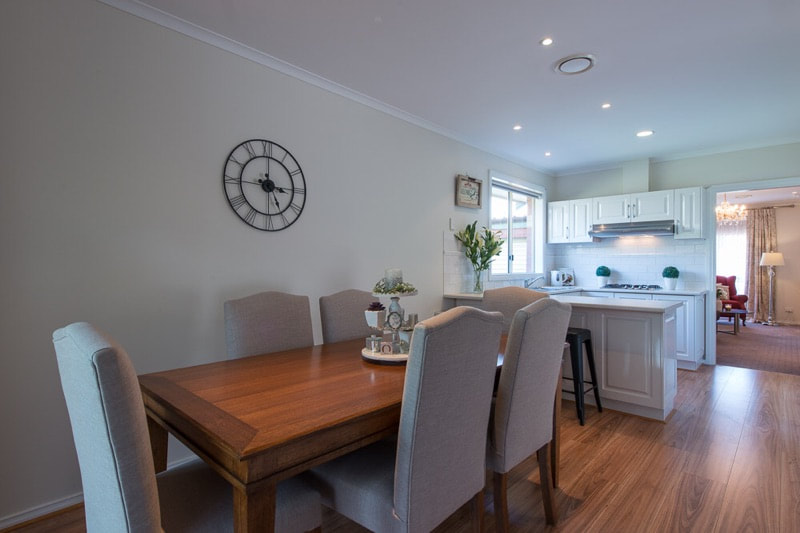
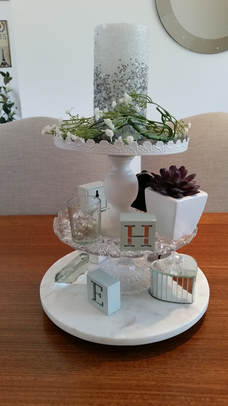
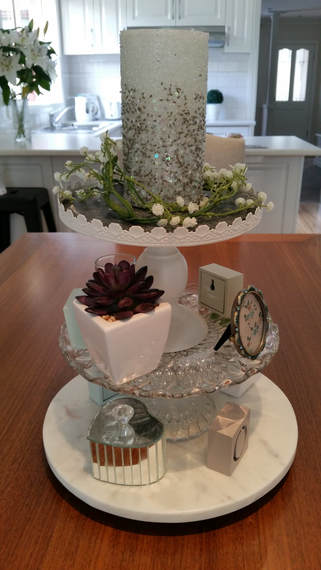
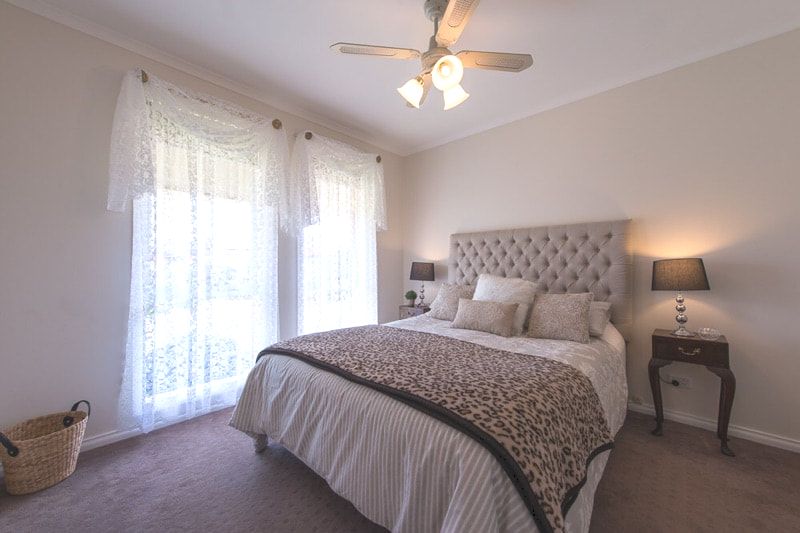
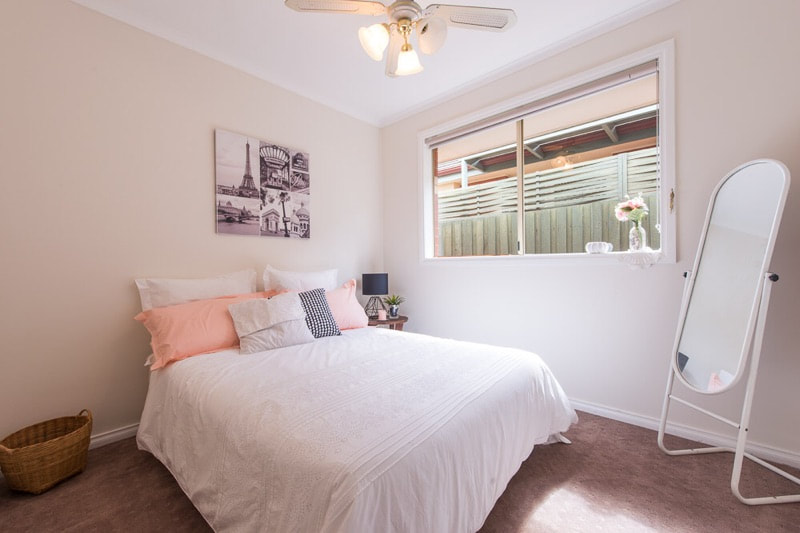
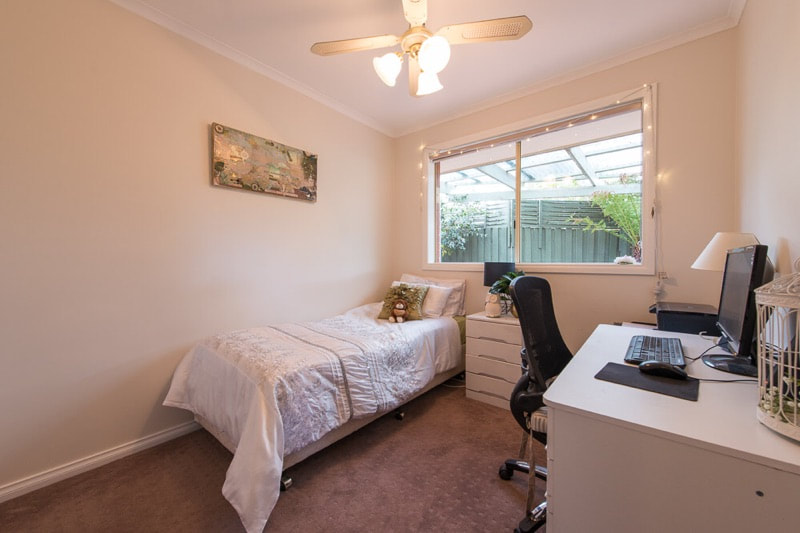
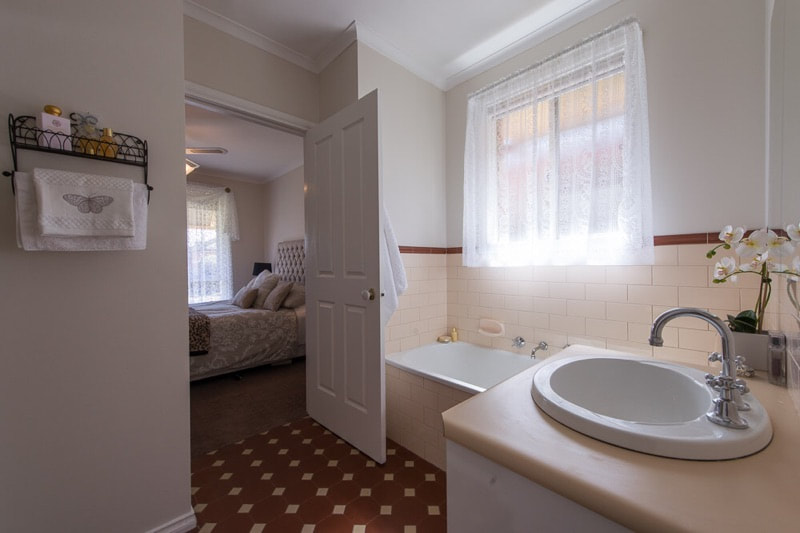
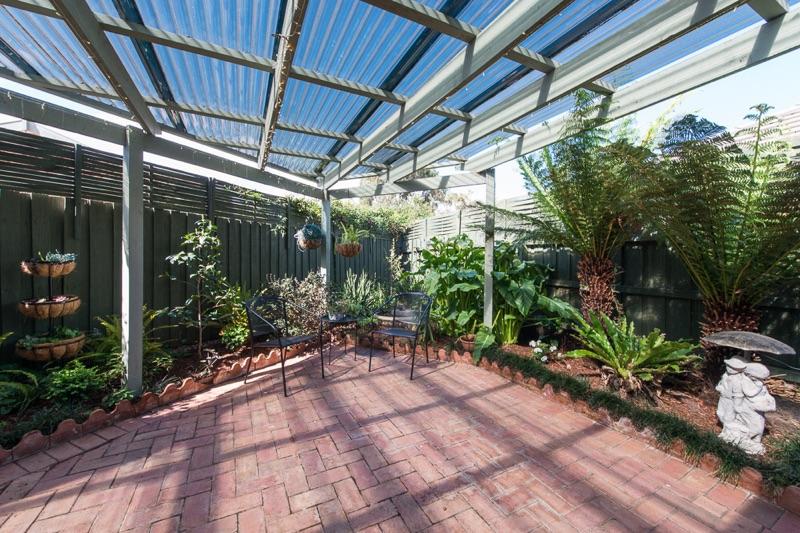
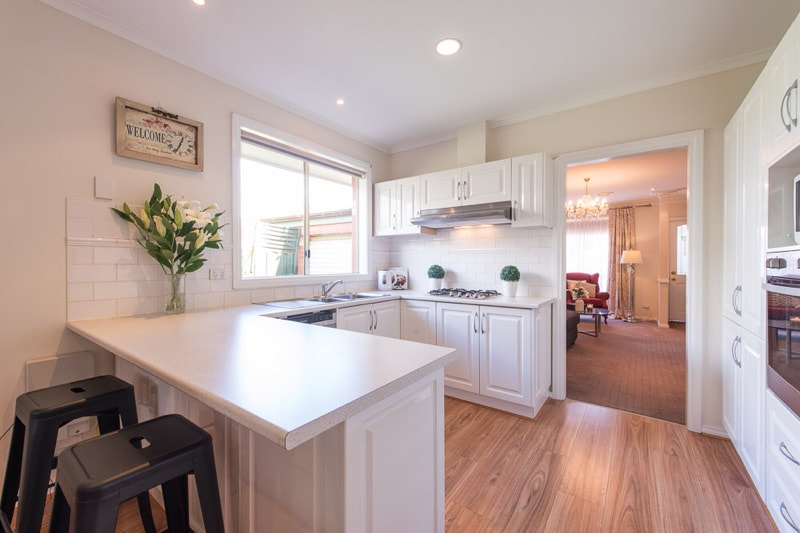
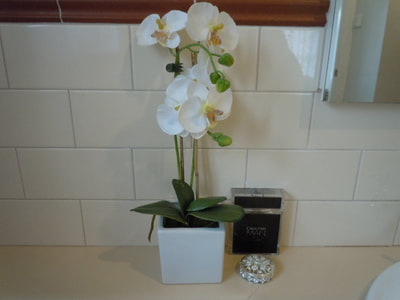
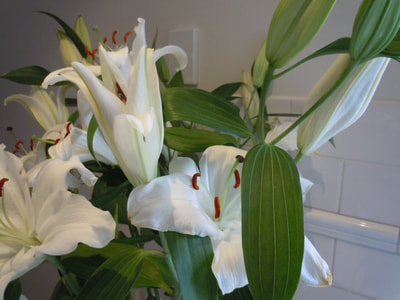
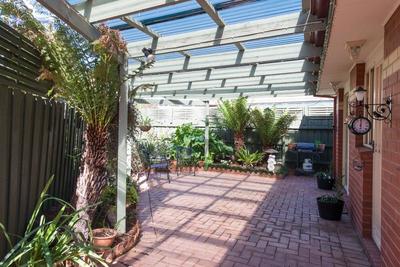
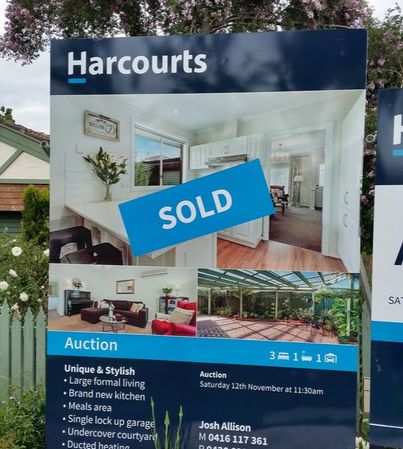 When I sold my house at auction, I was thrilled when the hammer fell on a price at the top end of my hoped for range. In the first year after buying the house, I did some updates. I painted throughout and put down new carpet. I had a kitchen face-lift and laid laminate wood look floor boards over the pink and white kitchen tiles. I also cleaned out the garden beds of dead and overgrown shrubs but kept some things that might come back with a good prune. I had a massive tree in the front yard that was undermining the footings, so that had to go also. Two years later and it was time for me to move on. Sam and I were buying a house together so my dear little house went on the market. But first, I needed to make sure it would appeal to buyers. As much as I loved how it worked for me, I needed to look at it through other peoples eyes. The first thing I did was get moving on making the garden look nice. A cottage needs a cottage garden and that doesn't happen in two weeks. I started planning the sale in autumn so that when spring arrived the garden would be looking it's best. I planted standard roses and a Silverbirch tree in the front lawn to give a timeless appeal. A garden arch leading to the side way is planted with a yellow climbing rose. Not in full flower yet but some blooms had opened. I planted lavender when I moved in so they'd had a couple of years to get established. in the four weeks leading up to auction, I only needed to add a few plants to fill bare spots. I put an iron bench on the front porch, flanked with identical standard Lillypillys in black urns, to give a welcoming but traditional, formal feeling. You walk directly into the lounge room from the front door, so I needed it to act as a reception room. The furniture is placed away from the walkway but again creates an inviting space. I took down the framed family photos and kept styling on the crystal cabinet and piano similar. Note the lamps are of similar style. I removed one side of the sectional sofa and borrowed a wing back chair to give the room some character. I'd decided on using the French Provincial Style as inspiration for the theme of my home, a combination of old and new. The coffee table is also simple, following the rule of three. A candle adds ambiance and being scented it created a lovely smell when people walked in the door. You'll notice I had every light turned on. I carried this out in all the rooms. It makes a huge difference. Most importantly, I followed advice from the real estate agent, to make sure there was enough open floor space for a small crowd of potential buyers to walk around during the scheduled open for inspections. Kitchens sell homes, is what I've heard, so a face lift for my tired pink melamine kitchen was something I'd done knowing if I ever sold the investment would be worth it. While it was done at the time for me and not resale, I think it's worth sharing what I did because it did help me realize a good profit on the house. The cupboards were in great shape and didn't need replacing, also I loved the splash back and wanted to keep those tiles. All I replaced was the bench tops and cabinet doors. I had new appliances installed and had laminated wood flooring laid straight over the old cracked pink and white tiles. I added a couple of black stools for a hint of farmhouse. When sale time came, the agent suggested fresh lilies on the bench top. It was a little expensive to replace them each week but they added a touch of elegance and made the house smell beautiful. In the month leading up to auction, I enjoyed those flowers so much . The clock on the wall in the dining area came from good ol' Kmart. It could have been bigger but I had a focal point on the table. I kept the colors neutral and restful, in the master bedroom, creating interest with texture instead. The tufted bed head, embroidered pillows, fluffy rug and center pillow contrasted with a basket in the corner. The shades on the ceiling light fixtures were broken in all the bedrooms, so I replaced them cheaply with batten fix light shades from Bunnings, hardware. I just threw away the fittings and kept the shade, at $9 each it was by far the cheapest option. The second and third bedrooms were decorated simply with a picture of Paris above the bed in the double room and a birdcage filled with flowers and a battery powered candle sit's on the desk in the single room/study. The real estate agent suggested white doona covers and I think he got it right. The bathroom needed a little spruce up. I replaced the taps and put in a clear shower screen door. The wire unit on the wall holds decor to add interest to a plain wall. An orchid next to the vanity gives a touch of class and a fluffy white towel hanging behind the door invites. The last area to get a makeover for sale was the courtyard. It also was the most effort. I had to paint the fences, it was quite a job but, I got there by painting a section or two each day. The garden beds were a bit bare but I had potted up ferns that had grown under the fence from my neighbors, so I sat those in the garden beds. I planted the birds nest fern on the right and put up some hanging baskets. I also added the succulent tower to the bed which gave it some architectural interest. The tree ferns were existing as was the Mondo grass. The back corner was empty and I planted several shrubs to fill it in. The statue was there also. I put two outdoor chairs and small table in the back corner to invite people out into the space. Some time ago my girlfriend gave me some fairy lights which we strung up under the eaves. I left them in place for sale so that they'd provide a nice ambiance to this area during the evening viewings. They made this space looked magical with the lights on. So nice that I couldn't bear to take them down and disappoint the new owner , so I left them behind as a gift. Aside from opening up spaces and clearing out clutter, I made the most of what was existing. I did any maintenance jobs that were required, cleaned and updated worn out things. I created space for the buyers to imagine where they might put their furniture and personal items while keeping the charm of the cottage. I saved money where ever I could which meant I had funds to spend where I knew I'd get a good return on my investment, like making over the kitchen. I didn't go for stone bench tops because I felt it wouldn't be money I got back. I chose instead a stone look laminate which worked really well. Keeping the color scheme neutral helps buyers to visualize the colors they like layered in. I tried to keep similar color and style in each room of the house so that it felt cohesive and made the home feel more spacious. I also added interest with pretty decor items that didn't take over the room, more like earrings rather than a crown. Understated decorating again enabled buyers to visualize their own things. It sold at auction after a couple of keen buyers drove the price up. Most of all I feel really happy that I've passed on a home to someone that is ready for them to just move in and enjoy. In getting it ready for the next owners, I feel I was also able to begin the process of letting it go.
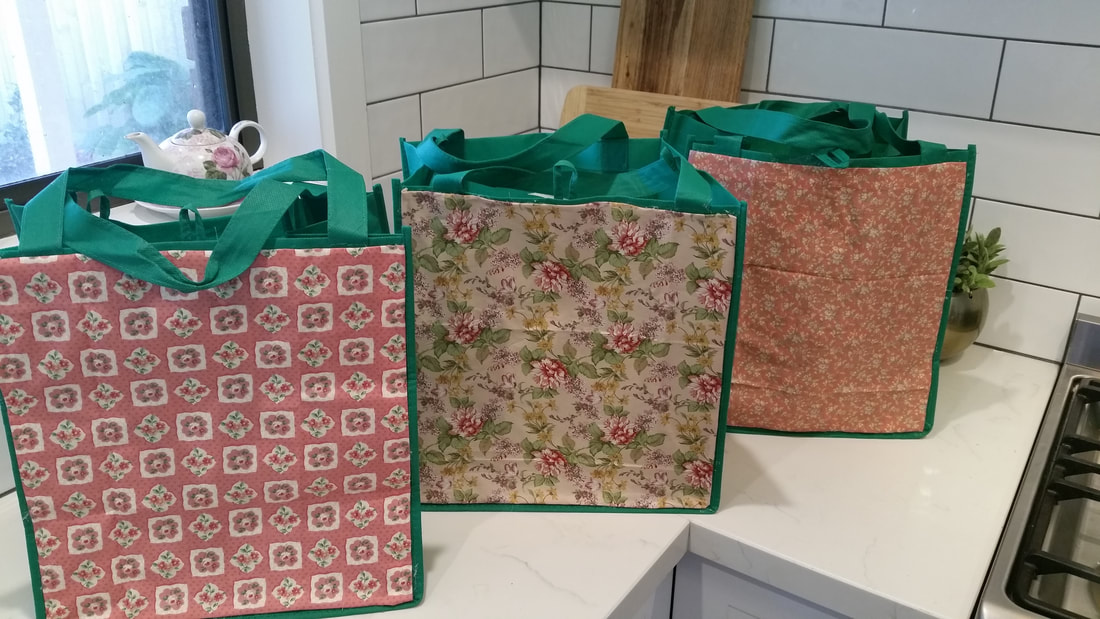
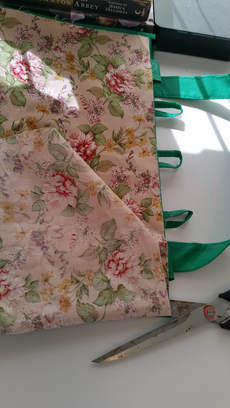
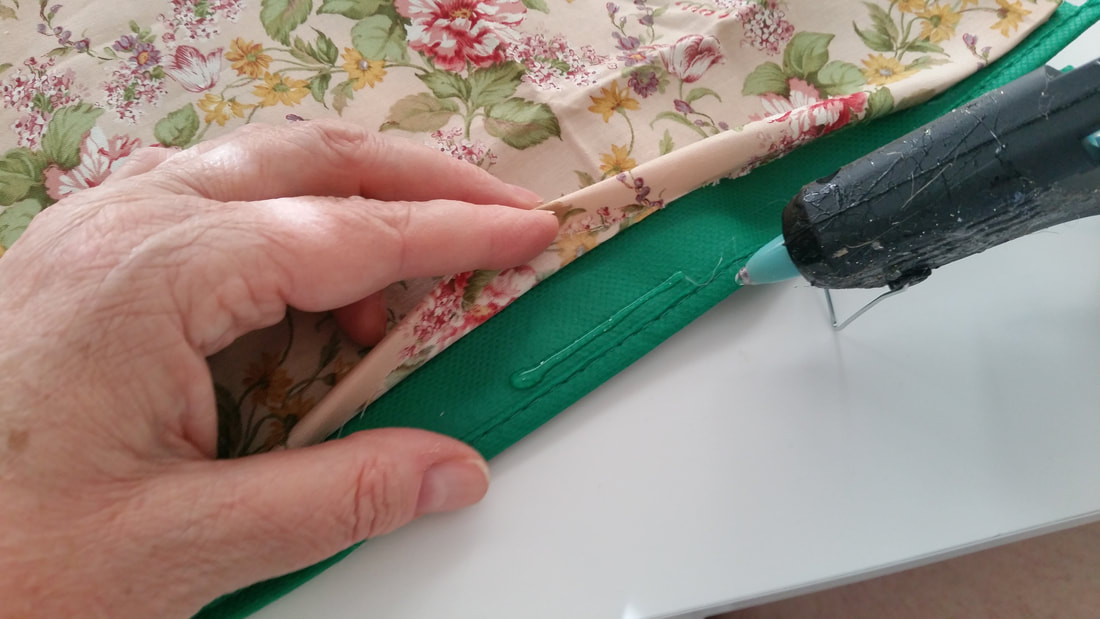
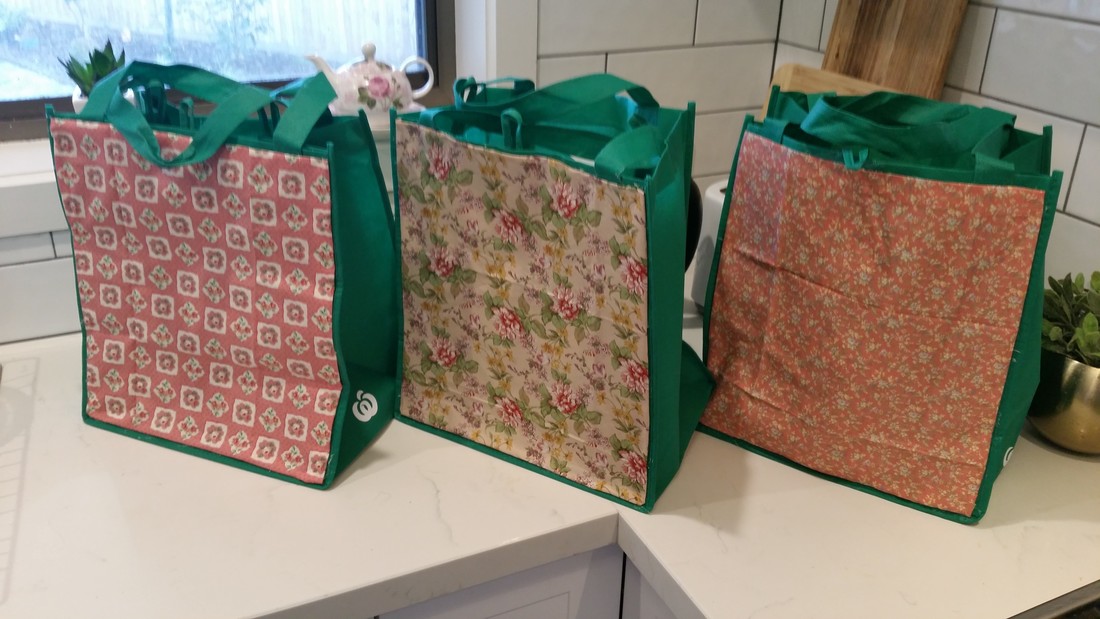
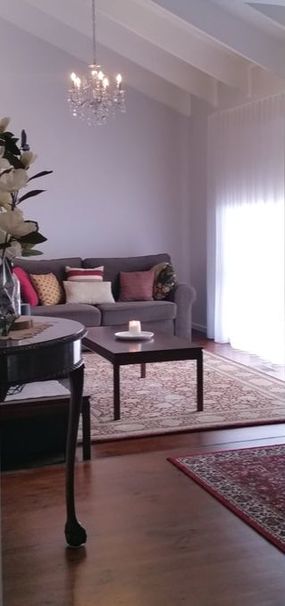
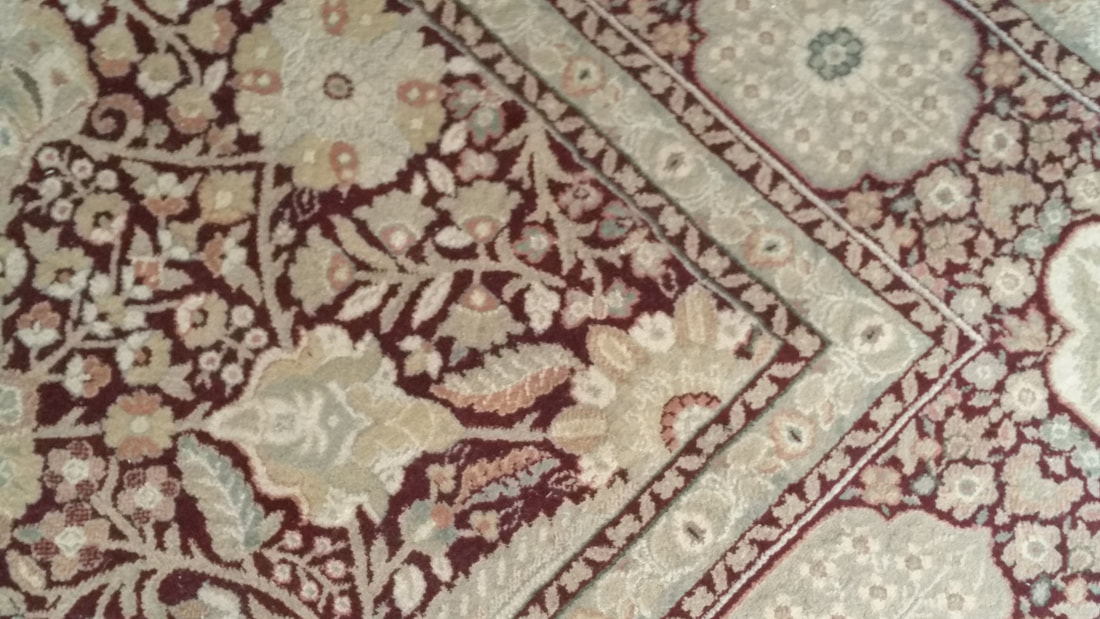
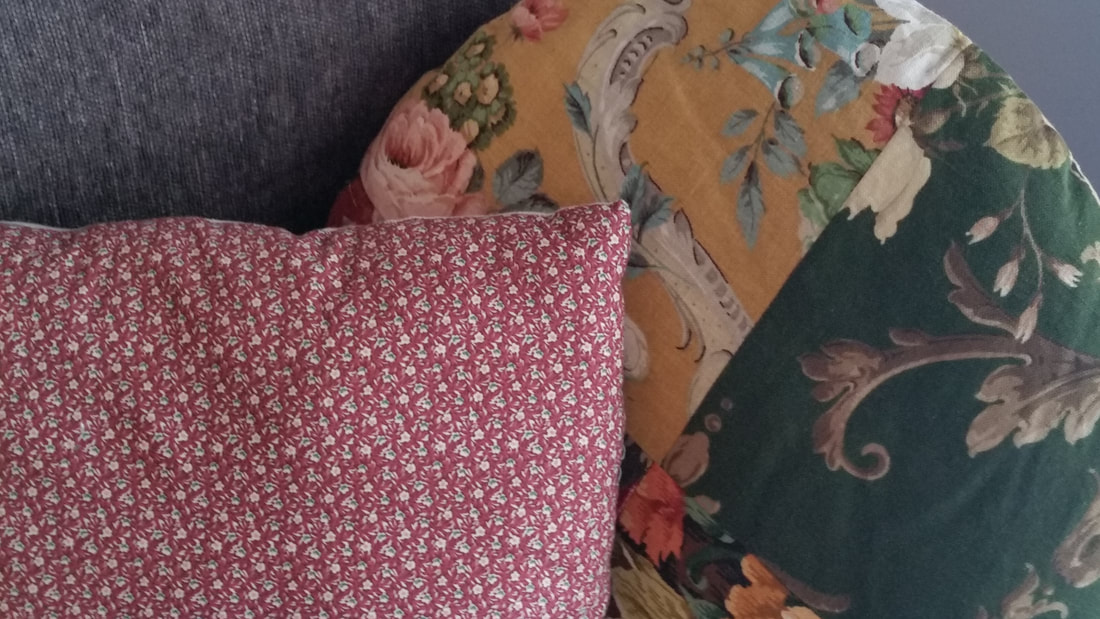
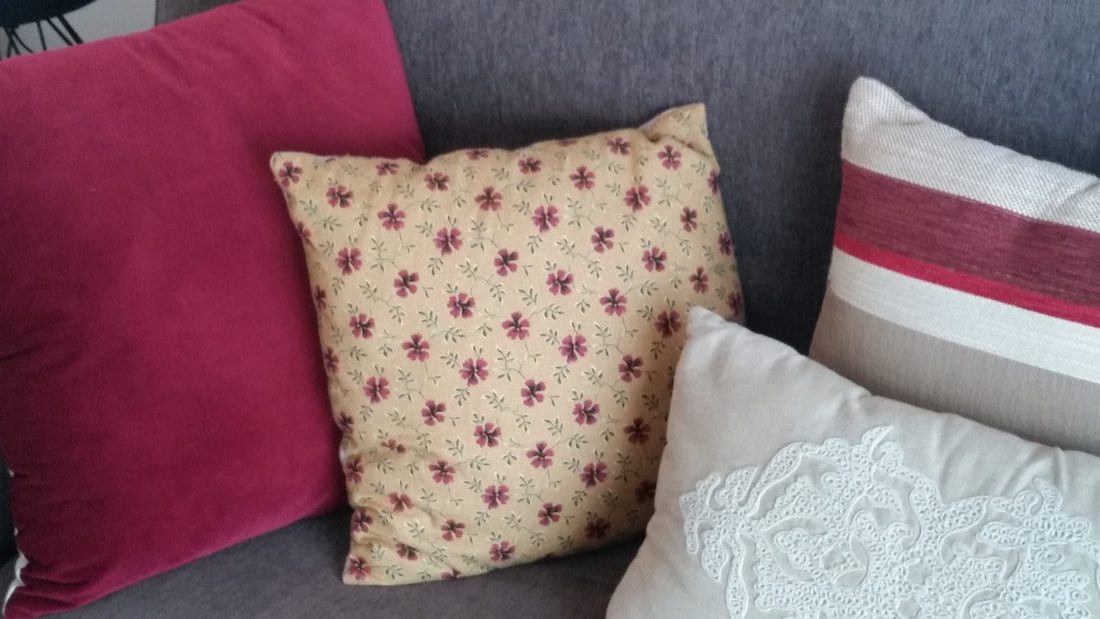
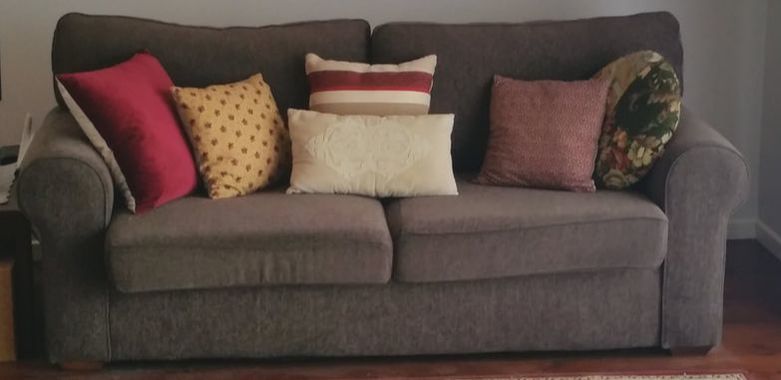
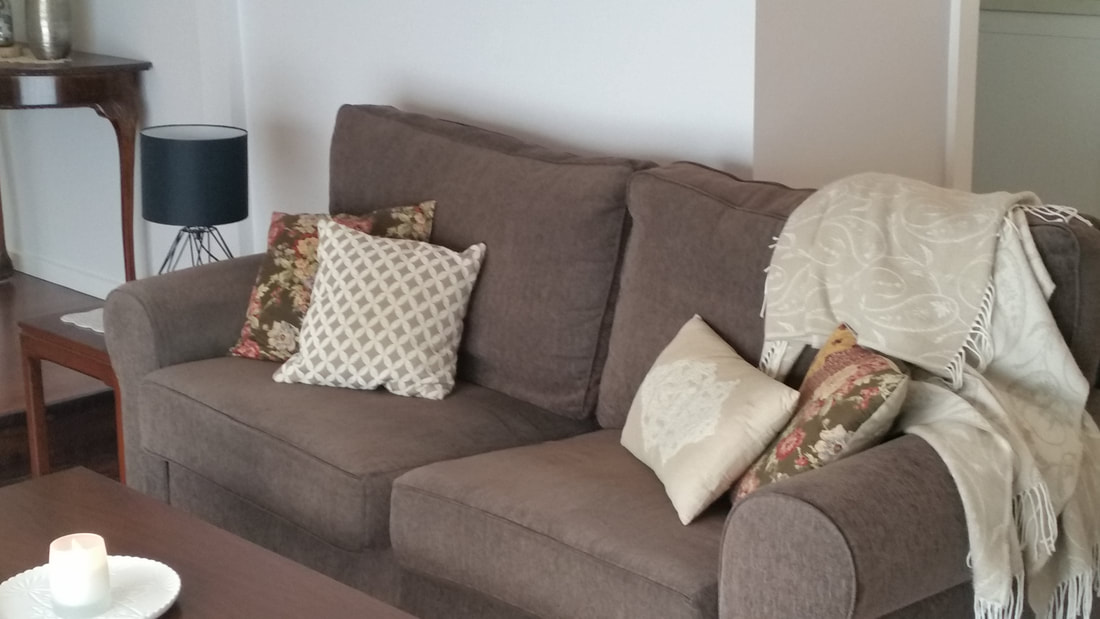
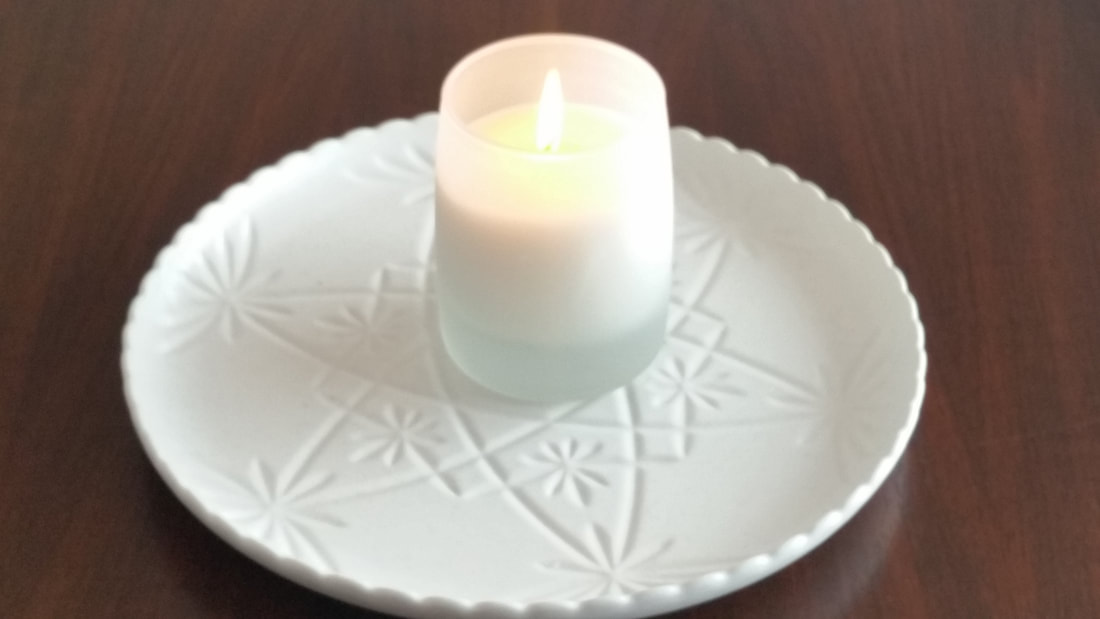
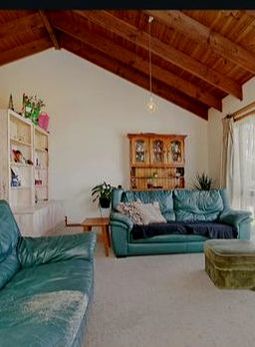
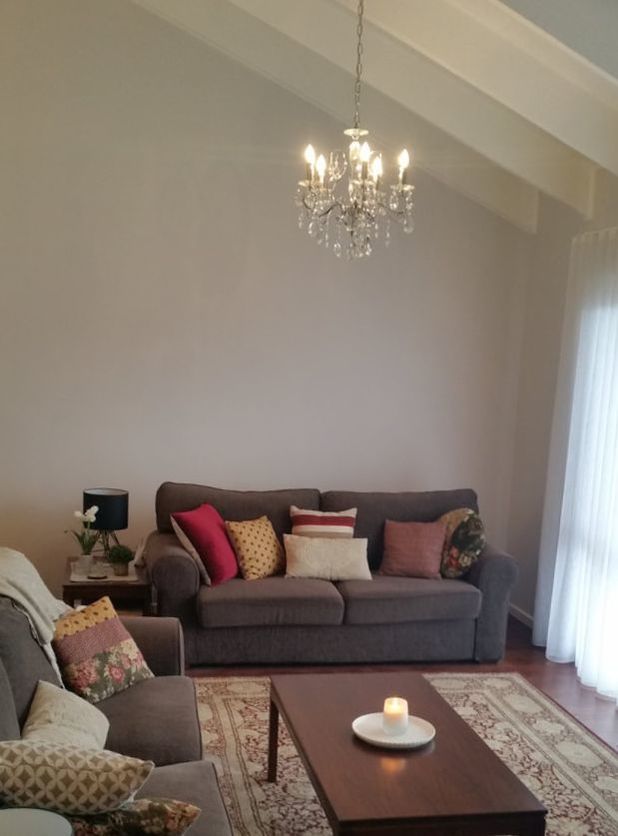
Since selling my house, Sam and I have bought a house together and renovated it. It's a little more modern than the cottage but I have decorated it in a similar style. My furniture looks very nice in our new home. I've already posted pictures on my blog (in the decorating category) and on Instagram and or Facebook if you're interested to look at those. As a romance author, I love all things romantic in my home and lifestyle. You can also discover more about my love of romance through my writing. Find my contemporary romance novels and short stories on my amazon author page or visit my Books page on this website. Thanks for stopping by, until next week, Dora 💖 Why would I remember to take boring shopping bags to the supermarket? But I don't think I could forget these customized pretty grocery bags. The reusable bags that you can buy at the check out are so uninspiring. No wonder I'm one of the huge number of people who forget to take their reusable bags grocery shopping, since Australia went single use plastic bag free. But, I have found a way that will make me want to have them with me. I've prettied them up with some patchwork fabric from my stash. If you want to see how I did it read on. You'll need some fabric that you love, cotton is a good choice because it's not stretchy and has a bit of stiffness to it. As I said, I used fat quarter fabric but for non quilters that is just a small piece of pre-cut craft fabric that is a quarter of a yard. Supermarket bags like the ones in the picture. A low temp hot glue gun and at least four glue stick refills. 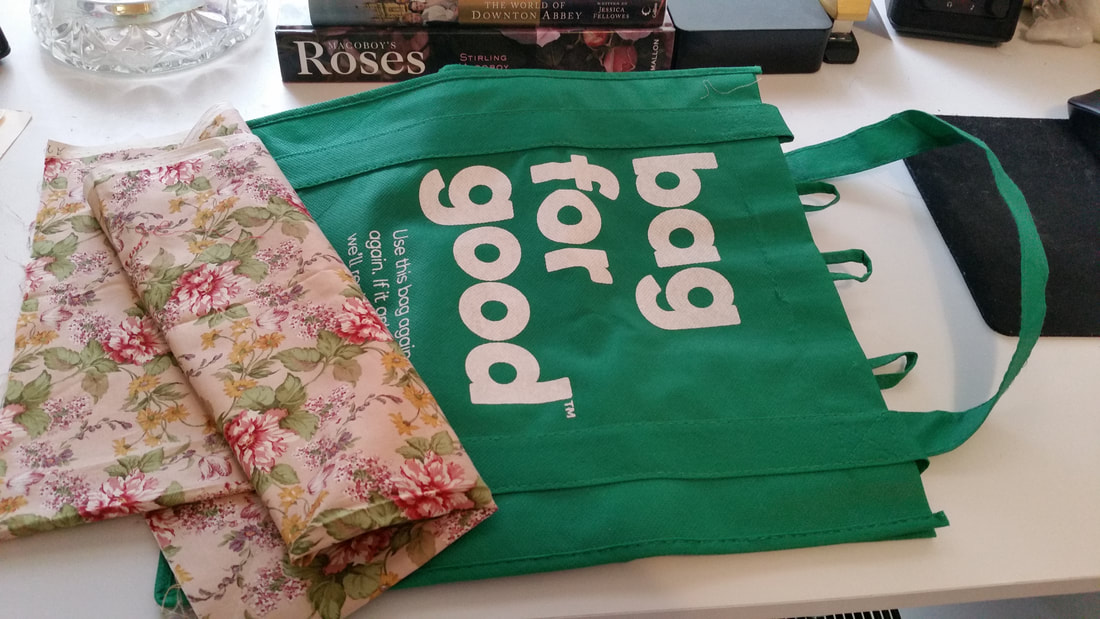 I only covered one side of the bag, where it had the big writing but you could do both sides if you wish, just remember you'll need more fabric. I put the fabric over the bag and cut around leaving an extra 1/4 to 1/2 inch or 1 cm all round for folding under the raw edges I turned under the edges and hot glued it to the face of the bag. I began gluing the middle section at the top of the bag and then the outer edges just back from the corner. Then I went and filled in the between spaces. This made it easy to get an even line of fabric. After that I worked on the sides I glued the corners last. Before gluing the bottom down I put my glue gun under the faric and ran a line of glue down the centre of the bag from the top to the bottom and then finished gluing the bottom closed. I kept getting the odd hot finger but using a low temp gun meant it didn't burn me. You could use some cardboard of the end of a pen to hold the fabric down instead. A little bit of glue smeared onto the green bag but it rubbed away when dry. For anyone who likes needle work, the fabric on these bags could be sewn into place using an applique stitch. A patchwork block would be gorgeous and could even be quilted with some wadding placed underneath the fabric. So next time I go to the supermarket I will be using these pretties. How could I forget them now? Dora Bramden writes contemporary romance and loves making life as romantic as possible. Even her shopping bags! To find out about Dora's books click here. Our romantic formal lounge and entrance give me pleasure every day. Even though it's not quite finished, I decided to do a reveal post on this room because we've been living here for over 12 months now. The chandelier in the lounge room is the draw card. It gets the most comments from visitors, over the way it complements the beautiful cathedral ceiling. It's not a large room but that ceiling gives an uplifting sense of space. When we bought the house the wood clad ceiling was stained brown giving the room had a dark cave atmosphere. Painting it white transformed it completely. The walls are painted a light grey called Windswept Beach. It throws pink tones which blends in with Sam's signature color of burgundy red. The rug has some subtle grey but is mainly cream and burgundy so I needed to find a way of linking those colors into the rest of the room. We didn't buy new furniture when we moved in together but combined what we had. Sam already had the sofas in this room, but they didn't pop against the wall color. The rug he chose looked great, so I went looking for cushions to tie the room together. I already had the round one which I bought from Cottage Industry in Fitzroy. The cranberry velvet came from Freedom Furniture and the striped cushion came from Spotlight. The lumbar cushion was purchased some years ago from Target. The two floral cushions I recovered from my patchwork fat quarter stash. None of the cushions are still being sold, but I wanted to show how they were collected from various places. I used the principals of varying size, patterns, shape and texture to create visual interest . I mixed velvet with linen and embroidered fabrics. I arranged the cushions to have balance on each side in respect to these qualities. This is a view of the other sofa in the room. Again I used cushions and throws to bring in the cream colours and used fabric from my fat quarter stash to recover some cushions. This close up of the center piece on the coffee table shows my love of mixing traditional with modern. I love this mix of ceramic formed to look like cut glass. It was a house warming gift from a friend who obviously knows me very well. Finally I'm including a before and after shot so you can see the how much the room has transformed. We took up the carpet and polished the floors and replaced the curtains. The furniture in the before photos belongs to the previous occupants. This is what it looked like when we viewed the house prior to purchasing it. The lounge has evolved to have a boho meets shabby chic, romantic style with enough depth of color to make it a comfortable masculine space. This room was always nice, but now I find it a more restful place that's pleasing to our eyes. That's really what it's all about. Sam chose the rug and color scheme for this room to go with his furniture, because it's the lounge he uses most to watch his sport. He was with me when we shopped for cushions and choosing the fabric from my fat quarter stash. We decided to bring in the floral patterns to tie in with the rug. As luck would have it the medallion pattern on the lumbar cushions that I already had, by sheer accident ties in with the border pattern on the rug.
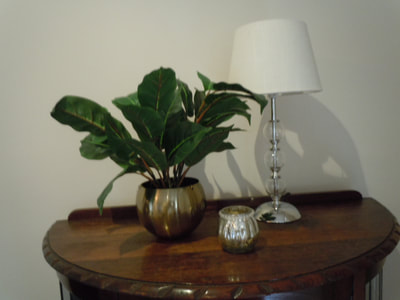
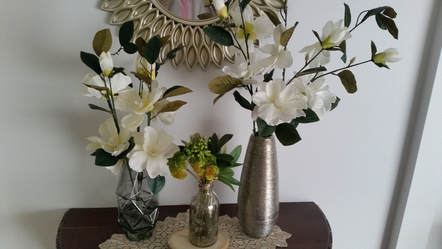
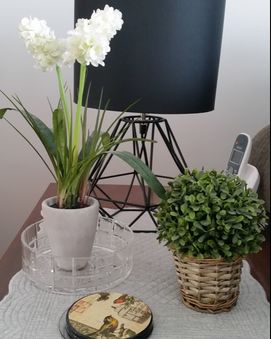
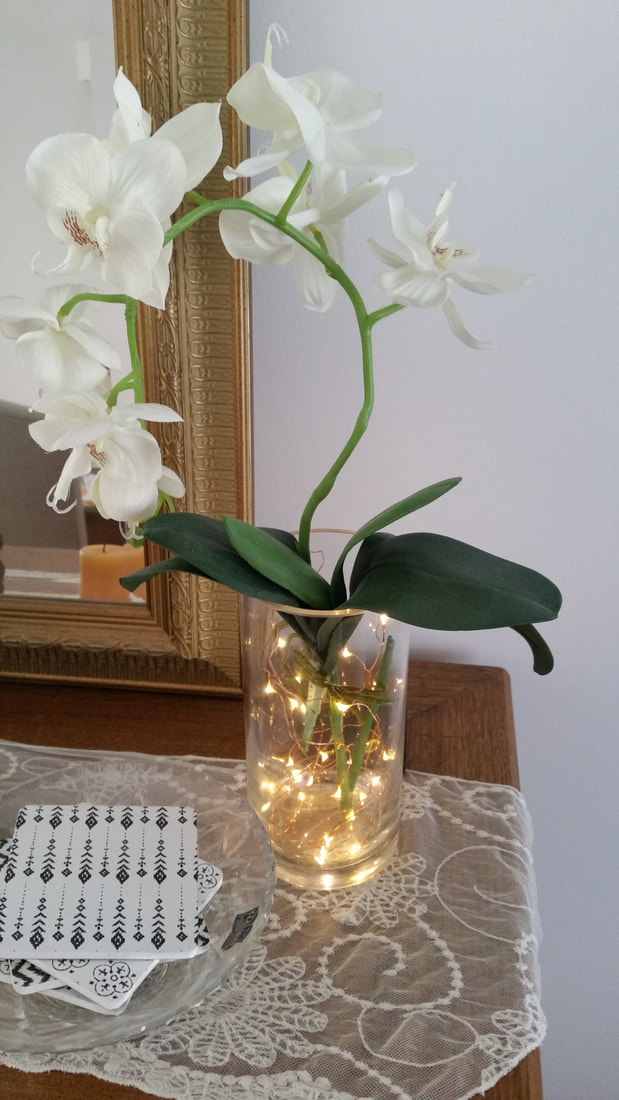
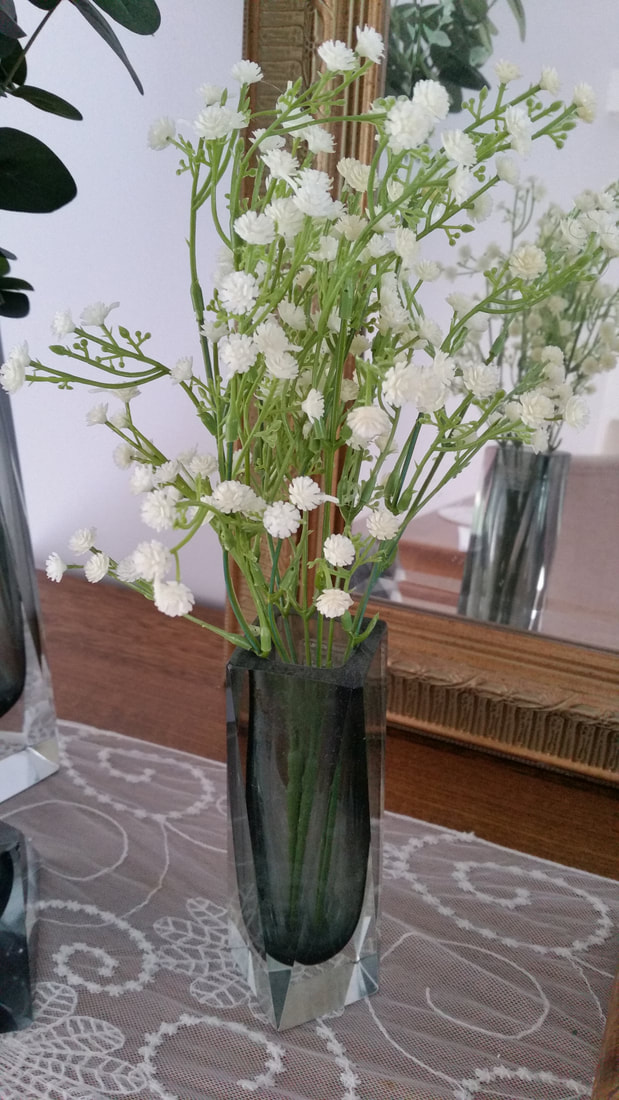
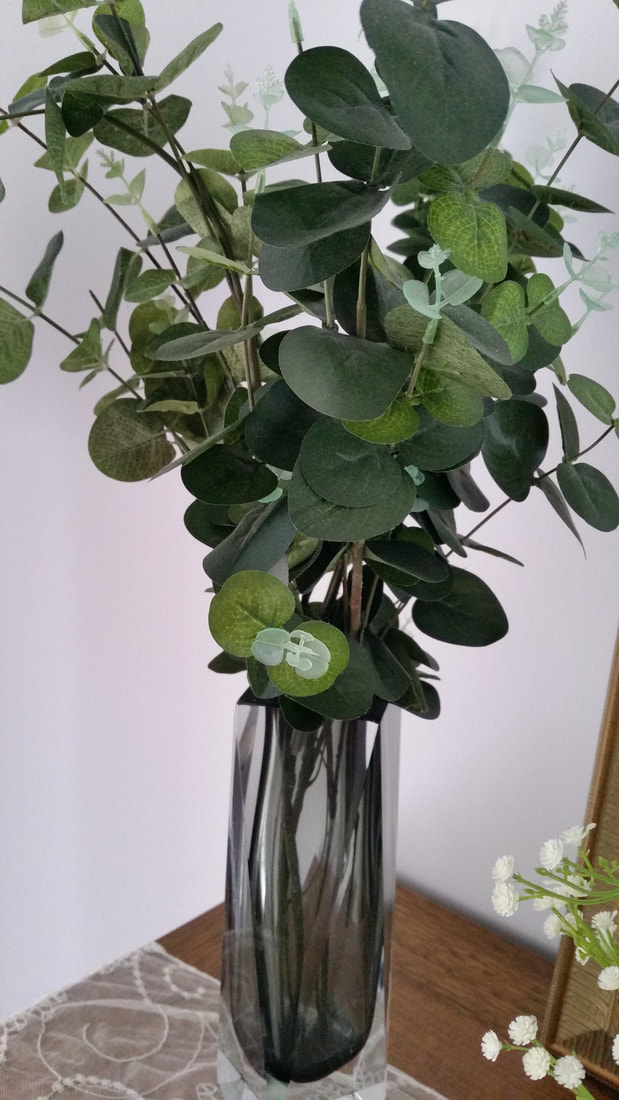
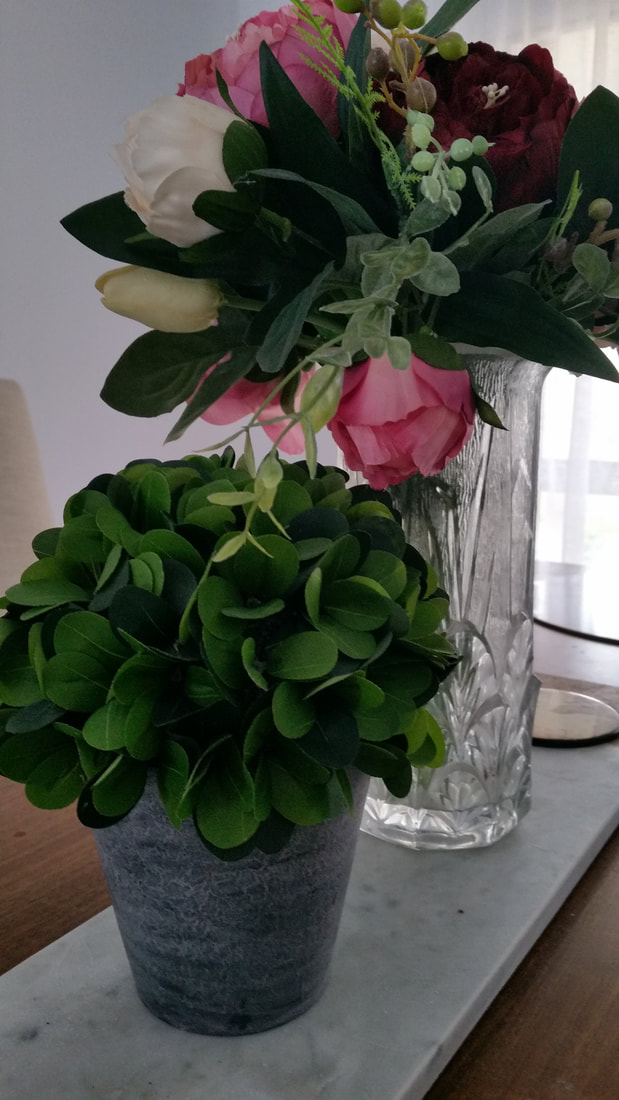
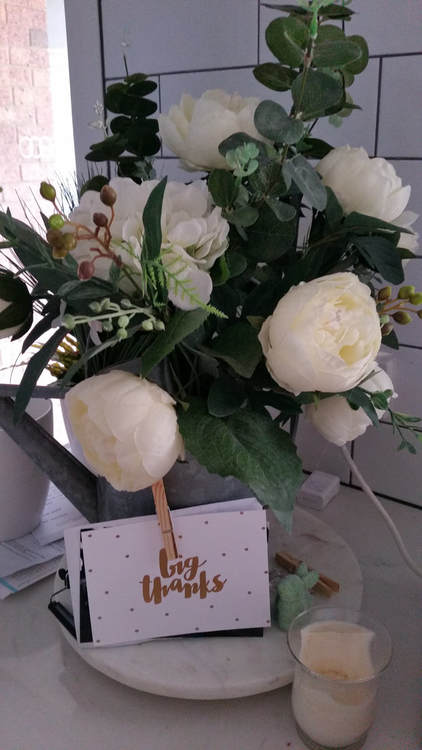
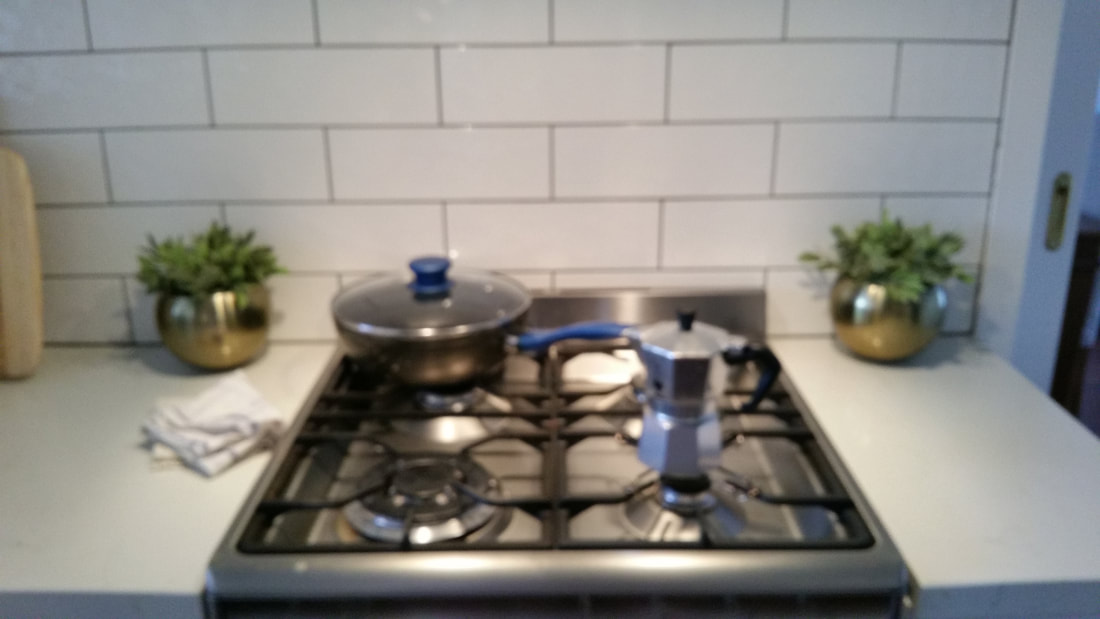
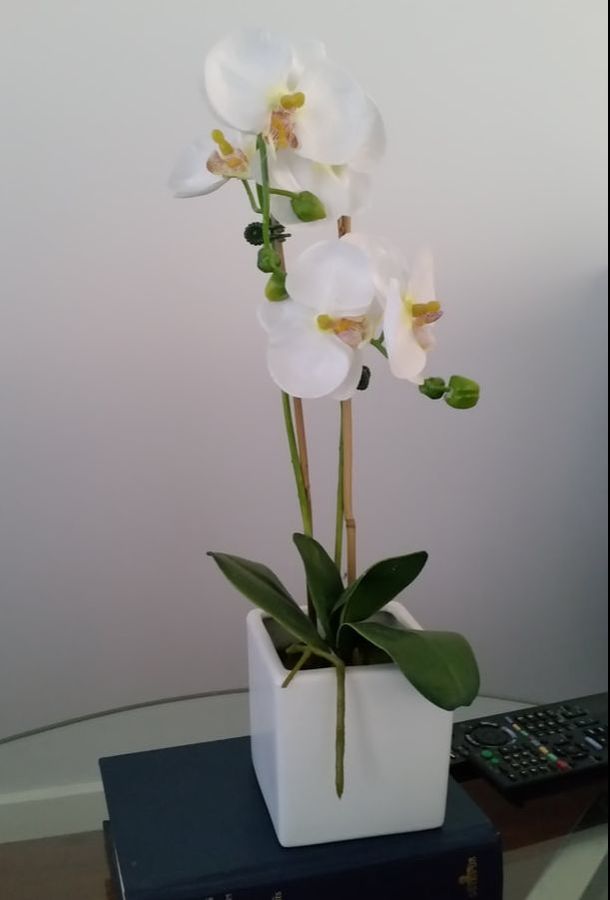
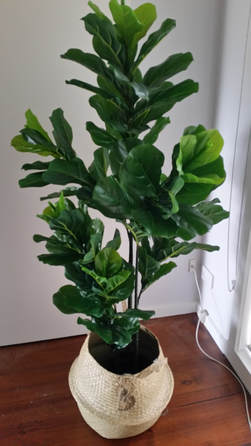
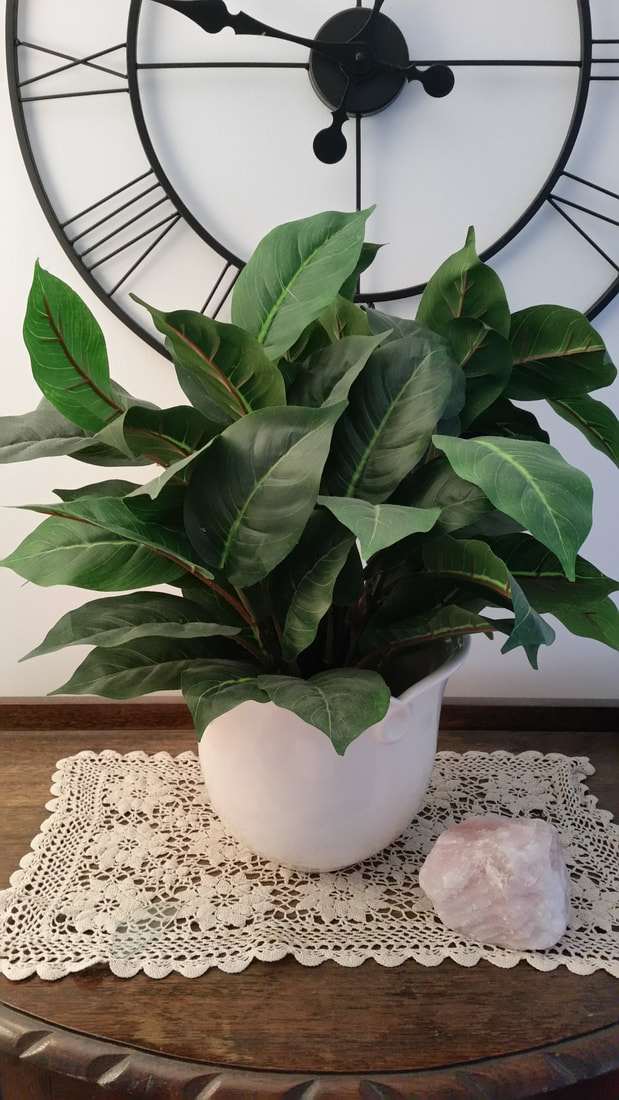
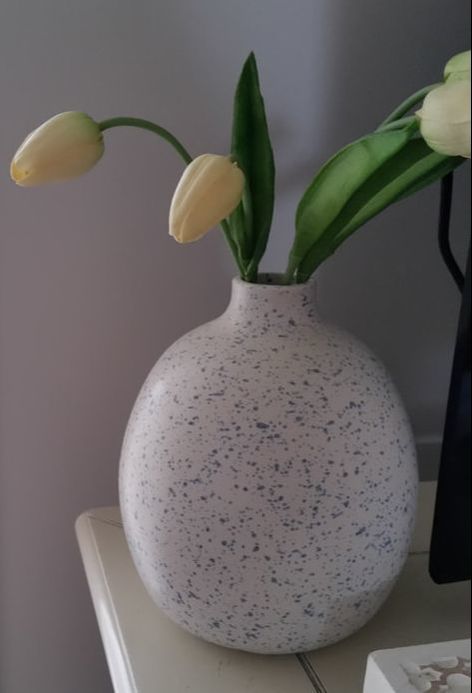
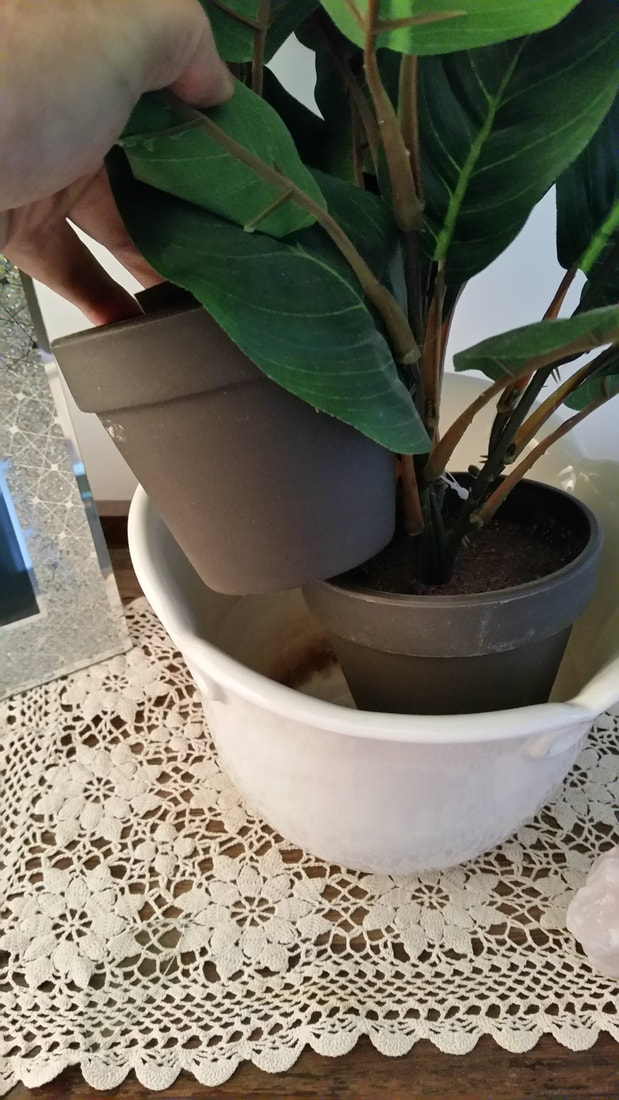
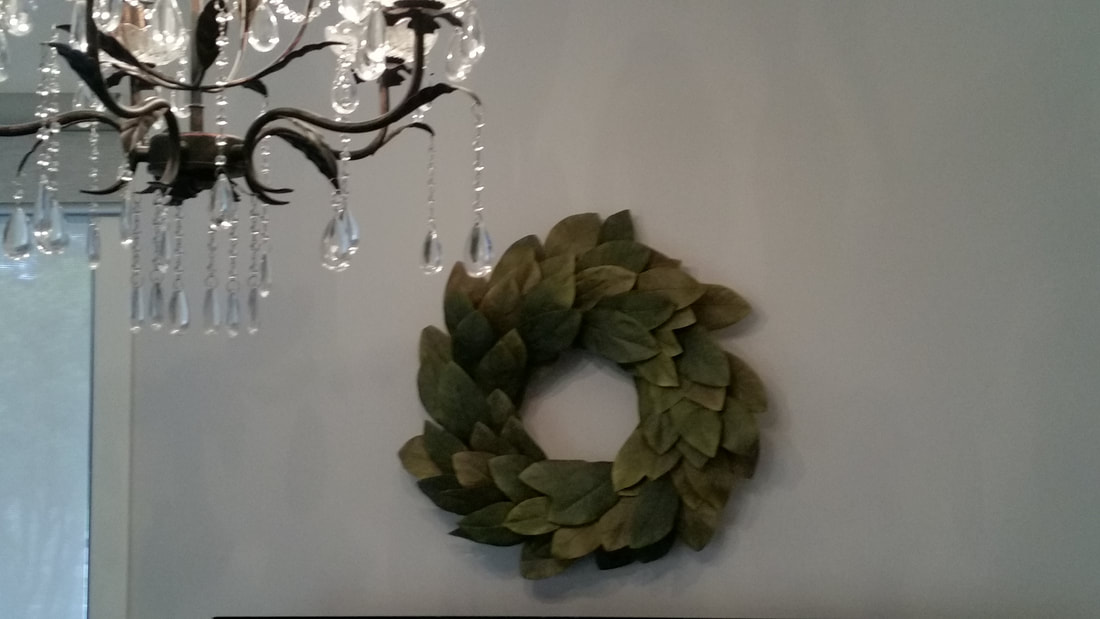
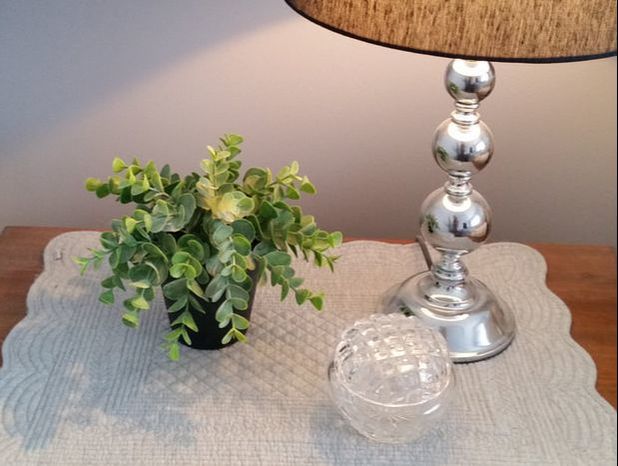
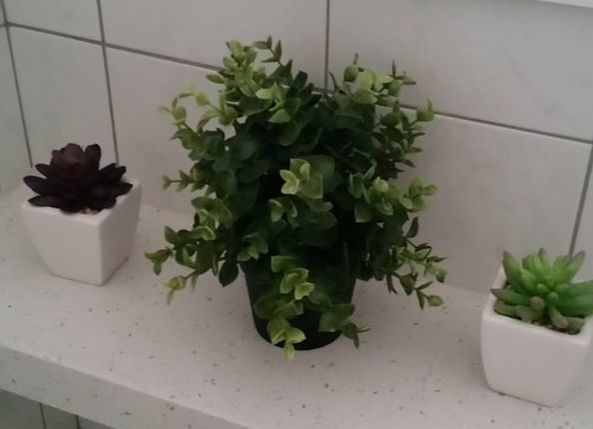
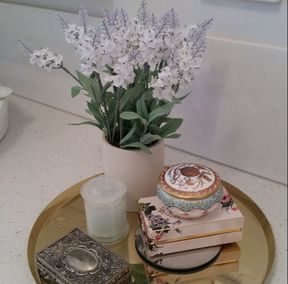
There is still some decorating to do on that bare back wall. I have been looking but still haven't found that perfect print. Perhaps it's because we are now thinking that we might take inspiration from the previous occupiers and put a cabinet behind the couch. Sam has an impressive toy cowboy and Indian figurine collection that could be housed there. I'm thinking a glass door set of dark red Billy bookcases from IKEA might do the trick. Let me know what you think. Picture or cabinets? I hope you've enjoyed my lounge room reveal and room tour. Leave any questions you have in the comments below and I'll do my best to answer them. Have a great week. Dora Contemporary Romance Author. See Dora's books here. Healing Love, Passionate Romance. Romance is deeply connected with nature. Country drives, walks in parks and picnics are great ways to connect. But for every day sense of romance, faux greenery that looks good all year round, provides the ambiance I want. If you follow me on Instagram, you'll have seen a faux Fiddle Leaf fig that I purchased recently. It's about 1.2 meters high and makes an empty corner come alive. After I photographed it, I walked around my house and took photos of all the faux plants flowers and foliage that I use and was surprised at how much it was. So I thought a blog on this might be interesting to some of you. You don't need to have a green thumb to have a home filled with lovely looking plants. The faux kind do need some maintenance but they don't die if you leave it for a while. Like regular house plants they need dusting but that's it. There's no watering and risking floor or furniture damage, and you don't have to fertilize or repot them. You don't have to worry about plant's light requirements, finding a window with the correct aspect means you might have a plant where it's not convenient or even looks nice with the furniture plan. Faux plants are happy in any situation. My tour starts with the entry way. On the console table, sits two arrangements of magnolia stems and a posy of mixed greens. A delight every time I come home. I like using the three different textured vases that are linked though their grey/silver color. The formal lounge doesn't have a lot as it opens directly off the entryway. On a side table I've placed a a small flowering plant, sorry don't know what it's supposed to be, but I liked the white flowers and a cute little box in a basket. The dining room opens from the lounge and here I have an arrangement of flowers on the buffet. I did a little trick with the orchid in the vase, and put lights inside so that it looks like it has glowing roots. A vase of eucalyptus leaves, look like the real thing, and a posy of something with tiny white flowers creates visual interest because of the contrast in the size of the flowers. On the dining table is a faux box and an arrangement of roses and foliage. In the kitchen, there's little pots of faux Sage either side of the stove. Next to the sink is a watering can full of faux stems and roses. I really love having flowers next to where I'm working. It makes it feel for like a restaurant or something like that. I like the farmhouse style for the informal areas and the watering can brings it. Family room, and my sitting room has the faux Fiddle Leaf fig in the corner. Next to the TV is a vase of faux tulips and on the coffee table another orchid. Above the TV is a Magnolia wreath from Joanna Gainse's shop Magnolia. On the crystal cabinet I have stacked two plants into a white pot. You'll notice by now that nearly all the flowers in the living areas are white. I find they make the overall effect in the house restful and cohesive. In the bedroom and bathrooms I have smaller plants but they make a big impact on the way each room feels. If you like to live in a place that has houseplants but like me want them to look good all the time without any fuss, keep your eyes open for bargains and end of season sales. I paid a lot for one of mine and got a real bargain on the biggest plant in my collection. I didn't get them all at once but over time have collected a surprising ( to me ) amount. It wasn't until I did this photo journal that I noticed how many.
I hope you've enjoyed this faux plant tour and that you've picked up a couple of ideas along the way to fire you're imagination. Thanks for dropping by. |
Romance author and lifestyle bloggerMy whole life is inspired by romance. I write romance novels of course but also love creating DIY's and decorating in a romantic style. I'm rejuvenating an old garden, including rescuing a couple of old rose bushes and planting new ones. Archives
March 2021
Categories
All
|


 RSS Feed
