|
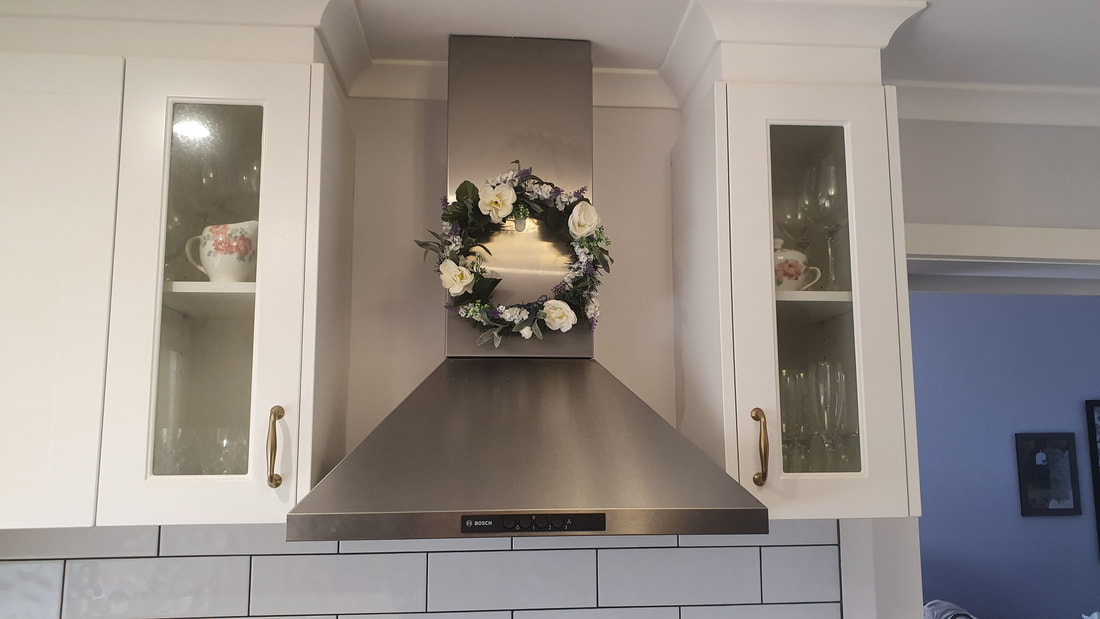
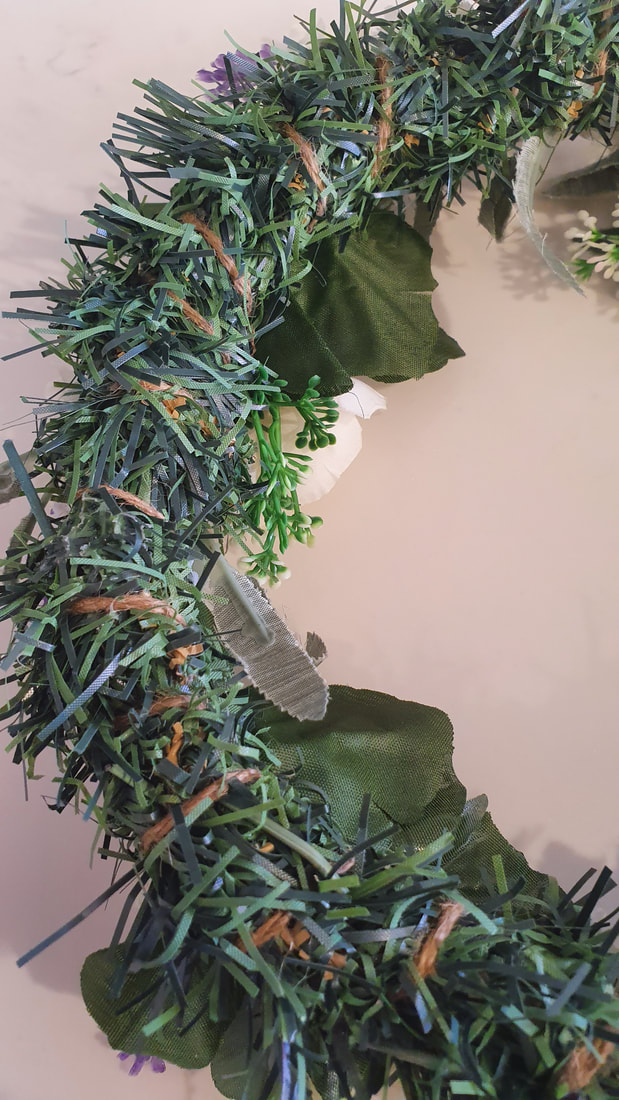
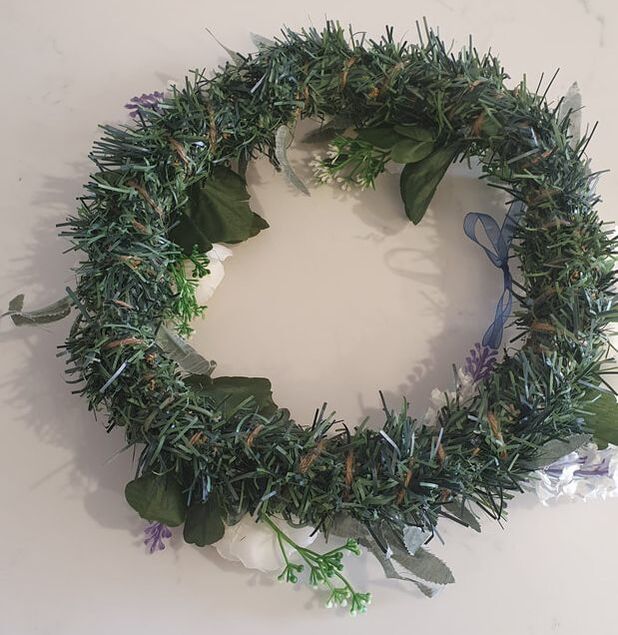
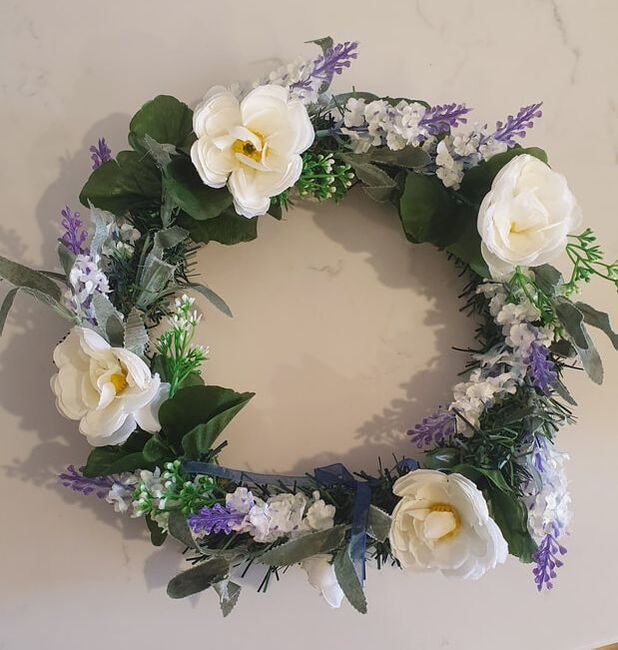
Recently I was taking part in a discussion in a FB group about why a single person would bother to celebrate Valentine’s Day. It was sparked from a comment from a person who said as they were single they wouldn’t be bothering to craft things or decorate this year. I had to admit that I too had been wondering if I would take much notice of it this year. I’ve just put the house back to order after all the Christmas decorating, did I have the energy? Did I want a lot of hearts everywhere? But when I thought about what I wanted to say to this lady, that she deserved hearts and flowers and to give them to herself, I had my answer. It’s sad when someone feels Valentine’s day is just a reminder of their loneliness so I wanted to turn that around. I posted a comment that suggested they make it all about self love. Doing it for themselves. Hearts and flowers for her to enjoy basically. I also needed to remember this applies to me as well. I’m not single now but I was for a long time before Sam came into my life. To generate love in your life it helps enormously to start with yourself. Filling your well with self appreciation and beautiful things can be done on a very small budget. I suggested she frame photo’s of her enjoying life, doing things she loves and making some new floral displays. I also suggested she make or buy a Valentine’s day card for herself and write words of all the things she loves about herself in it. Most crafters have a stash of supplies they can dive into to put some charming vignettes together with a romantic theme. But if you can’t afford flowers a cheap card from the dollar shop can be put in a frame you already have. Displaying some pretty china from your cupboard on the kitchen sink draining rack is so charming. Using cheap gift wrap paper, cut out hearts to either put on the table or glue to a string for a cheap banner. A pink candle in a jar from Kmart is only 75 cents. Tea light candles look pretty in old jam jars that are tied around with ribbon or lace. I’ve re-purposed a Christmas wreath to make a romantic floral one for my kitchen. For Christmas, I’d hung a wreath on the range hood flue using a command hook. I liked it there so much that I decided to keep it there but make it over. I pulled off all the red berries and wound some jute twine around the branches pulling them in tight to the wire base. This gave it the look of a mossy base. Using florals that I’d put away for Christmas, I trimmed the stems short. This mean't trimming the lavender florets away from the lower leaves and using the foliage and blooms seperately. The rose leaves were pushed up the stem to sit directly under the bloom before trimming. Then I pushed them into the wreath going in a clockwise direction. I spaced the roses and lavender and foliage evenly to create a balanced circle. After i'd finished I needed to adjust the stems by bending them so that the flowers faced the way I wanted. If you’ve been following me for a while, you know that I love crafting for the joyful feelings it creates. It’s an act of self love and so perfect for creating a Valentine's Day atmosphere. Because I’m now married I’m doing it not just for me but for both of us. Sam enjoys all my home made creations and decorating and celebrating our love is a big reason for both of us.
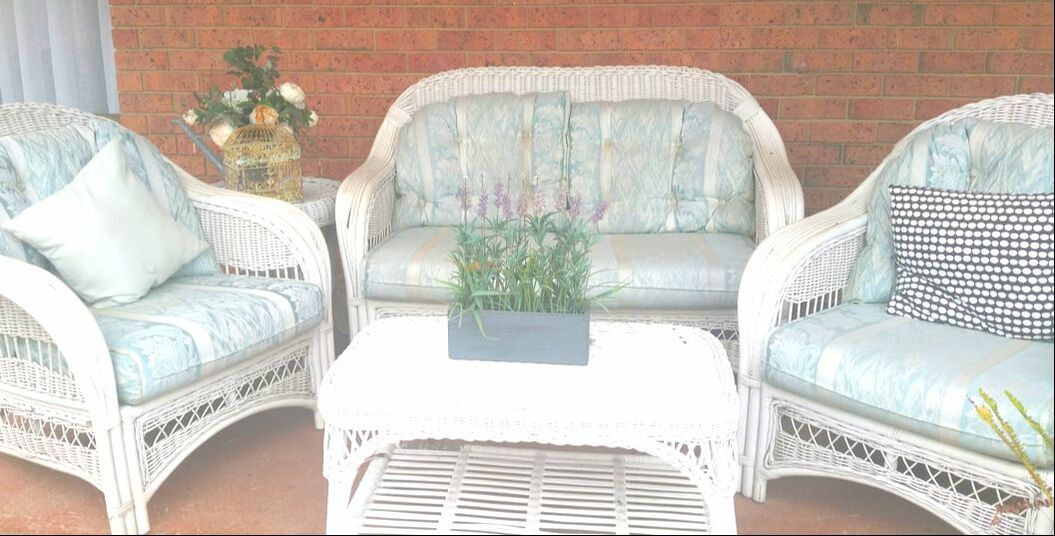
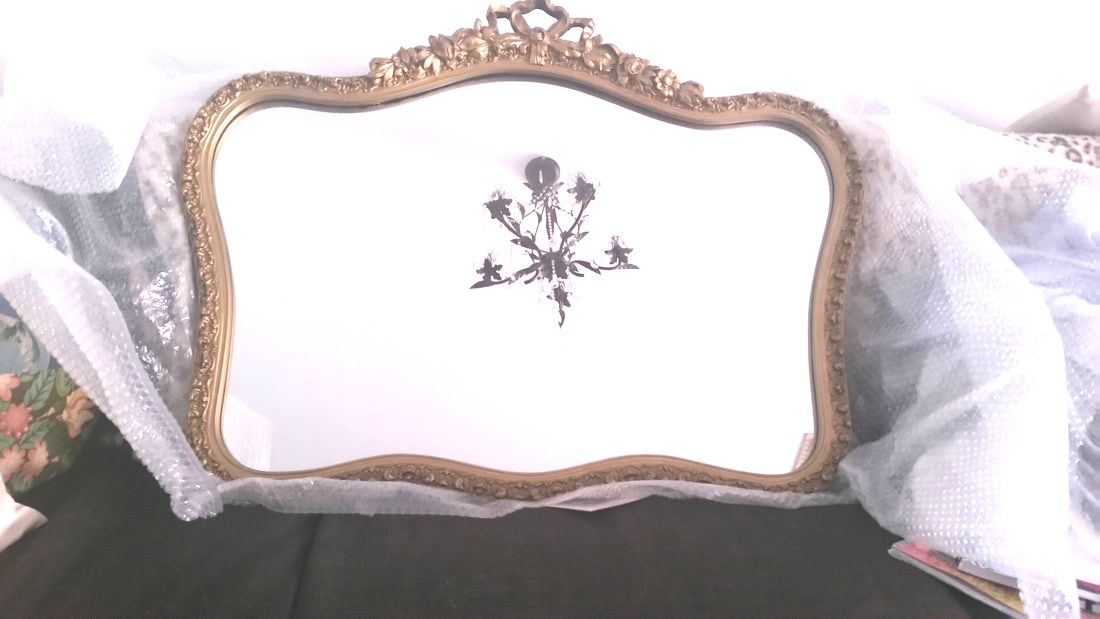
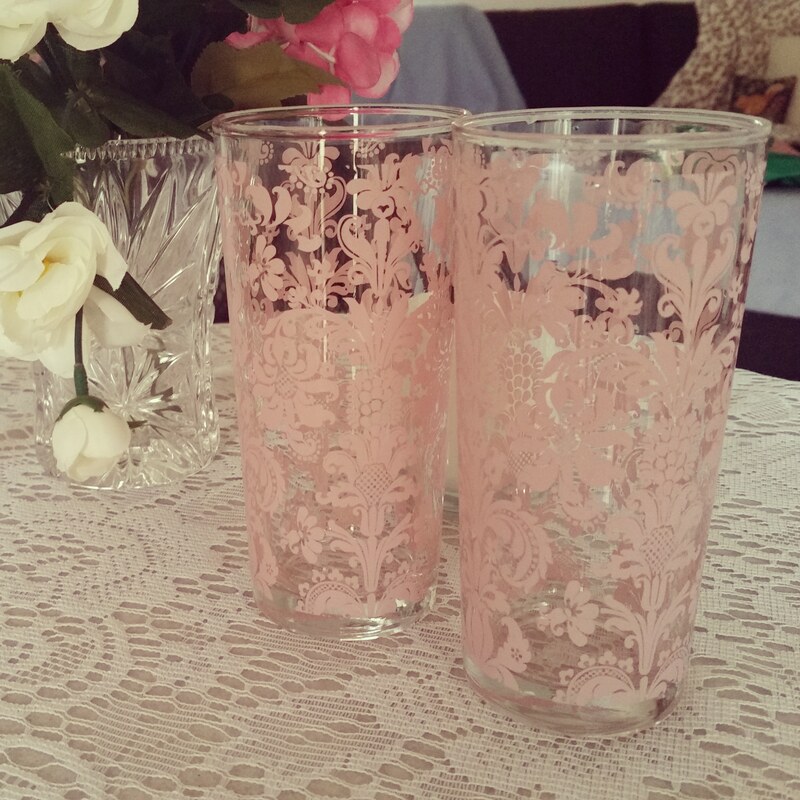
While I’d been wondering if I would bother to decorate for Valentine’s day, this lady’s post helped me clarify what I’d be missing if I didn’t. Everyone loves someone or is loved by someone. Life these days seems to be full of distractions and pressures. When we distance ourselves from the commercialization of the day, shops pushing expensive roses and jewelry, and keep it simple and personal the true meaning emerges. Carving out a small amount of time on one day each year to notice all the love in our life, in all its forms can’t be wrong. Making handcrafted decorations and displays for Valentine’s day helps to shift the focus to what really matters for you and your loved ones. Dora Bramden writes heart-melting, passionate romance. The Scottish Billionaire’s Secret Lover The Italian Billionaire’s Secret Baby Follow Dora on Instagram, Facebook and Pinterest My most treasured things are second hand. Even though new things are very nice, there's nothing like the character only a second hand find delivers. This second hand cane lounge suite is my favorite possie to drink my morning coffee. I looked everywhere to find an affordable romantic looking outdoor setting for this space, without any luck. This second hand suite was given to me after my sister sold her beach house. Her husband originally found it in an op-shop. I find that to get the character I want, second hand is most often where I find it. When searching for a shabby-chic mirror, I went online to the usual home ware sites, like Ikea. I had no luck at all, but in the second hand Facebook market place, I found the one I adore. The roses and ribbon that crown this curvy mirror say romantic, shabby-chic to me. Although I love the gold, I need a light and bright color scheme in this room. There are veranda's outside both windows which can make it quite dark. I have plans to paint it white using a little pot Annie Sloan chalk paint. The dark brown lounge is too dominant for the space. I'd really like a new one but I can't afford that. I'll make do with what I have and recover it in a cream or beige fabric. You can see the chandelier refection in the mirror. This will also get painted white. I've been visiting op-shops (thrift stores) in search of cardigans for winter. I did find some, but I also found some shabby chic picture frames and some very pretty tall glasses. The picture frames will be painted white and I'm going to get out my paints and create a still life of pink roses from my garden to go in them.
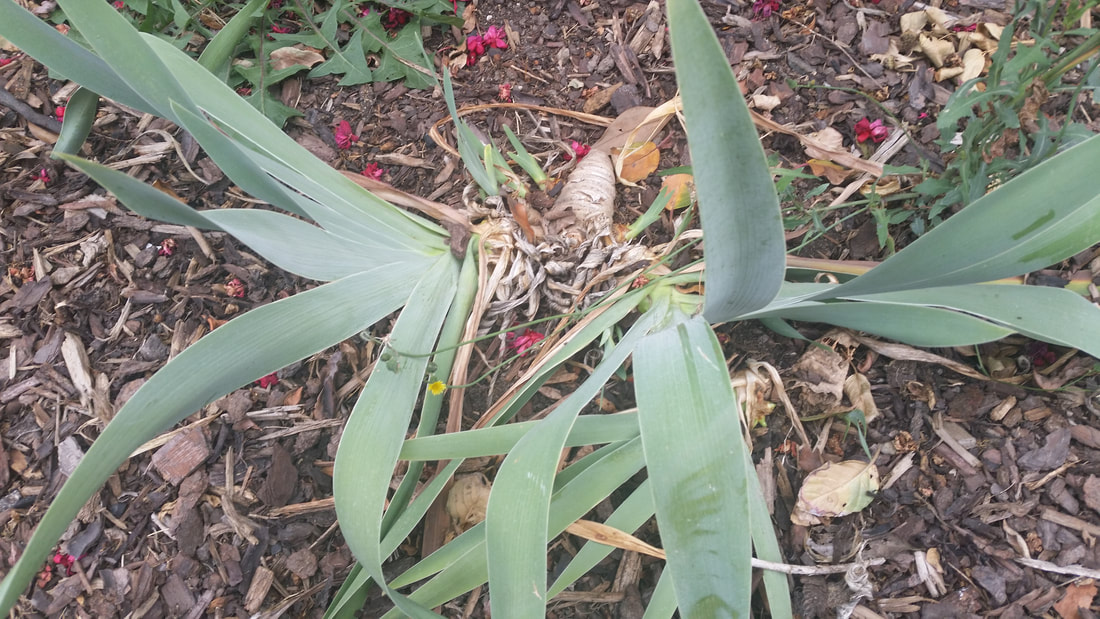
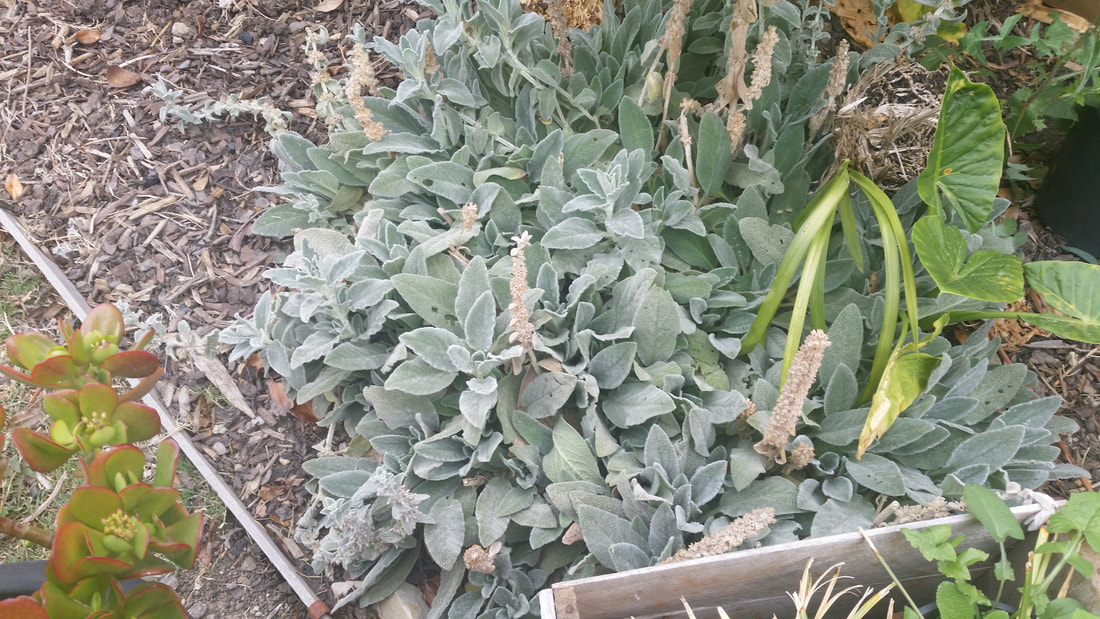
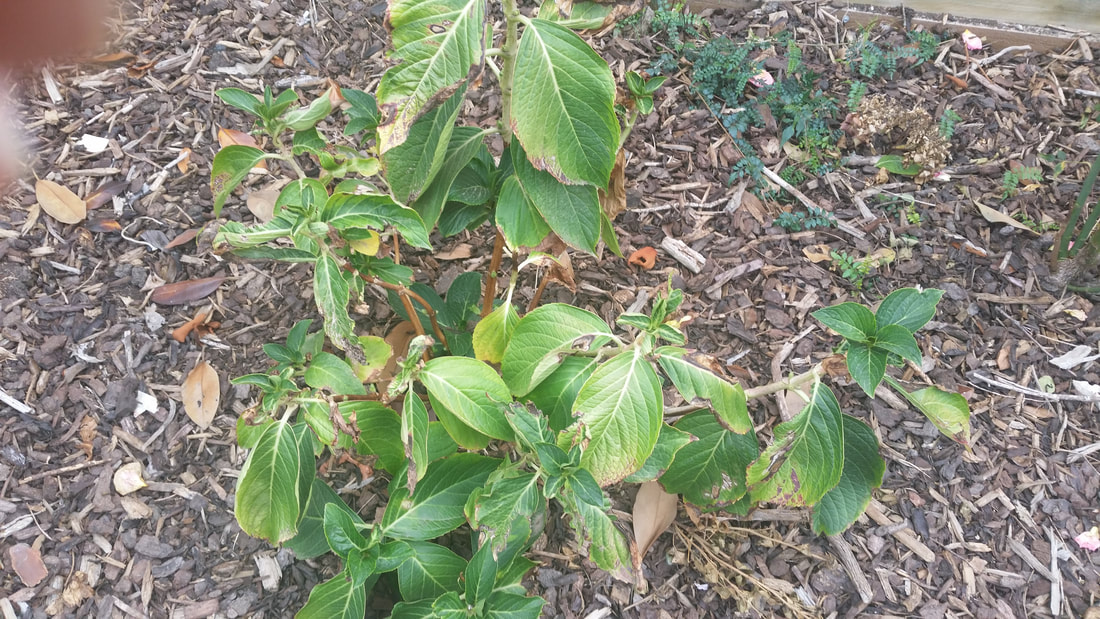
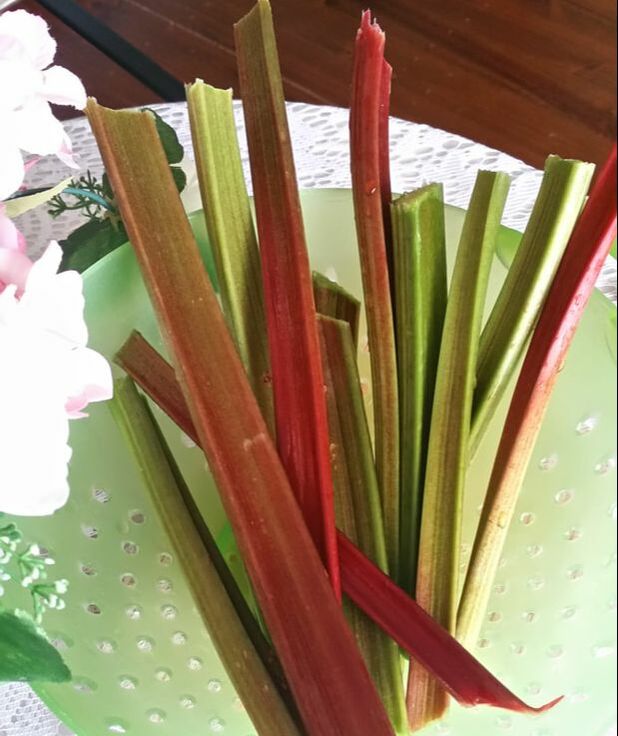
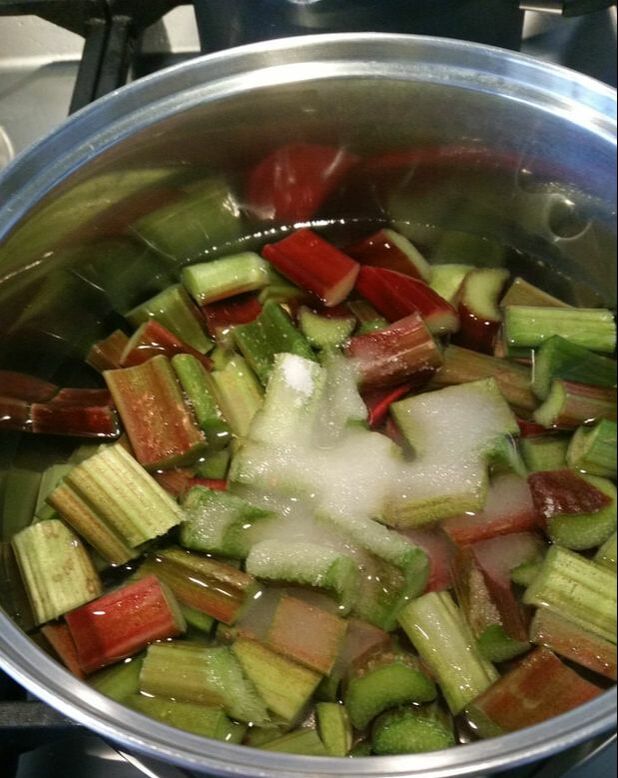
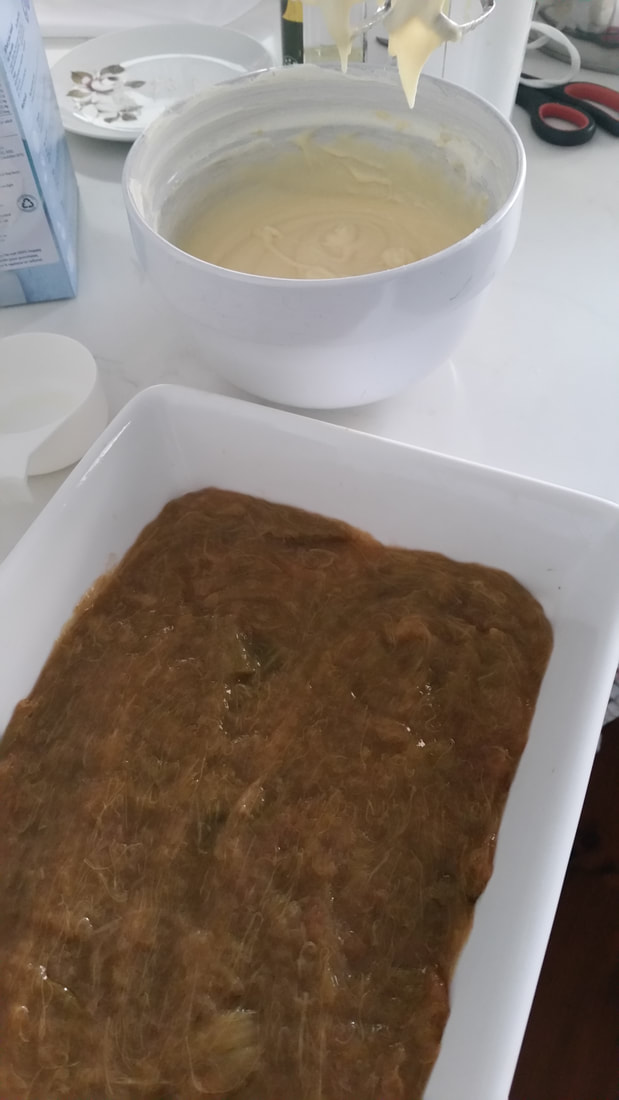
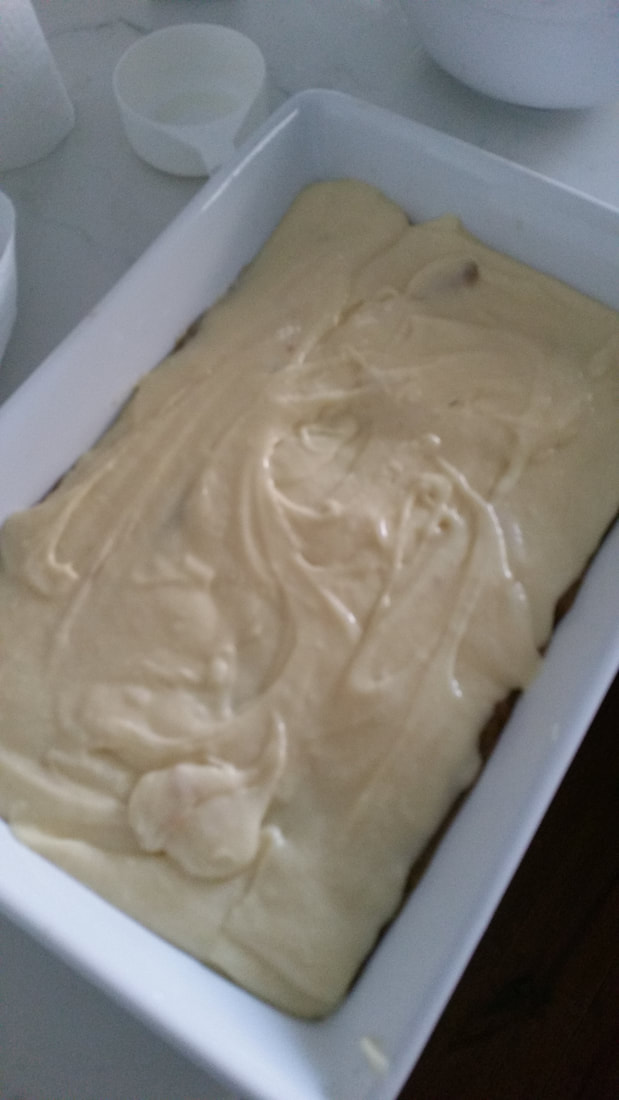
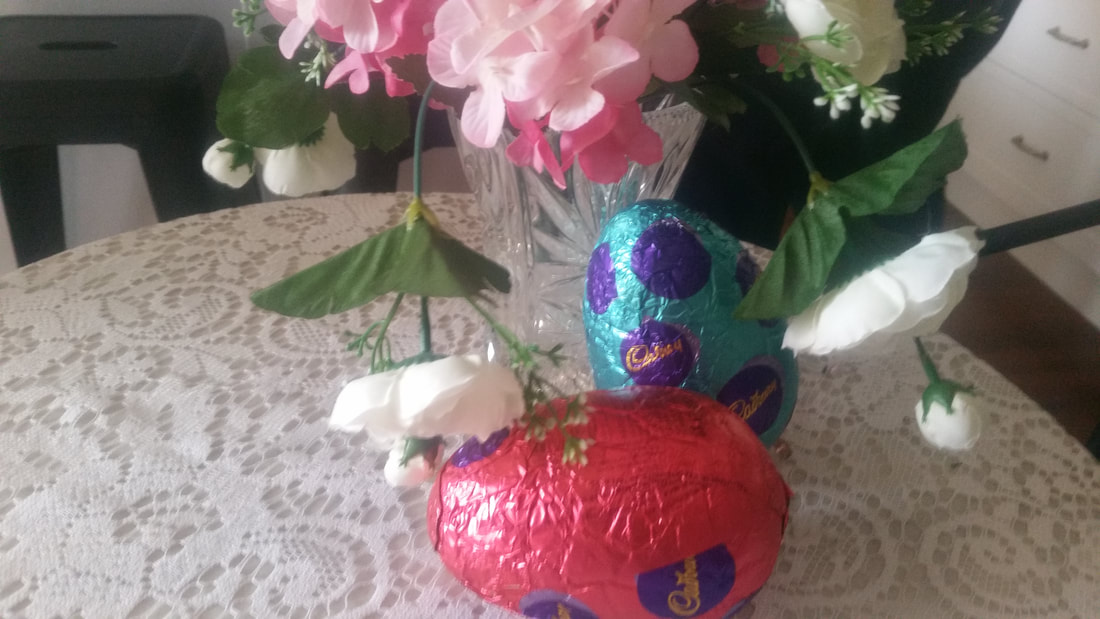
When walking in my garden I love noticing my second hand plants that add character. Plants I've taken from diving clumps of iris in Mum's garden and lambs ears from my sister's garden have taken off very well. Cuttings of hydrangea, a neighbors gave me, have all grown well this year. A little burnt in our very hot summer, but they are budding up beautifully for next spring. Dad gave me his grandfather's crown of rhubarb. It makes a lovely show of foliage in the border and I think of Dad every time I see it. Recently, I harvested some for a Rhubarb sponge desert to have for Easter lunch. I harvested about a dozen stems and washed them well before cutting them into one inch peices. I placed them into a saucepan, covered them with water and added half a cup of sugar. I let this come to the boil and simmer until the Rhubarb was soft. I overcooked it a bit but it still worked out great. I added a little cornflour dissolved in water to thicken the syrup before turning off the gas. I spread it into a greased lasagna dish and then set it aside to cool a bit while I whipped up a packet mix of GF sponge cake. I tipped a ribbon of cake mix over the top of the Rhubarb, moving the bowl up and down until the top was almost all covered. I lightly filled in the gaps with a spoon. I baked it for about 40mins on 175C until the top was golden and the sponge bounced back when pressed in the middle. I can't believe how nice it tasted. As I'm writing this I'm sorry to discover that I don't have an after picture to post. It was Easter Sunday and I'd had a few glasses of wine so I'll hope you forgive me. Imagine the sponge puffed and golden with the sweet and tart stewed rhubarb base steaming hot. I served it with whipped cream and it was very popular. Because I feel bad, I'm posting this pic of some Easter eggs instead. By the way, they are sitting on a marble table that I bought second hand. Creating a romantic home and garden doesn't have to be prohibitively expensive. Not only do I get to have fun seeing how far I can make my money stretch, decorating and creating a garden in my romantic style, but I also find the character filled pieces that bring my home and garden to life.
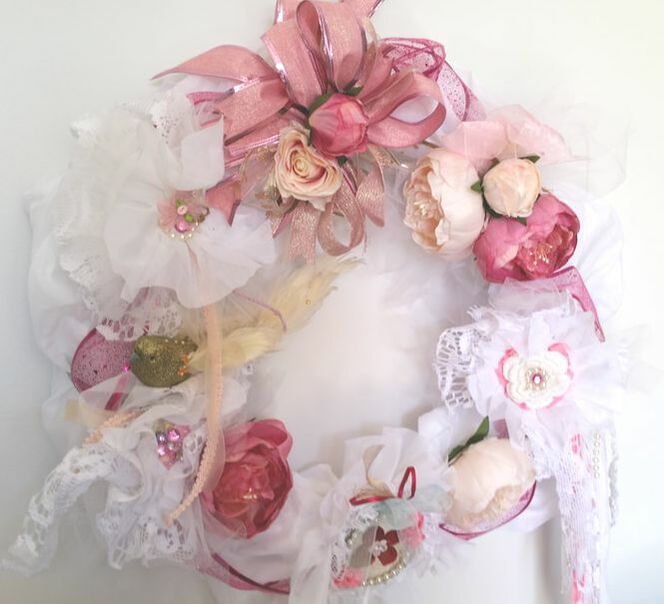
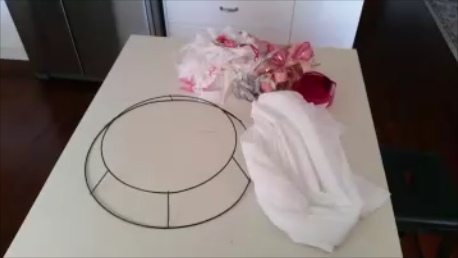
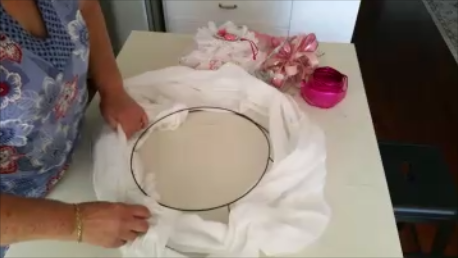
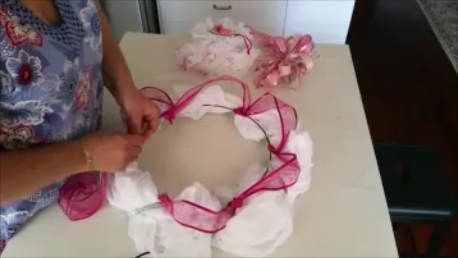
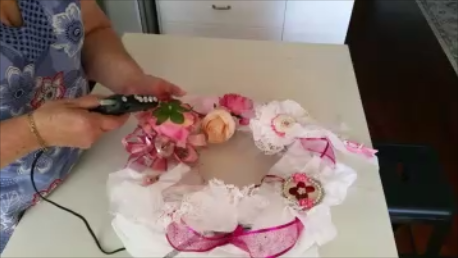
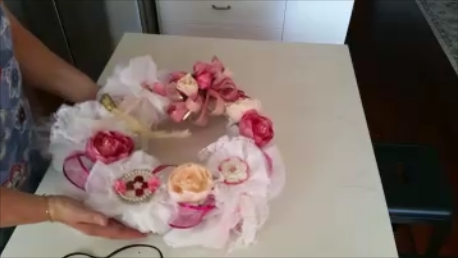
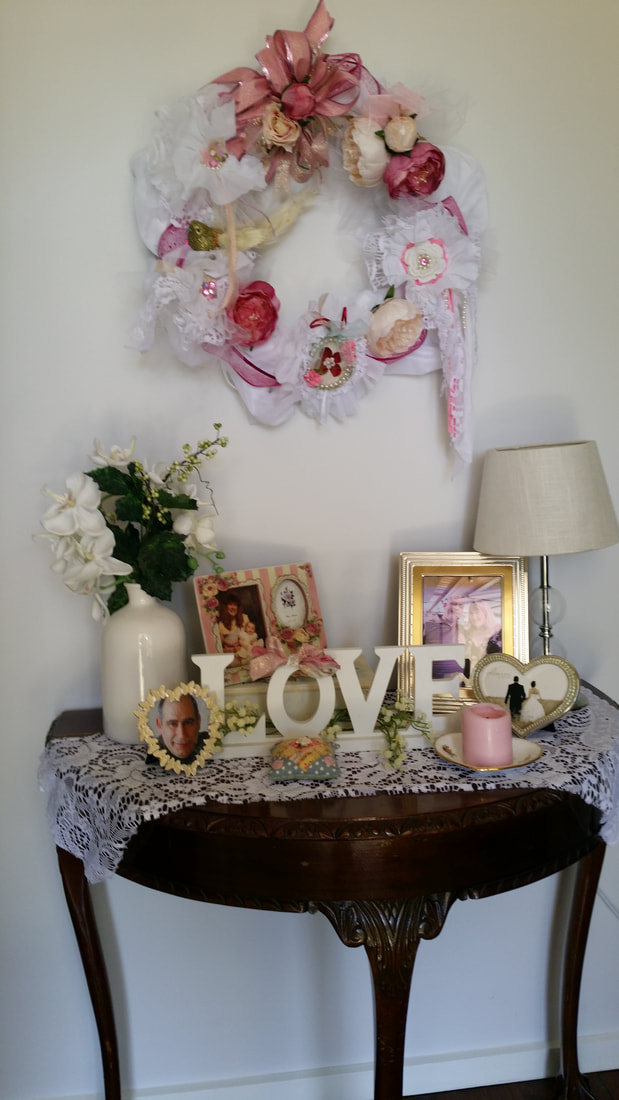
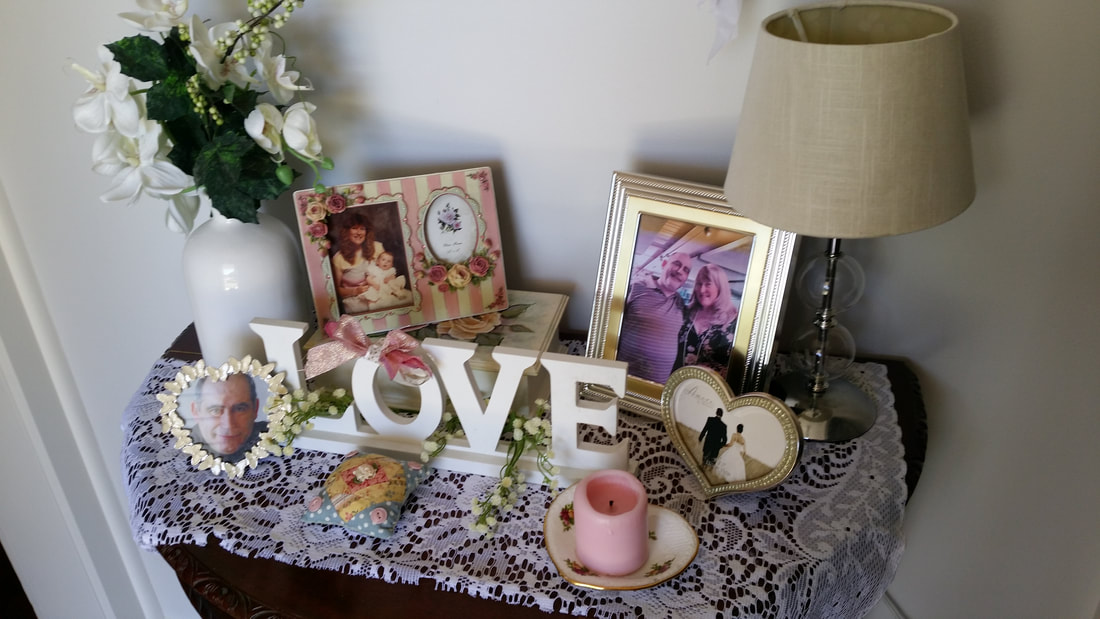
It's not something you can achieve quickly. A romantic home and garden is curated over time, but it's absolutely worth it and you always have a reason to drift through your local thrift store and see what treasures you might find for a song. I hope you all had a lovely Easter and I wish you happy thrifting for items that will add character to your romantic home. Dora Bramden writes heart-melting, passionate romance. I’m amazed how well this wreath turned out using recycled Christmas decorations, a curtain scrap and ribbons I had on hand. The roses mixed with tulle and lace rosettes lift this wreath out of the ordinary. It’s one of a kind which is the best thing about crafting your own home decor. I was inspired by a wreath made by Olivia from Olivia's Romantic Home to create this romantic themed wreath. Hers is so beautiful, but I think I got a little daunted at how fabulous it looked. Could I recreate the effect with the supplies I have on hand. Now it’s finished I love how it came out. I had a couple of dry runs before settling on the method I used. I encourage you to have a play with your supplies and see what you come up with. The wire base is from a Christmas wreath. I removed the garland of greenery and stored that away for next Christmas. Next I lay an old curtain scrap around it. Enough to go about twice around the frame . I found the center and put that at the top of the wreath and then gathered the fabric loosely around the rest. Once I had the placement how I wanted it I tied it on with a ribbon at the top and then wound the ribbon around the wreath down each side catching the curtain at the struts of the wreath and tied it off at the bottom. I looped a Pink glitter Ribbon around the wreath securing it at the struts by folding the wire edged ribbon over the frame at these points. I hot glued the curtain to the inner wire support and also where I’d attached the pink ribbon to secure it. Then came the fun part, adding the embellishments. At the very top of the wreath, I tried on a funky bow that had been used on top of a Christmas lantern. Follow this link to Arlynn's Country Craft Youtube video for how to make one. I hot glued two small roses to the center of the bow. Rosettes from the Christmas tree were placed around and hot glued where the pink ribbon was secured to the frame. YouTube tutorial for how the rosettes are made is on Olivia's Romantic Home. Roses were added, alternating the pink and cream, in between,with hot glue. Scraps of ribbon were looped or tied into bows and glued on to add dimension and whimsy. And here is how it looks above the hall table all decorated for Valentines Day. I have used a scrap of lace curtain as a runner and brought out my romantic trinkets that I've collected over the years. The picture of Sam in a heart frame sat next to my bed before we moved in together, so I could kiss him goodnight.
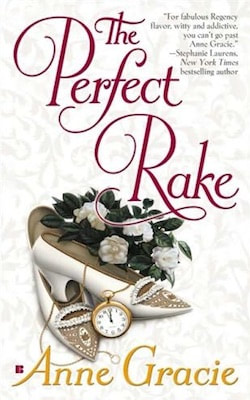
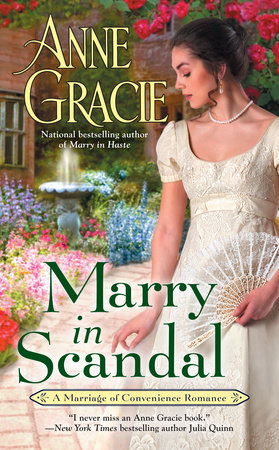
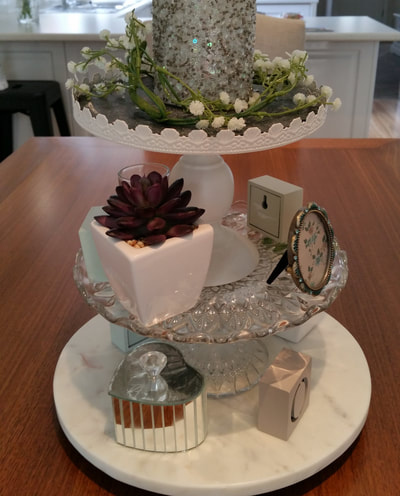
A very young Dora with my baby girl is in a sweet rose embellished frame. The picture of Sam and I was taken at our engagement dinner. The printer ran out of yellow ink and so we're very rosy hued but I love it, a happy accident. The heart frame has the picture that it came with. It's a lovely image and it was my hope for the future that Sam and I would one day get married, and now we planning our wedding! The centerpiece is the love sign I've had in my office for years. It lives there because I like to have romantic things around me when I'm writing romance. Hearts, flowers and a candle say romance added to that is the pictures that remind me of all things loving. Last year I decorated the hall as a surprise for Sam, this year he watched me do it and enjoyed the process of it coming together. I'm going to keep it up from now on because I enjoy so much coming home to our sanctuary and being greeted with this pretty festival of love. Further reading Published last Saturday on Romancing the Genres, A Detailed Account of Where I Got the Inspiration to Write my Novel by Dora Bramden Check out the Romancing the Genres blog next Thursday for my post on why I chose to celebrate Valentine's day. Dora Bramden writes heart-melting, passionate romance. It's not hard to find posts on making a new life in the new year and I certainly am enjoying those, but it can become a little negative when focusing only on what needs changing. So, I want to take a minute to remember to love myself as I am and embrace the enduring goodness that resides in all of us. Happy New Year everyone. I hope you are all looking forward to happy times in 2019. As a blogger and romance writer, I want to serve others through sharing my experiences. It's an act of generosity to share yourself and I plan to continue to do that for as long as I'm able. I'm very proud of the blog posts from 2018 because I pushed myself out of my comfort zone and revealed my life in the spirit of giving. Some of the personal-journey posts that I'm proud of include Three Things I Do To Cheer Myself Up, Remembering Easter and Our Romantic Proposal Story. It's always a little challenging to decide how much to share but honesty and what might help others has been my guide. There's my wedding later in the year and as a mature aged bride, I'll be sharing what that's like. Romance is for anybody at any age but it can have it's challenges. I created a lot last year, writing behind the scenes was taking place slowly but besides that, I made a garden and did a lot of decorating in Sam's and my new home. Some of those posts that came from that include, Backyard Makeover on a Budget, Faux Plants in My Romantic Home and Vintage China Collection. I'm moving from Farmhouse to more of a Shabby Chic style so stay tuned for how I bring that about this year. Cooking was another creative outlet for me, I had some wins with my Gluten Free recipe experimentation and I shared those in blog posts too. GF Scones, GF Choy Suey and an amazing Pancake Parlour style GF Banana and Walnut pancake in the blog called Something Sweet in the Morning. I will be posting a recipe each month in 2019, I'm working on some new ones for summer. I've also been a regular contributor on the Romancing the Genres Blog Site in 2018. As a romance author who enjoys reading I posted a blog this week over at Romancing the Genres on the book I enjoyed reading most in 2018. It was a novel from Anne Gracie called 'Marry in Scandal'. It's an absolutely brilliant book so pop on over to my RTG post and have a read when you finish here. In the spirit of sharing, Anne was so thrilled when she saw my post about her books that she decided to give one of the books I mention in the blog away to one of my readers. All you need to do is leave a comment below saying which one you'd like to win and a winner will be randomly chosen next Thursday. Thank you Anne, for this gift for one of my lucky readers. Don't for get to leave a comment saying which of the above book's you'd like most, for your chance to win it. The winner will be notified by email.
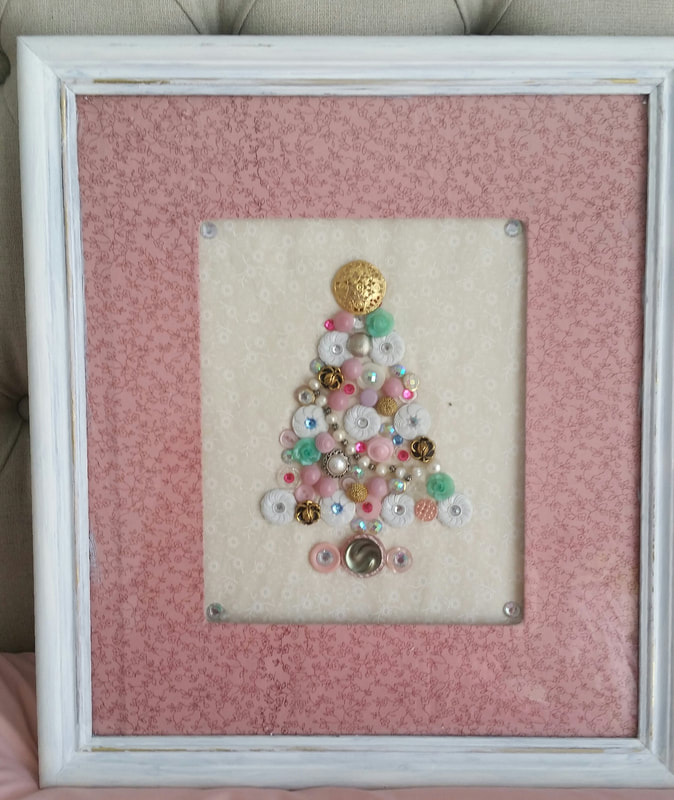
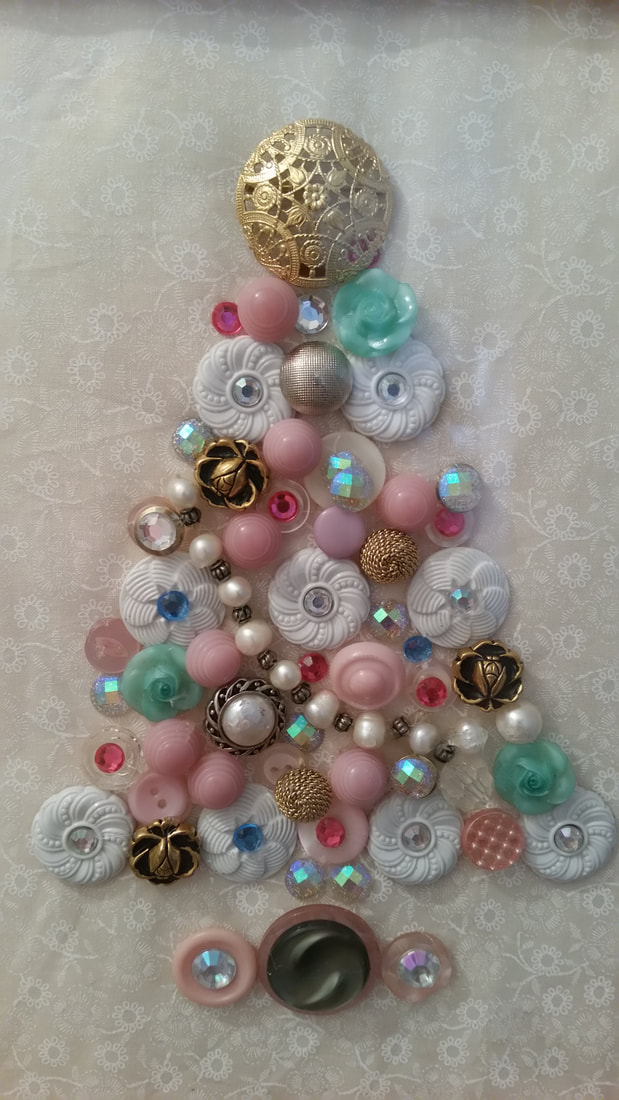
I'll be back next week to sharing more from my romantic lifestyle. Creating something sweet for Christmas while not spending money is this year's challenge because I have our wedding next year to save for. All romance heroines know, that not having a lot of money to spend doesn't mean you can't do things. It requires being more resourceful, which is a good skill to cultivate. For me that means an appreciation for whatever resources you have available and making the most of them. One of the lovely things about using what you have is that you can include items that are sentimental to you. I have a broken bead bracelet that Mum gave me which I couldn't throw away, so I used it as a garland on this tree. Many of the buttons were my great aunts and came to me through Mum. If you don't have a craft stash like mine, go to second hand shops. It's much cheaper to shop the craft section of your thrift store and women's or girl's second hand dresses or shirts in pretty fabric with sweet buttons can help bolster your supplies. The Reject Shop or dollar stores sell bling for only a couple of dollars. My button and bling tree is hot glued to fabric but a sheet of scrap booking or other craft weight paper would be lovely also. I used an old framed picture that I had stored in the garage. Again if you don't have an existing one crying out for a makeover, thrift one. I painted my frame white with craft paint and covered the mount and backing picture with fat quarter quilt fabric. I added a layer of thin batting under the fabric but I don't think this is really necessary. The color palette was chosen to go with my Romantic Christmas theme. Romantic for me has a shabby chic feeling. so the colors are soft with pops of pink however it would look wonderful done in traditional red and green or whatever your decorating pallet is this year.
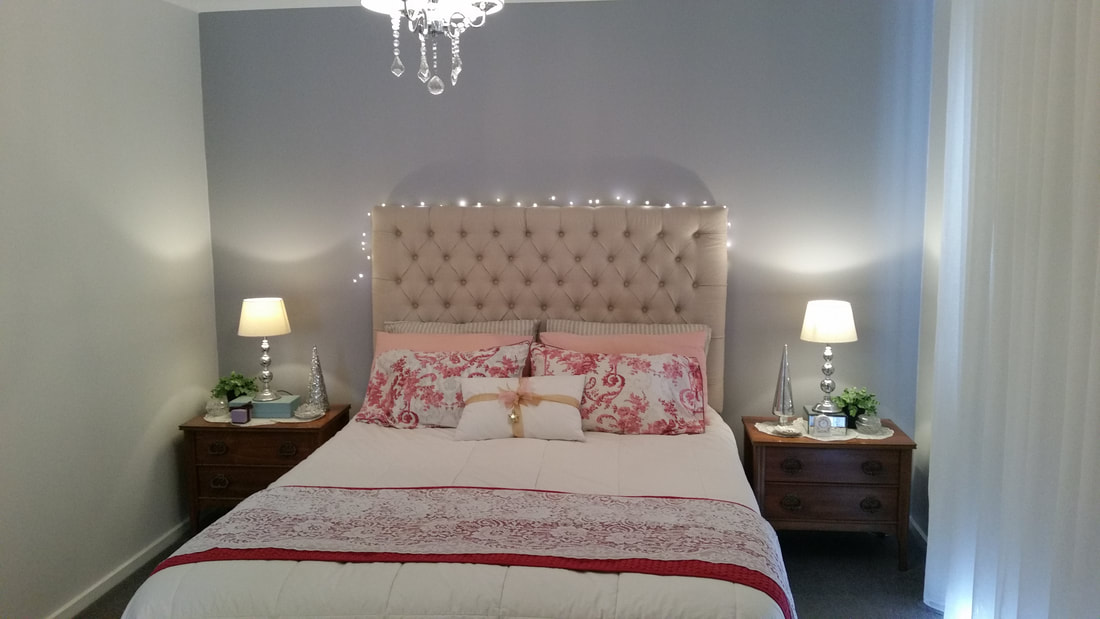
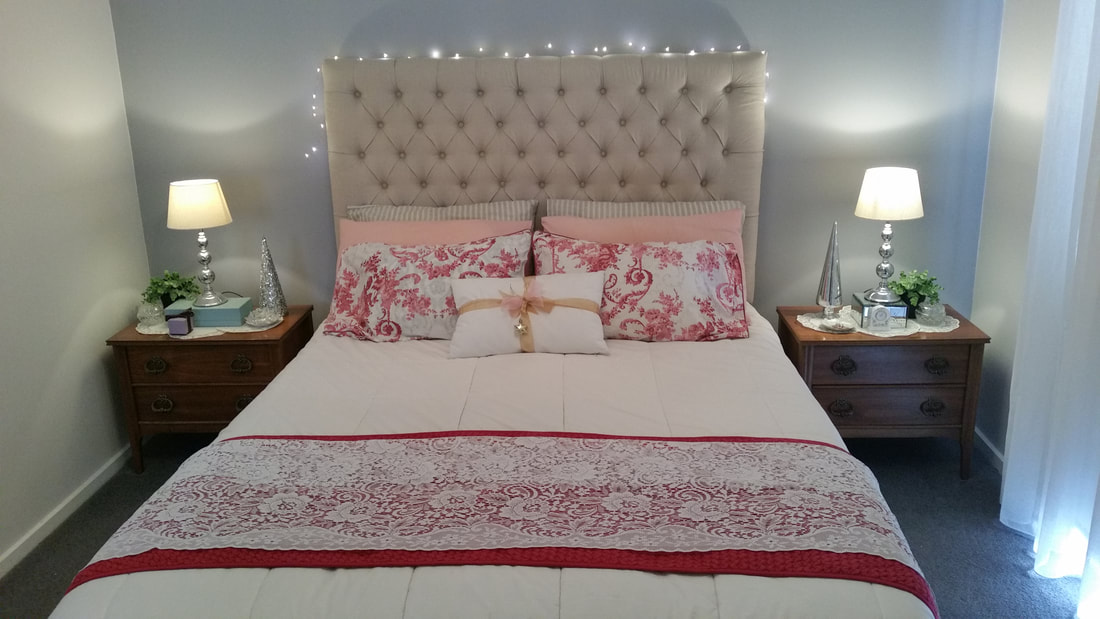
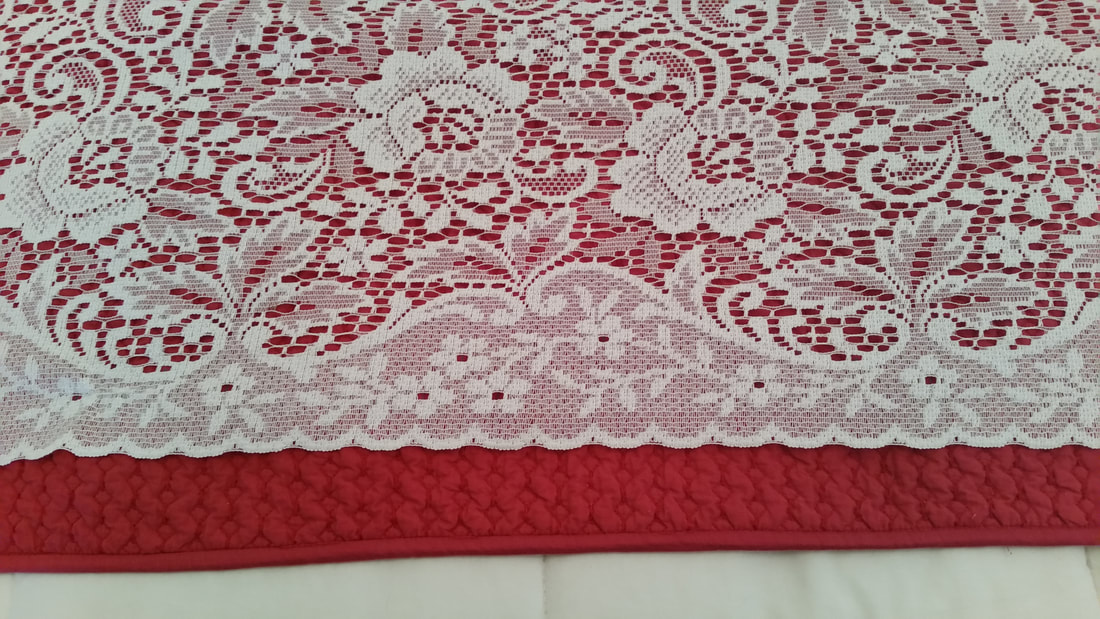
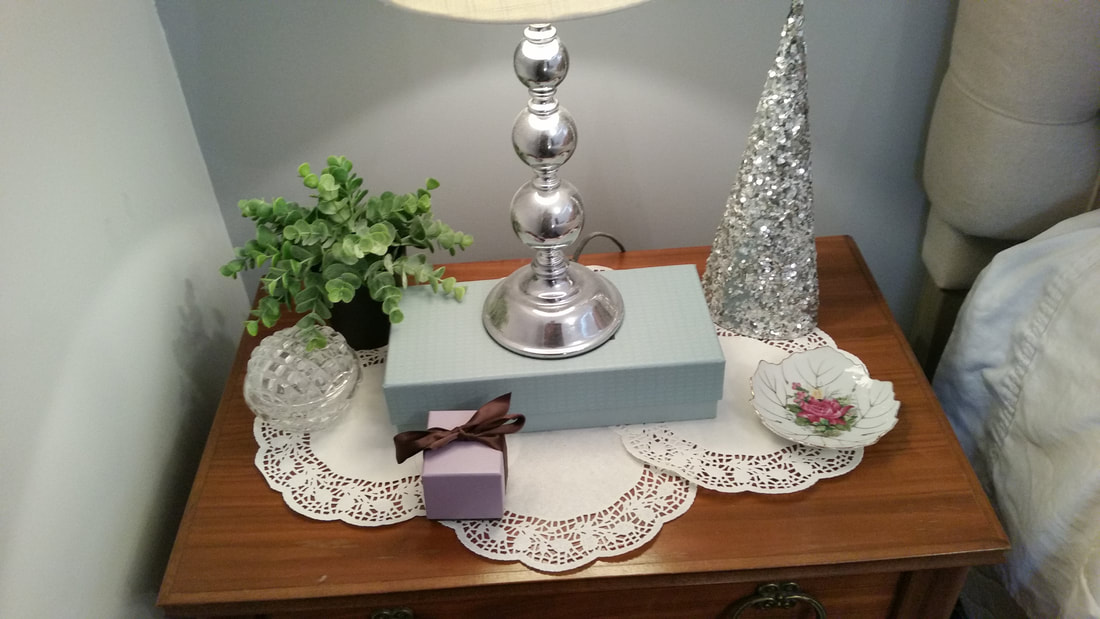
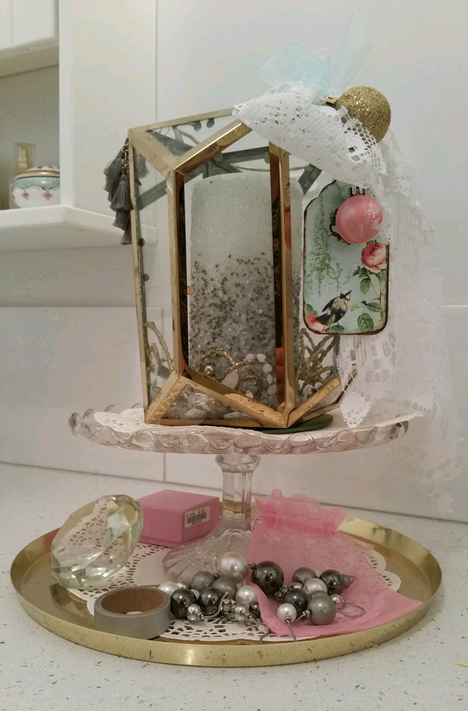
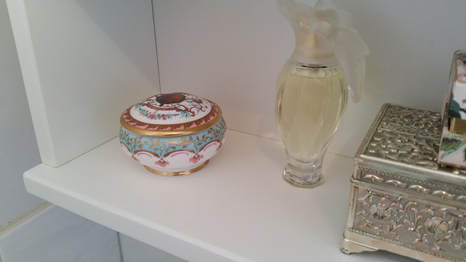
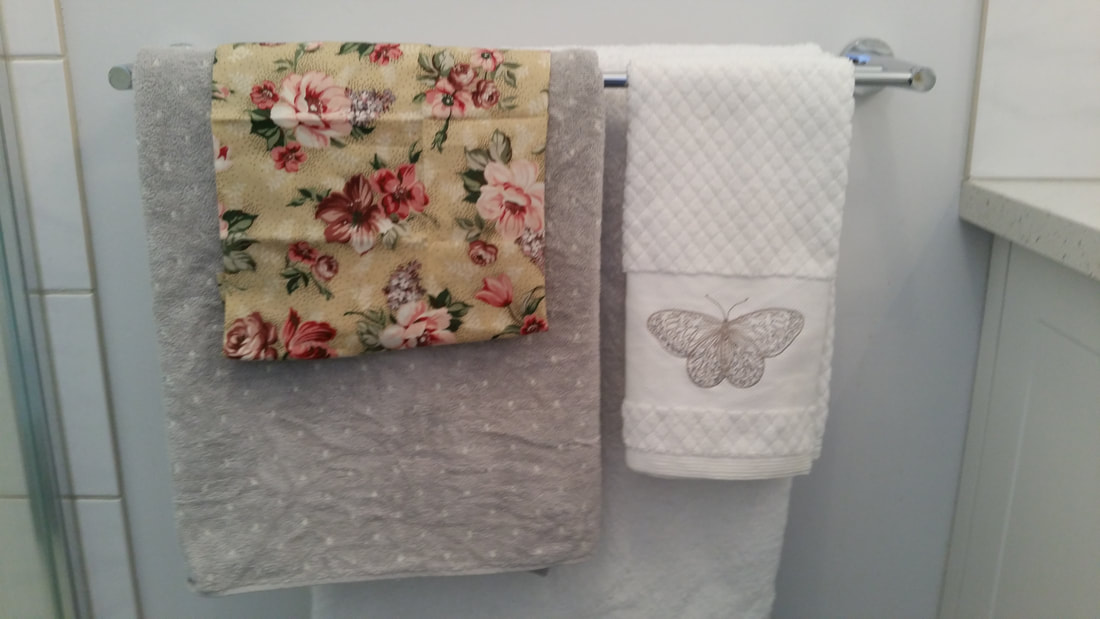
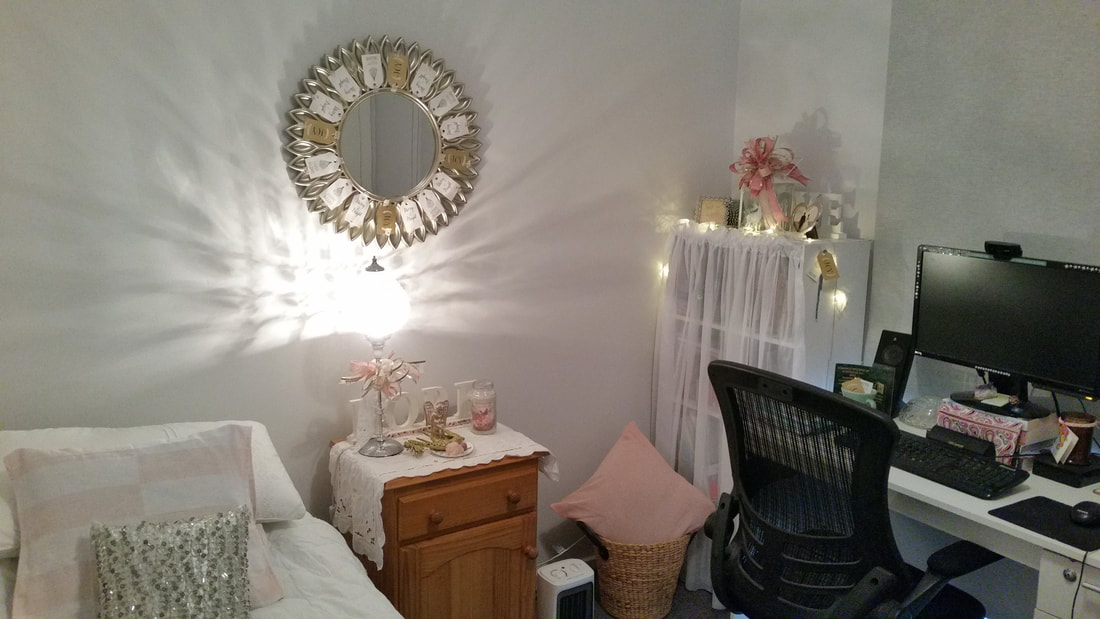
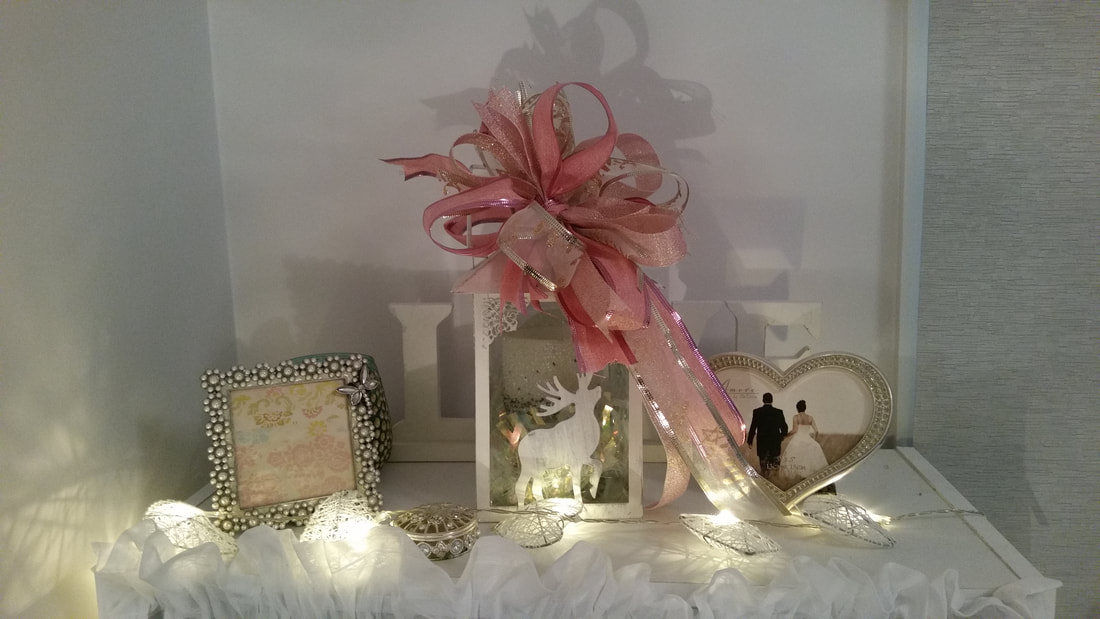
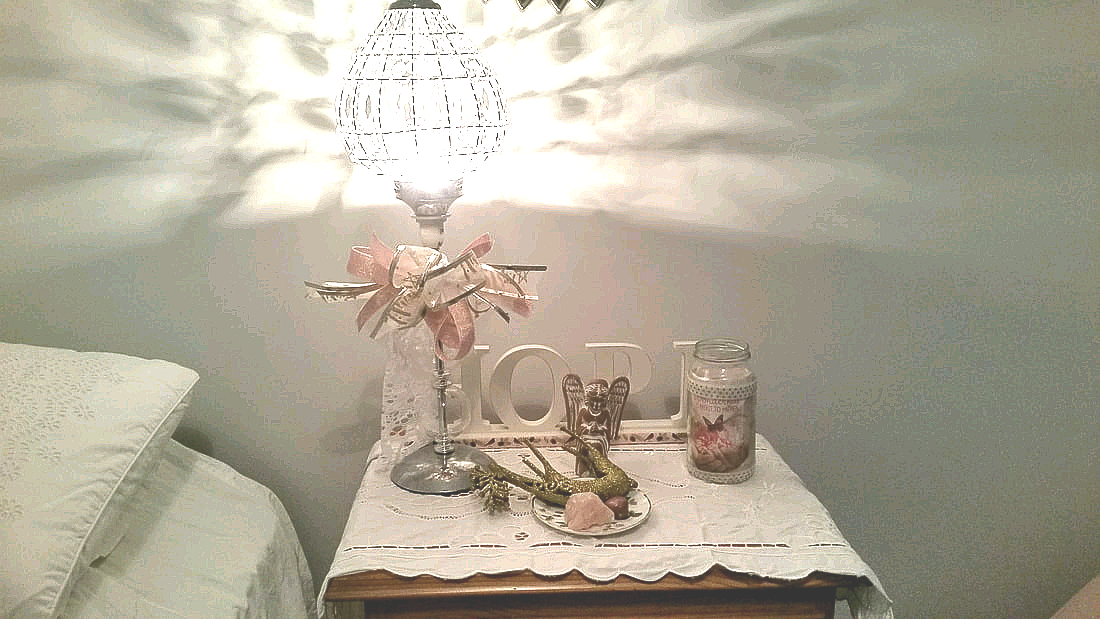
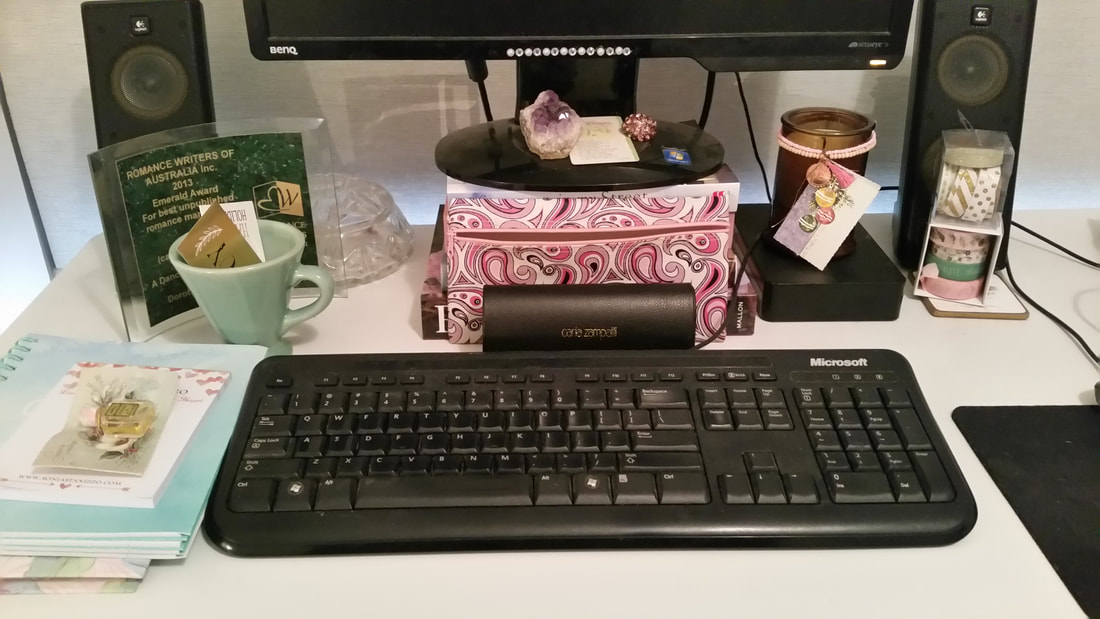
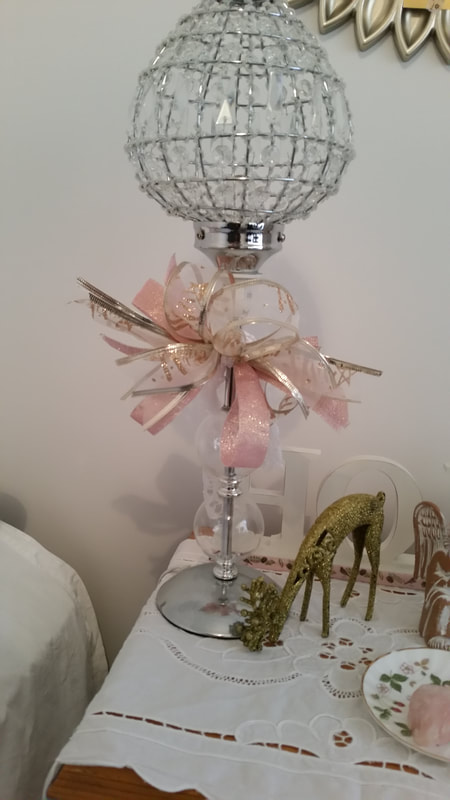
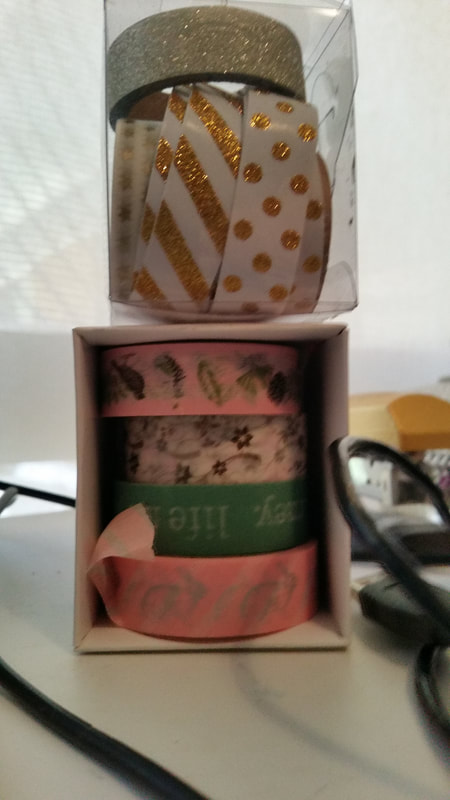
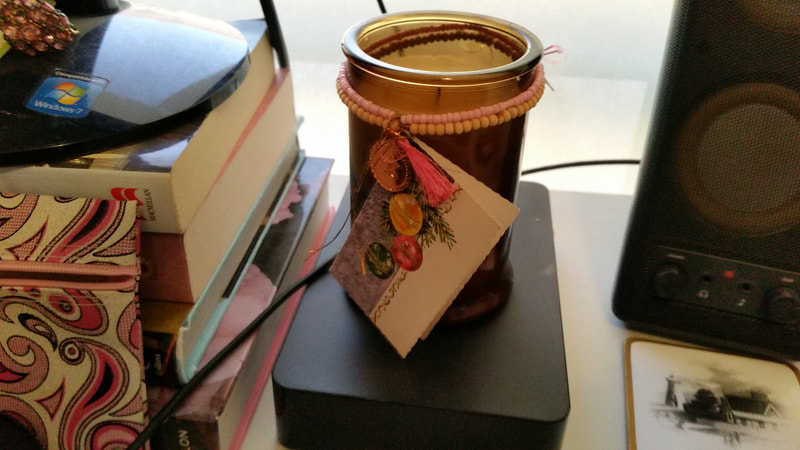
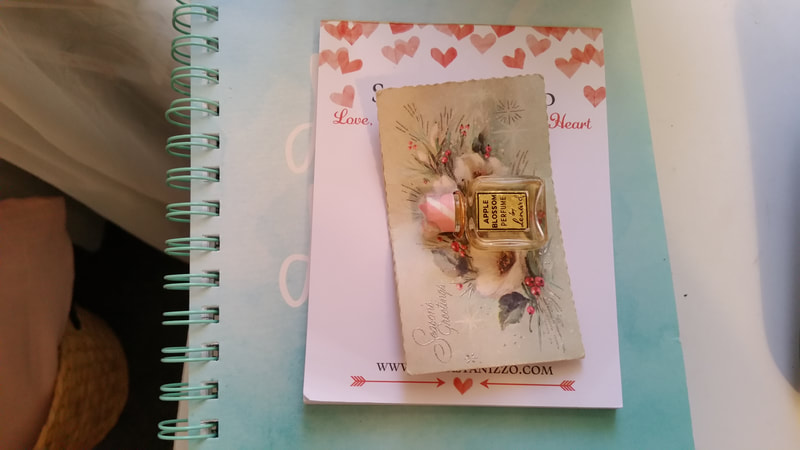
I made an arrangement that I liked without gluing first. I recommend taking a photo of it. I didn't however it still came out okay. I used the big white buttons to create a form work, then I draped the garland down between those. I used three of each brass and green rose buttons arranged in a zig zag shape down the tree. The green ones point left and the brass ones point right. I glued all of that down first. After that I glued the single feature buttons around the tree to draw the eye over the whole picture. Next I filled in with the random smaller buttons and bling. I layered bling onto buttons to add dimension. Some of the blingy bits were self stick and I made the mistake of just adding them without hot glue. One has shifted in the picture above so I recommend a small dab of hot glue on the self stick ones also. I crowned the tree with a vintage gold filigree buckle. Again this was from my great aunts stash. A vintage broach or a sparkly one from a thrift store would be gorgeous also. If you need inspiration, Pinterest has lots of very beautiful examples of these trees. You don't have to make an arrangement the same as mine. This was inspired by the buttons I had. If you don't have more than one of each kind of button you can group similar ones together and use some of my principles to help get you going. But really it's got to be what you like. Everyone's tree is destined to be unique and special because you created it. I've hung mine in the hall leading to the bedrooms and bathroom. Each time I pass I enjoy seeing it. When the hall door is open, which is most of the time, I can see it from the kitchen and family room too. Even though Christmas is nearly here. Just a couple of sleeps away and it's exciting and wonderful, my heart is calling to love ones who've gone ahead of me to spirit. If you are also experiencing sadness at Christmas, I understand how you feel. I love the memories that this tree helped bring back. They are mine forever. But the greater the love the greater the loss, so at Christmas I have to focus on being grateful for their many gifts over the time I had them for. However, I know it's my turn to carry on and make the most of this festive time of year with the family and friends who bless my life and fill me with gratitude. So dear readers of my weekly blog, thank you for stopping by to see what I've been writing about each week over the last year. It means so much to me and I'm truly grateful for your support. I hope you have a lovely Christmas day planned for yourself and wish you and your loved ones a very happy Christmas. Sending you all a big hug. Merry Christmas Love Dora xoxo The Bedroom The bedroom is one of the most romantic rooms in the house. There's no TV to distract us from being present with each other. We usually have our heart to heart talks in here. It's very much a place that we live and I wanted to include the coziness of Christmas romance in here too. Lace is an important part of this year's theme but I've learned to use it sparingly. If you follow my Facebook page or Instagram you'll see the first version of this room which was just a tad over the top with lace. This is a more restrained, elegant arrangement that highlights the lace without letting it over power the room. Paper lace doilies are cheap but add romantic texture. I found these in the bottom draw with the casserole and serving dishes. The ring box with a bow is the one that Sam gave me when he proposed. 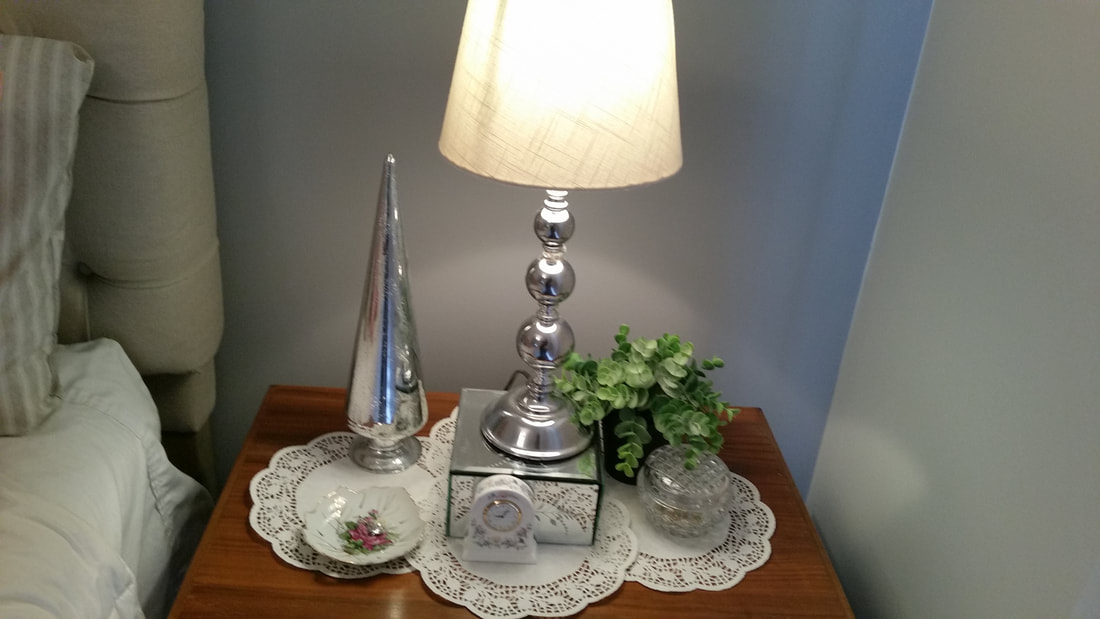 The little clock belonged to my mother. There are memories of her in each room of the house because I need to feel her presence at Christmas time. The little leaf dishes belonged to Sam's mum. I want him to feel her close by at Christmas also. The En-suite The en-suite has been prettied up with festive trinkets. The gold tone lantern had been outside and was very dirty but it cleaned up like new with dish-soap and warm water. I placed it on a cake stand and sat that on the gold tray which lives in the en-suite year round. I made a lace bow and attached some ornaments. Inside the lantern is a battery candle, some more of the gold swirls from a broken decoration and a necklace of pink quartz beads. On the tray below is a faux pearl necklace some pink things, washi tape in silver and a crystal. It feels romantically glamorous to me. The perfume was a gift I gave Mum so it came back to me. I bought the trinket box when I toured Windsor Castle. That's a bit glamorous too. Fluffy towels speak luxury to me. I chose my very best to display. Mum gave me the embroidered hand towel for Christmas about seven years ago. The grey with white polka dot towel is cute but Christmassy because it reminds me of falling snow. I scrounged a fat quarter from my quilt stash to add pink and gold tones. The Study This room took on a romantic glam theme as I began to decorate with what I had left after doing the rest of the house. I confess to spending $4.50 on ribbon to help this room have some softness and romance and $10 on this lantern from spotlight on sale. Thanks to Arlynn's Country Craft Corner, I learned to make a funky bow. It takes a lot of ribbon but the effect is charming. This is nothing compared to what Arlynn creates but I'm grateful to her for all the inspiration her YouTube channel provides. She's such a sweet warm hearted person too. Oh dear, the reindeer fell over. Didn't notice it when I took this shot. But never mind, I'll stand him up again. Being hopeful at Christmas is always a good idea. Christmas at my desk includes little gift cards I gave my mother when I was at primary school. One hangs from the candle and the other, with the mini perfume bottle still attached, sits on some note pads. When decorating my home for Christmas, I'm using my heart. I want to create a cozy retreat full of warm memories and a lovely space to create new ones. I'm thinking ,how does this make me feel?, when I finish and look at what I've put together. If I don't feel what I want to it gets changed. Several attempts are required for every vignette before I feel warm and want to smile but I know it's worth all the effort.
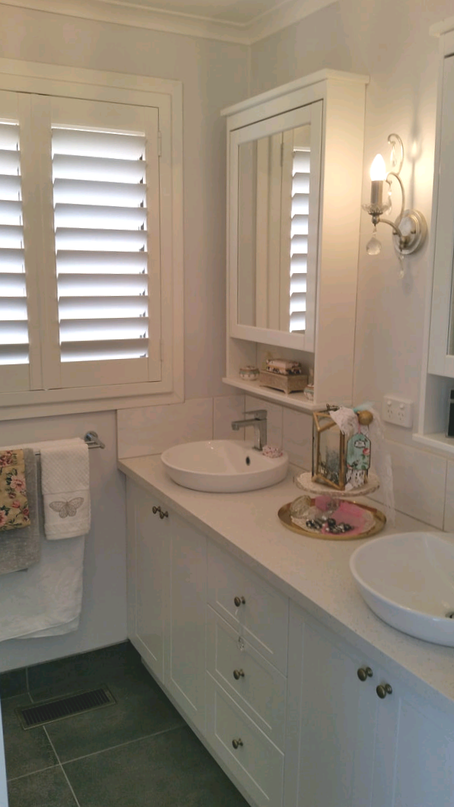
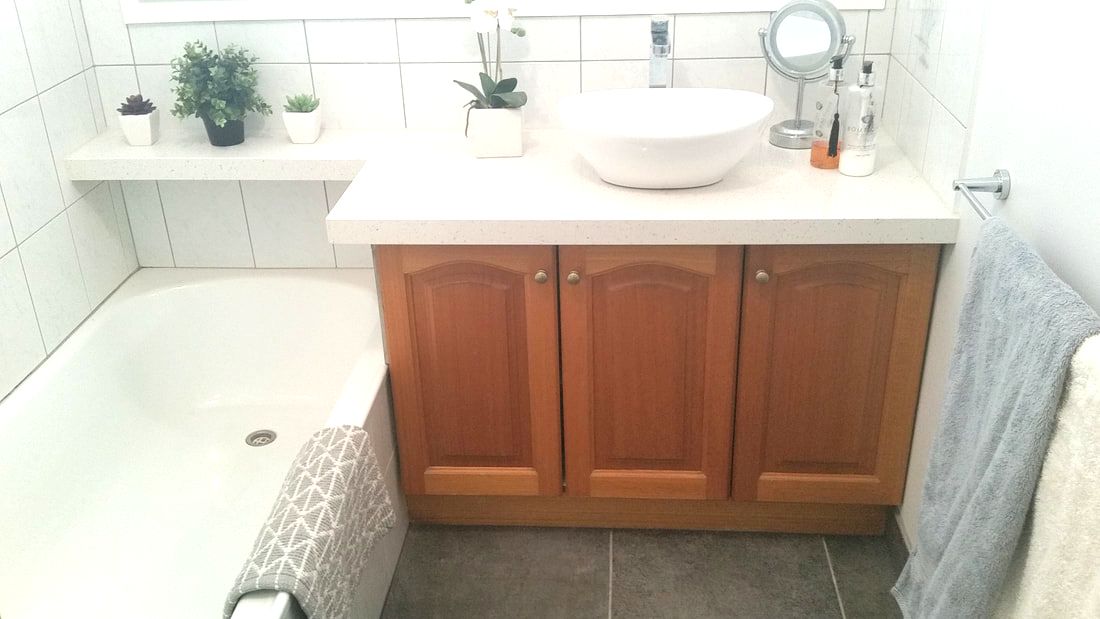
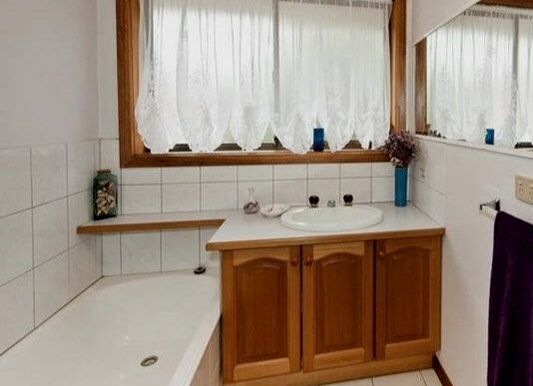
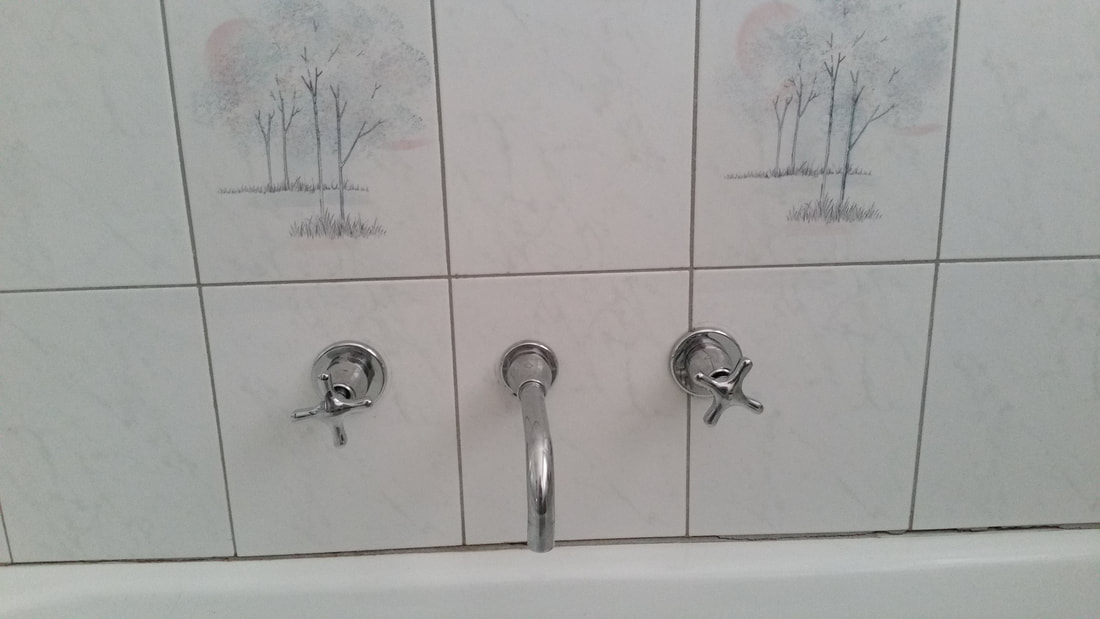
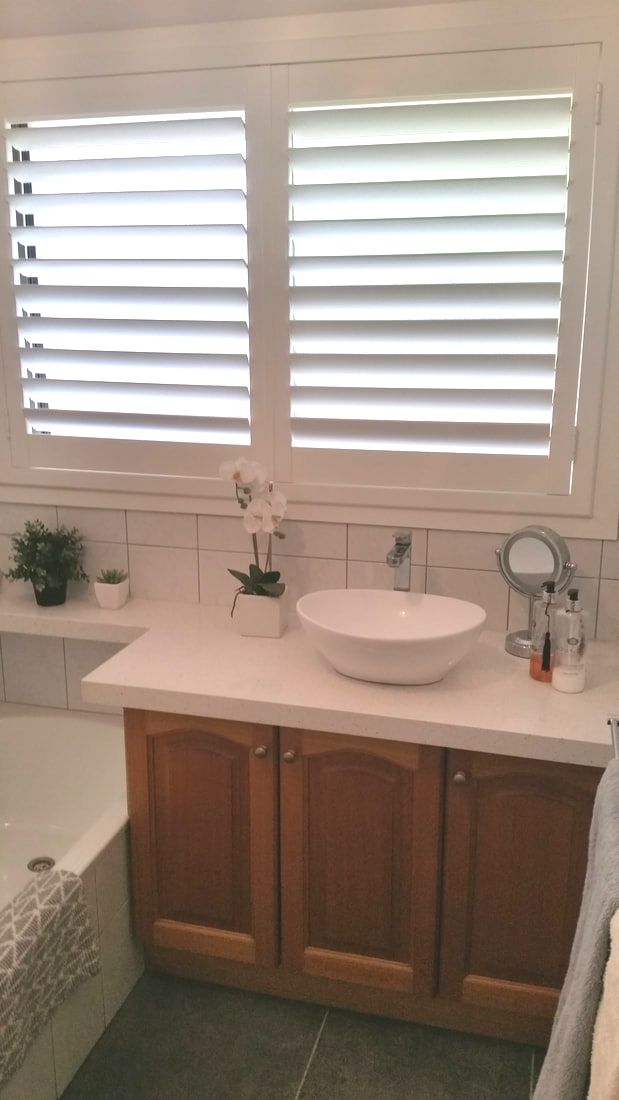
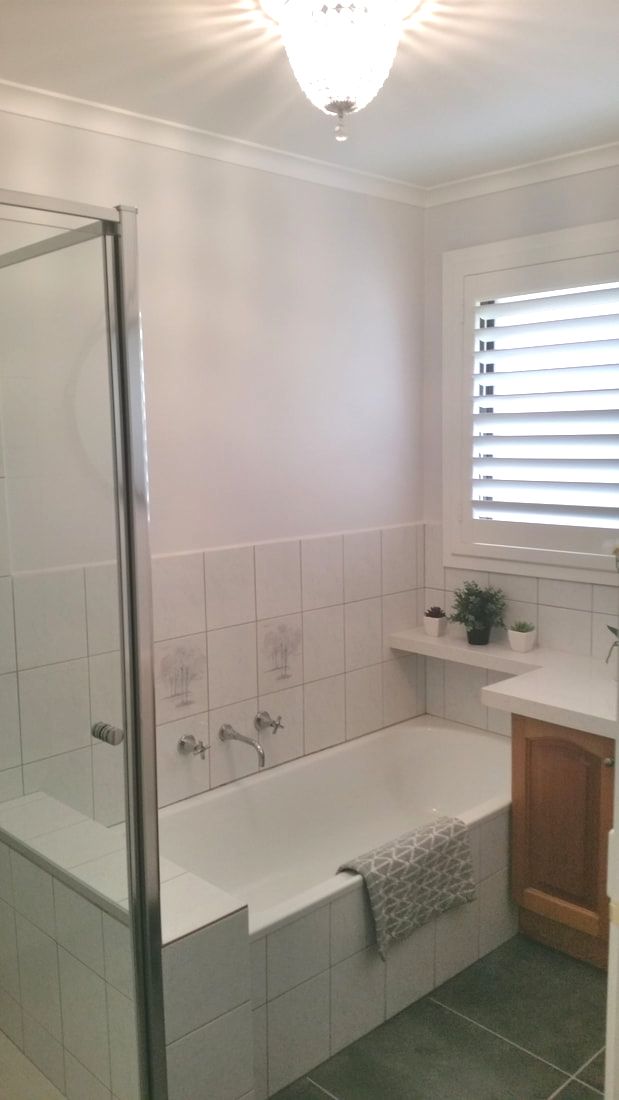
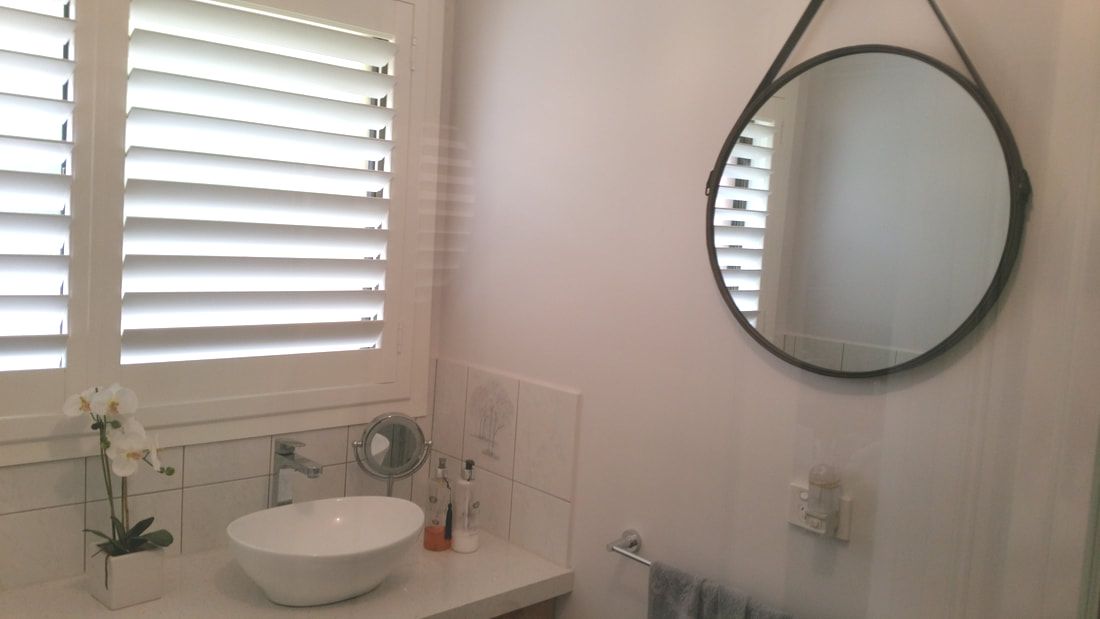
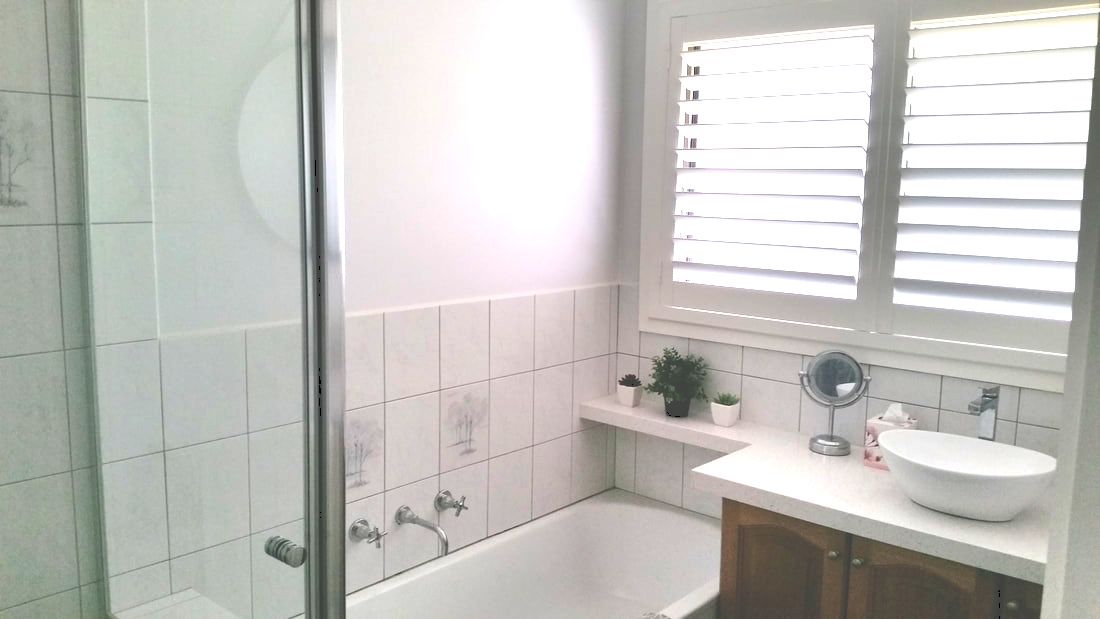
At a time when I'm thinking about spending time with my family and friends I'm also feeling the loss of those who won't be here this year. Decorating helps me cope with painful emotions. Doing what gives me joy helps to create a scale that is balanced. There's sadness and happiness. That's how life can be but it's okay. I'm hosting Christmas lunch this year for Sam's and my families. I'm really looking forward to that and am currently planning the menu. Next week I'll be blogging about how I prepare for a traditional Christmas lunch for thirteen. I'll be including the menu, the shopping, baking and preparation schedules and my Christmas tablescape. I hope you'll join me next week. Dora We saved money in the bathroom while still updating it in the modern farmhouse style. My design plan for choosing floor tiles, wall paint and new fixtures consisted of the farmhouse basics, contrasting whites and grays combined with natural elements. Originally I wanted to gut this room and put a freestanding bathtub under the window and bring the vanity around to where the bath is. But our budget didn't allow for the expense of redoing all the tiling and plumbing that would be required to alter the layout. I loved the existing grey and white marble look tiles so it wasn't necessary to paint them or re-tile. The timber vanity doors provide a natural element and a contrasting warmth to the cool palette. The bath and shower were in good condition so we kept them but updated the floor tiles with a more modern large grey tile. The vanity unit is very low. Originally it had a set in sink making the problem worse, so we had a new quartz bench top installed over the old counter top and sat a new basin on top, bringing it up to a functional height. New taps all round made a huge difference. I swapped out the curtains for shutters and painted the timber frame white to match. The walls were painted in the same soft grey called Windswept Beach that we used in the rest of the house. A new ceiling light in my beloved chandelier style gives this room a a touch of the romantic. I have to squeeze some romance in there somewhere. The original long mirror spanning the length of this wall was replaced with a very budget friendly Kmart mirror that suits the modern farmhouse style. Replacing the shower screen's opaque, wire mesh, ripple glass with clear glass opened up the space and made the bathroom feel larger than before. You can also see the pretty tiles including the woodland feature tiles scattered through the bathroom. I can live with the old fashioned soap dish even though I would love a wall niche for the shampoo bottles and soap. Sam and I shower in the en-suite so this is really a guest bathroom and the shower is rarely used. Even though I wasn't able to do a full makeover I feel the bathroom now suits the rest of our modern farmhouse/romantic home. I'm very pleased at being able to achieve a lovely space while staying within our budget.
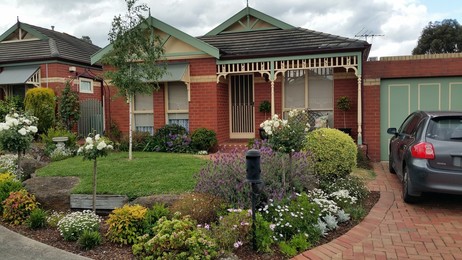
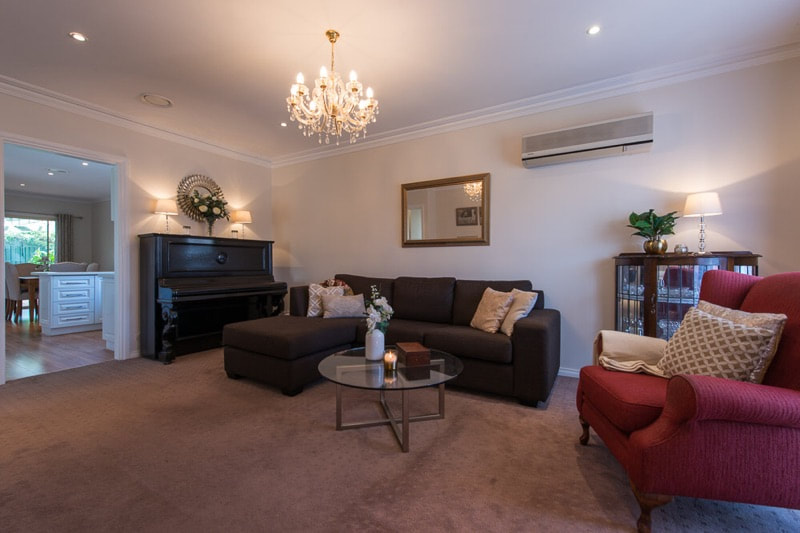
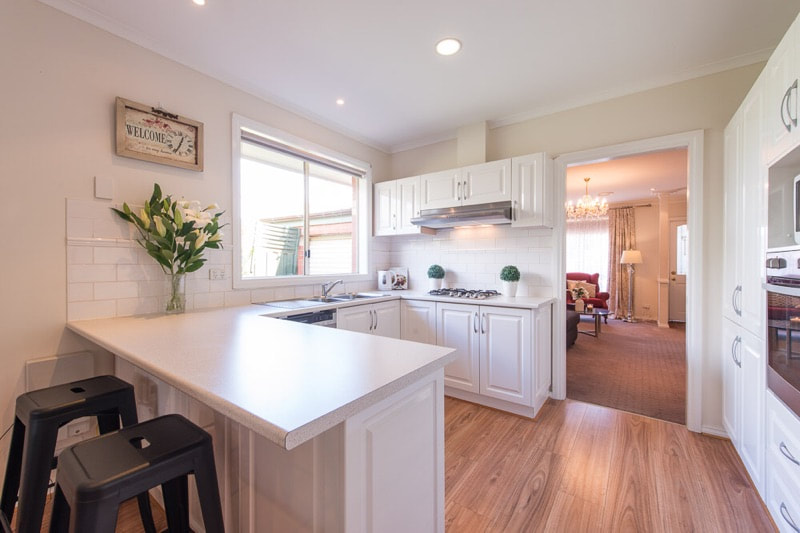
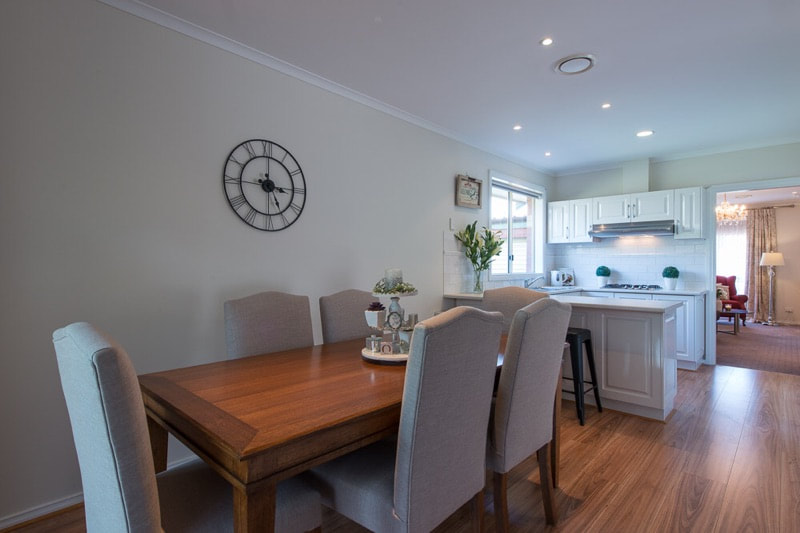
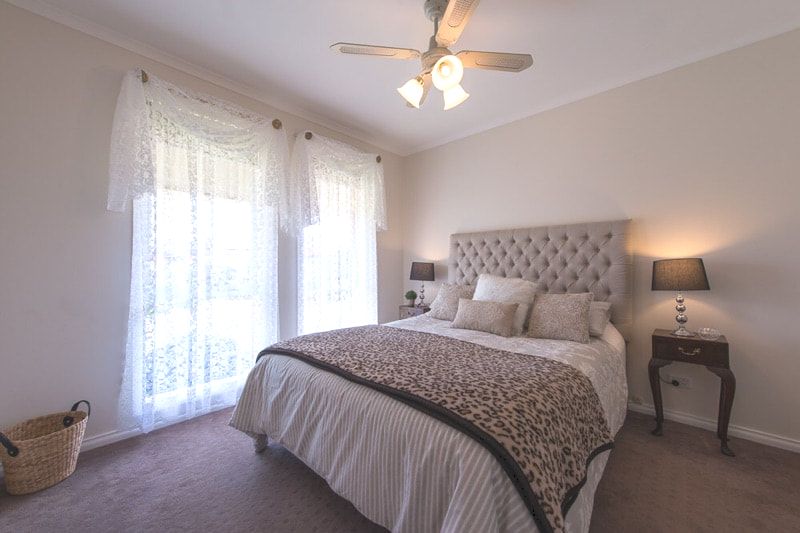
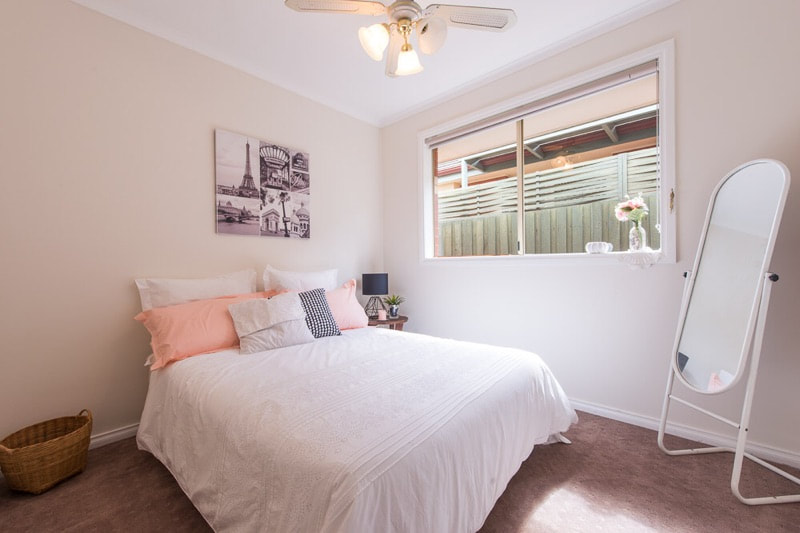
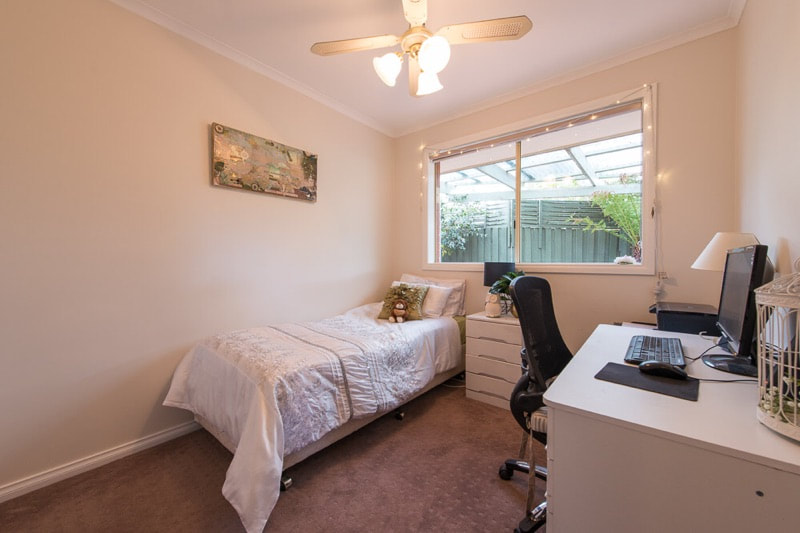
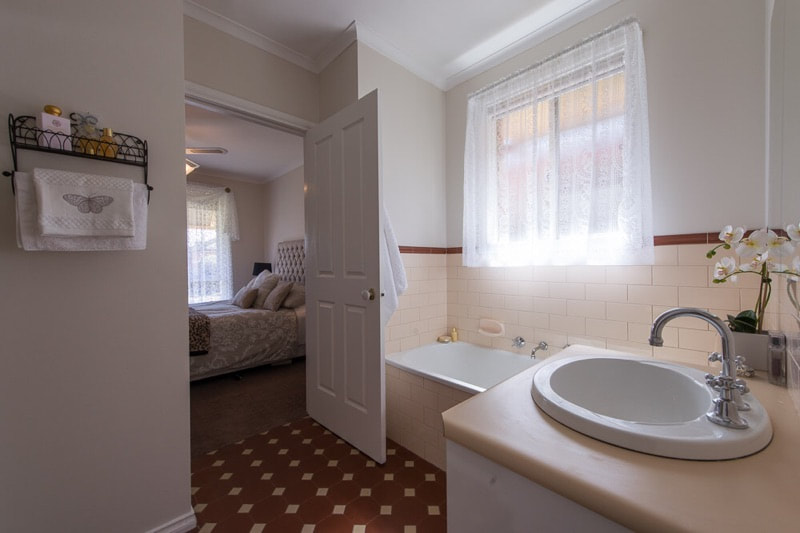
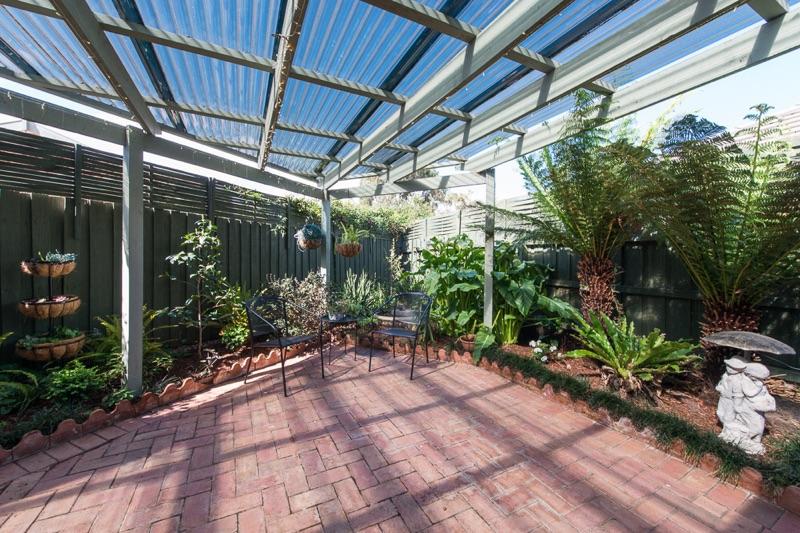
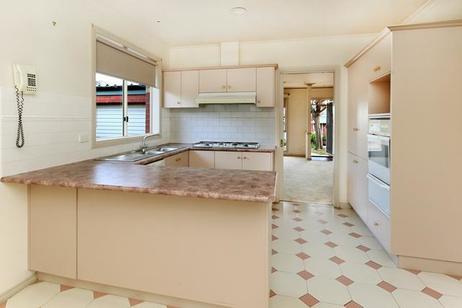
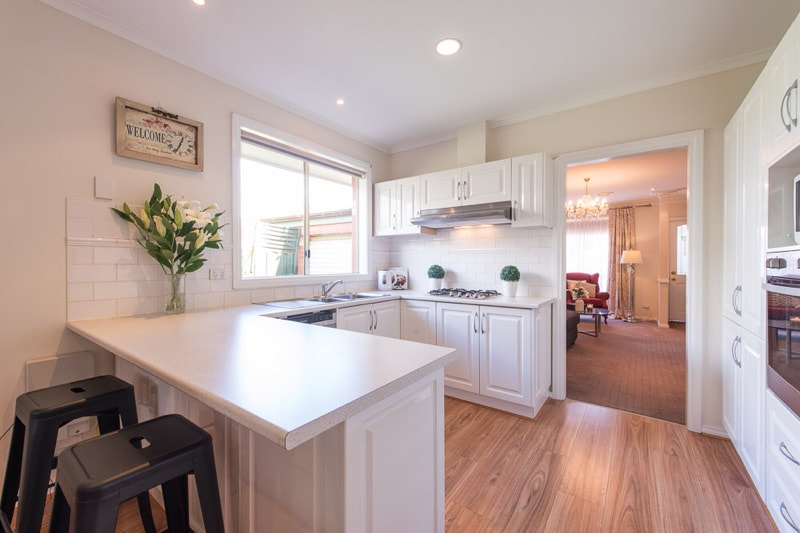
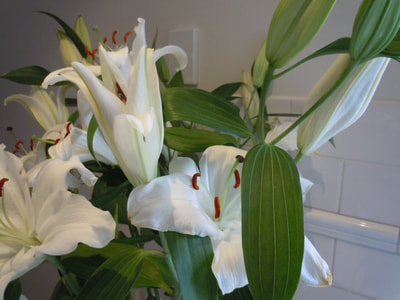
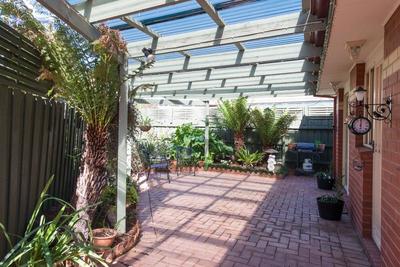
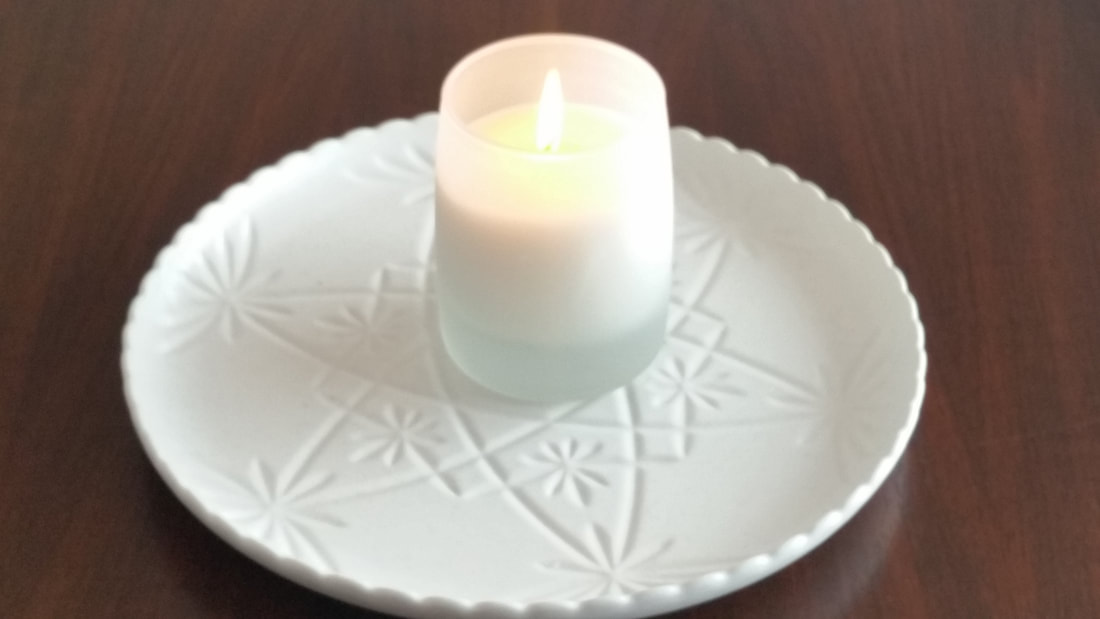
If you'd like to know more about this renovation, leave a comment and I'll answer you as best I can. Oh also, there's one small change I made that I didn't point out. Can you pick what it was? Thanks for stopping by the blog. Dora  When I sold my house at auction, I was thrilled when the hammer fell on a price at the top end of my hoped for range. In the first year after buying the house, I did some updates. I painted throughout and put down new carpet. I had a kitchen face-lift and laid laminate wood look floor boards over the pink and white kitchen tiles. I also cleaned out the garden beds of dead and overgrown shrubs but kept some things that might come back with a good prune. I had a massive tree in the front yard that was undermining the footings, so that had to go also. Two years later and it was time for me to move on. Sam and I were buying a house together so my dear little house went on the market. But first, I needed to make sure it would appeal to buyers. As much as I loved how it worked for me, I needed to look at it through other peoples eyes. The first thing I did was get moving on making the garden look nice. A cottage needs a cottage garden and that doesn't happen in two weeks. I started planning the sale in autumn so that when spring arrived the garden would be looking it's best. I planted standard roses and a Silverbirch tree in the front lawn to give a timeless appeal. A garden arch leading to the side way is planted with a yellow climbing rose. Not in full flower yet but some blooms had opened. I planted lavender when I moved in so they'd had a couple of years to get established. in the four weeks leading up to auction, I only needed to add a few plants to fill bare spots. I put an iron bench on the front porch, flanked with identical standard Lillypillys in black urns, to give a welcoming but traditional, formal feeling. You walk directly into the lounge room from the front door, so I needed it to act as a reception room. The furniture is placed away from the walkway but again creates an inviting space. I took down the framed family photos and kept styling on the crystal cabinet and piano similar. Note the lamps are of similar style. I removed one side of the sectional sofa and borrowed a wing back chair to give the room some character. I'd decided on using the French Provincial Style as inspiration for the theme of my home, a combination of old and new. The coffee table is also simple, following the rule of three. A candle adds ambiance and being scented it created a lovely smell when people walked in the door. You'll notice I had every light turned on. I carried this out in all the rooms. It makes a huge difference. Most importantly, I followed advice from the real estate agent, to make sure there was enough open floor space for a small crowd of potential buyers to walk around during the scheduled open for inspections. Kitchens sell homes, is what I've heard, so a face lift for my tired pink melamine kitchen was something I'd done knowing if I ever sold the investment would be worth it. While it was done at the time for me and not resale, I think it's worth sharing what I did because it did help me realize a good profit on the house. The cupboards were in great shape and didn't need replacing, also I loved the splash back and wanted to keep those tiles. All I replaced was the bench tops and cabinet doors. I had new appliances installed and had laminated wood flooring laid straight over the old cracked pink and white tiles. I added a couple of black stools for a hint of farmhouse. When sale time came, the agent suggested fresh lilies on the bench top. It was a little expensive to replace them each week but they added a touch of elegance and made the house smell beautiful. In the month leading up to auction, I enjoyed those flowers so much . The clock on the wall in the dining area came from good ol' Kmart. It could have been bigger but I had a focal point on the table. I kept the colors neutral and restful, in the master bedroom, creating interest with texture instead. The tufted bed head, embroidered pillows, fluffy rug and center pillow contrasted with a basket in the corner. The shades on the ceiling light fixtures were broken in all the bedrooms, so I replaced them cheaply with batten fix light shades from Bunnings, hardware. I just threw away the fittings and kept the shade, at $9 each it was by far the cheapest option. The second and third bedrooms were decorated simply with a picture of Paris above the bed in the double room and a birdcage filled with flowers and a battery powered candle sit's on the desk in the single room/study. The real estate agent suggested white doona covers and I think he got it right. The bathroom needed a little spruce up. I replaced the taps and put in a clear shower screen door. The wire unit on the wall holds decor to add interest to a plain wall. An orchid next to the vanity gives a touch of class and a fluffy white towel hanging behind the door invites. The last area to get a makeover for sale was the courtyard. It also was the most effort. I had to paint the fences, it was quite a job but, I got there by painting a section or two each day. The garden beds were a bit bare but I had potted up ferns that had grown under the fence from my neighbors, so I sat those in the garden beds. I planted the birds nest fern on the right and put up some hanging baskets. I also added the succulent tower to the bed which gave it some architectural interest. The tree ferns were existing as was the Mondo grass. The back corner was empty and I planted several shrubs to fill it in. The statue was there also. I put two outdoor chairs and small table in the back corner to invite people out into the space. Some time ago my girlfriend gave me some fairy lights which we strung up under the eaves. I left them in place for sale so that they'd provide a nice ambiance to this area during the evening viewings. They made this space looked magical with the lights on. So nice that I couldn't bear to take them down and disappoint the new owner , so I left them behind as a gift. Aside from opening up spaces and clearing out clutter, I made the most of what was existing. I did any maintenance jobs that were required, cleaned and updated worn out things. I created space for the buyers to imagine where they might put their furniture and personal items while keeping the charm of the cottage. I saved money where ever I could which meant I had funds to spend where I knew I'd get a good return on my investment, like making over the kitchen. I didn't go for stone bench tops because I felt it wouldn't be money I got back. I chose instead a stone look laminate which worked really well. Keeping the color scheme neutral helps buyers to visualize the colors they like layered in. I tried to keep similar color and style in each room of the house so that it felt cohesive and made the home feel more spacious. I also added interest with pretty decor items that didn't take over the room, more like earrings rather than a crown. Understated decorating again enabled buyers to visualize their own things. It sold at auction after a couple of keen buyers drove the price up. Most of all I feel really happy that I've passed on a home to someone that is ready for them to just move in and enjoy. In getting it ready for the next owners, I feel I was also able to begin the process of letting it go.
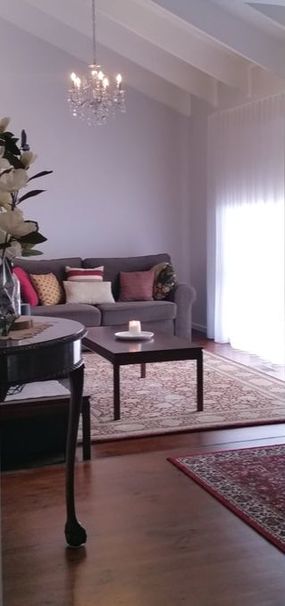
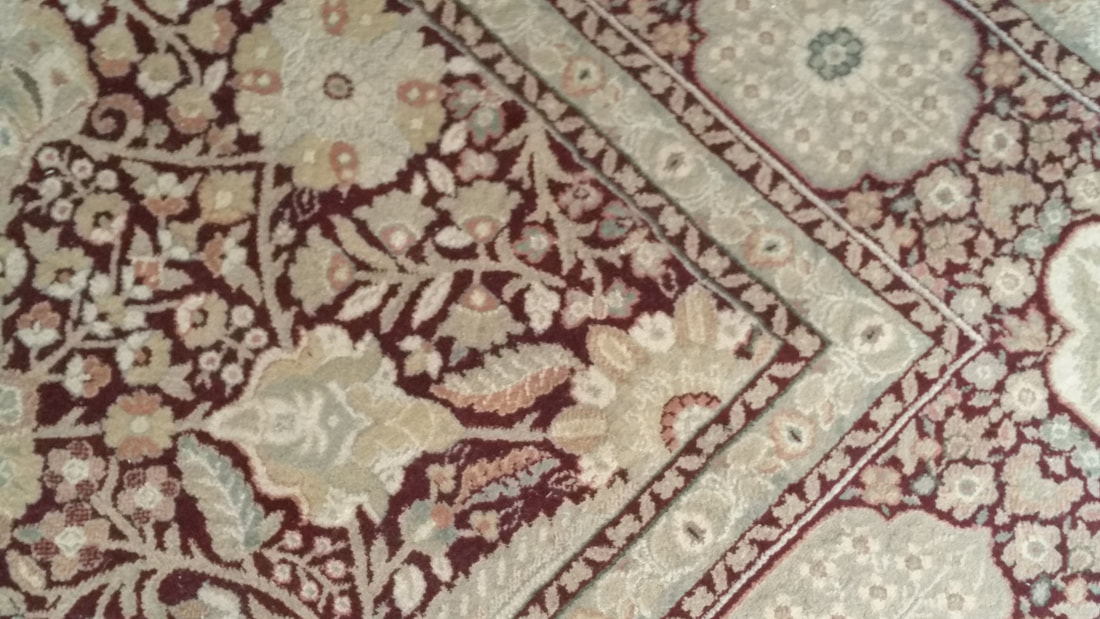
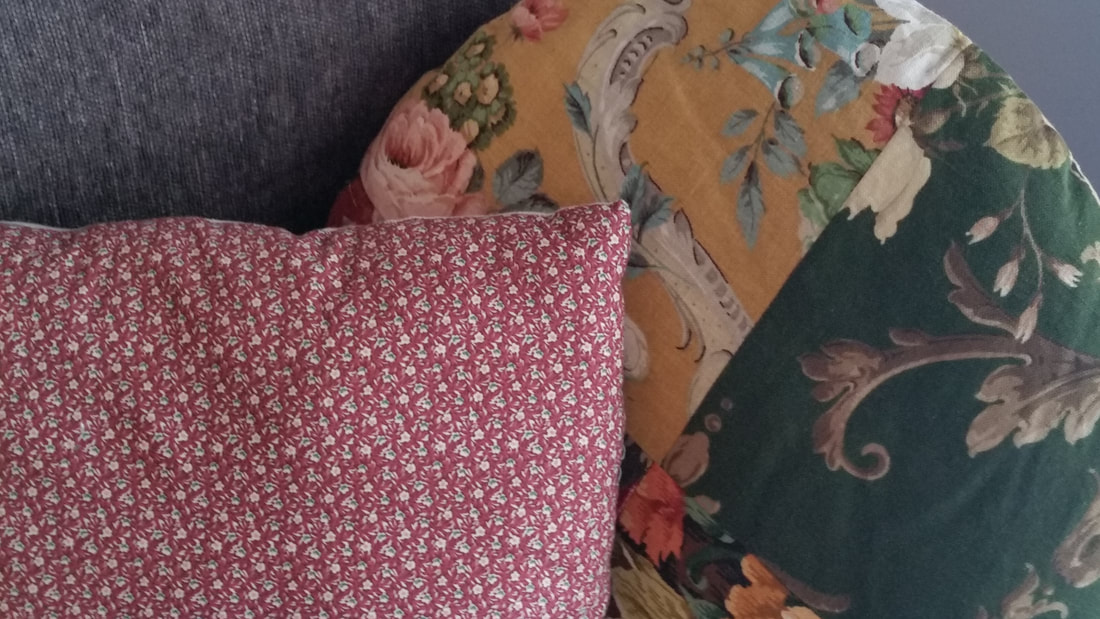
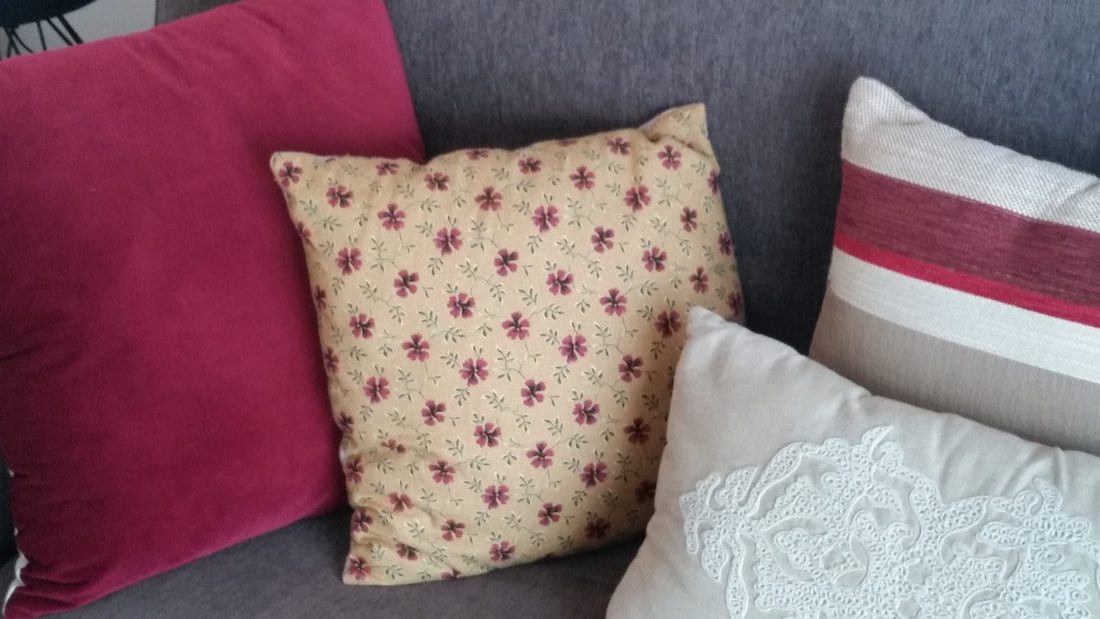
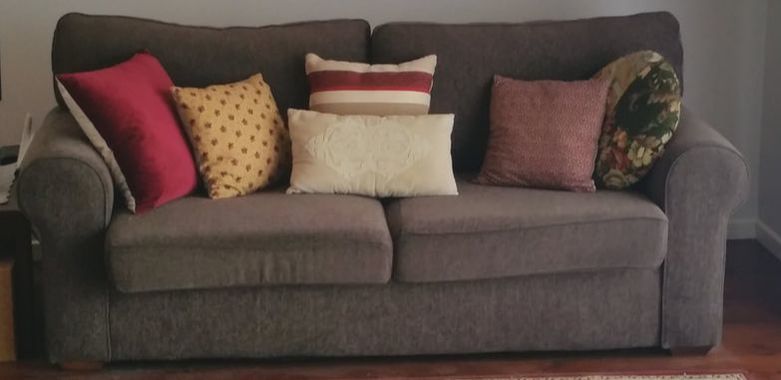
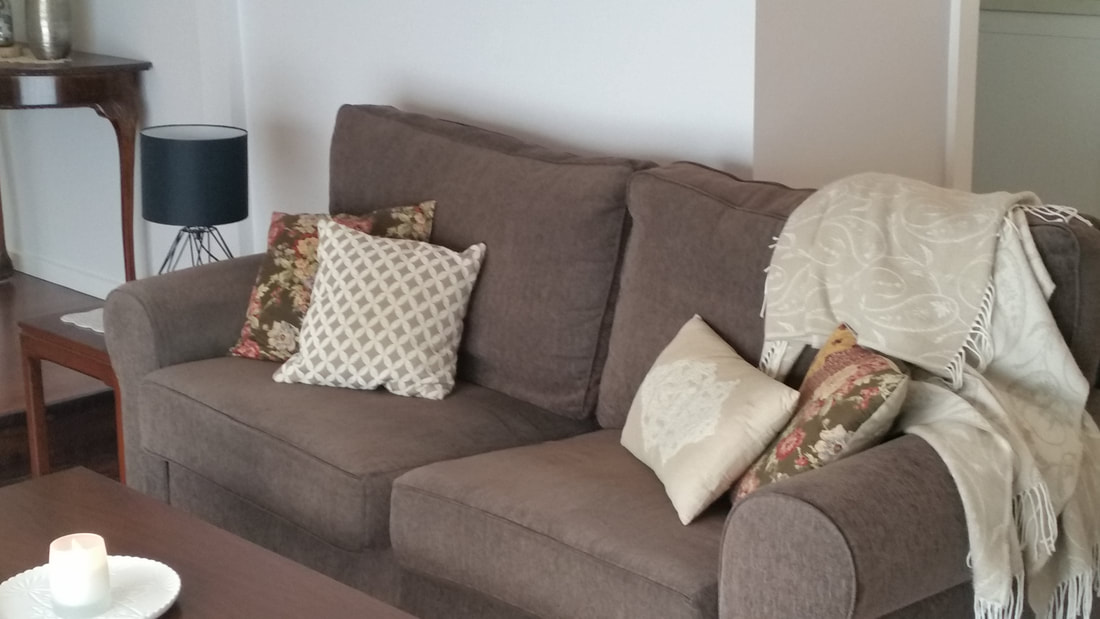
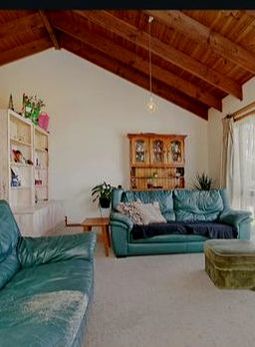
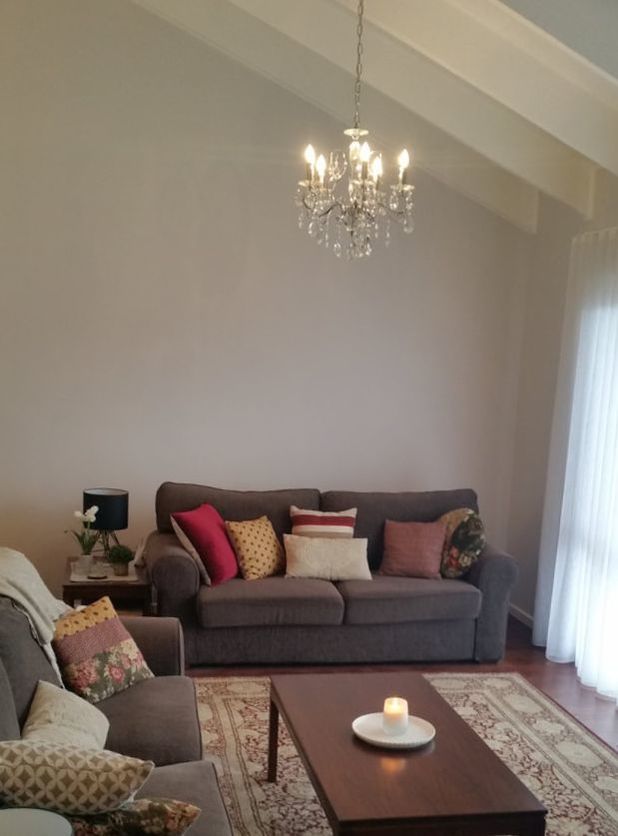
Since selling my house, Sam and I have bought a house together and renovated it. It's a little more modern than the cottage but I have decorated it in a similar style. My furniture looks very nice in our new home. I've already posted pictures on my blog (in the decorating category) and on Instagram and or Facebook if you're interested to look at those. As a romance author, I love all things romantic in my home and lifestyle. You can also discover more about my love of romance through my writing. Find my contemporary romance novels and short stories on my amazon author page or visit my Books page on this website. Thanks for stopping by, until next week, Dora 💖 Our romantic formal lounge and entrance give me pleasure every day. Even though it's not quite finished, I decided to do a reveal post on this room because we've been living here for over 12 months now. The chandelier in the lounge room is the draw card. It gets the most comments from visitors, over the way it complements the beautiful cathedral ceiling. It's not a large room but that ceiling gives an uplifting sense of space. When we bought the house the wood clad ceiling was stained brown giving the room had a dark cave atmosphere. Painting it white transformed it completely. The walls are painted a light grey called Windswept Beach. It throws pink tones which blends in with Sam's signature color of burgundy red. The rug has some subtle grey but is mainly cream and burgundy so I needed to find a way of linking those colors into the rest of the room. We didn't buy new furniture when we moved in together but combined what we had. Sam already had the sofas in this room, but they didn't pop against the wall color. The rug he chose looked great, so I went looking for cushions to tie the room together. I already had the round one which I bought from Cottage Industry in Fitzroy. The cranberry velvet came from Freedom Furniture and the striped cushion came from Spotlight. The lumbar cushion was purchased some years ago from Target. The two floral cushions I recovered from my patchwork fat quarter stash. None of the cushions are still being sold, but I wanted to show how they were collected from various places. I used the principals of varying size, patterns, shape and texture to create visual interest . I mixed velvet with linen and embroidered fabrics. I arranged the cushions to have balance on each side in respect to these qualities. This is a view of the other sofa in the room. Again I used cushions and throws to bring in the cream colours and used fabric from my fat quarter stash to recover some cushions. This close up of the center piece on the coffee table shows my love of mixing traditional with modern. I love this mix of ceramic formed to look like cut glass. It was a house warming gift from a friend who obviously knows me very well. Finally I'm including a before and after shot so you can see the how much the room has transformed. We took up the carpet and polished the floors and replaced the curtains. The furniture in the before photos belongs to the previous occupants. This is what it looked like when we viewed the house prior to purchasing it. The lounge has evolved to have a boho meets shabby chic, romantic style with enough depth of color to make it a comfortable masculine space. This room was always nice, but now I find it a more restful place that's pleasing to our eyes. That's really what it's all about. Sam chose the rug and color scheme for this room to go with his furniture, because it's the lounge he uses most to watch his sport. He was with me when we shopped for cushions and choosing the fabric from my fat quarter stash. We decided to bring in the floral patterns to tie in with the rug. As luck would have it the medallion pattern on the lumbar cushions that I already had, by sheer accident ties in with the border pattern on the rug.
There is still some decorating to do on that bare back wall. I have been looking but still haven't found that perfect print. Perhaps it's because we are now thinking that we might take inspiration from the previous occupiers and put a cabinet behind the couch. Sam has an impressive toy cowboy and Indian figurine collection that could be housed there. I'm thinking a glass door set of dark red Billy bookcases from IKEA might do the trick. Let me know what you think. Picture or cabinets? I hope you've enjoyed my lounge room reveal and room tour. Leave any questions you have in the comments below and I'll do my best to answer them. Have a great week. Dora Contemporary Romance Author. See Dora's books here. Healing Love, Passionate Romance. |
Romance author and lifestyle bloggerMy whole life is inspired by romance. I write romance novels of course but also love creating DIY's and decorating in a romantic style. I'm rejuvenating an old garden, including rescuing a couple of old rose bushes and planting new ones. Archives
March 2021
Categories
All
|





 RSS Feed
