
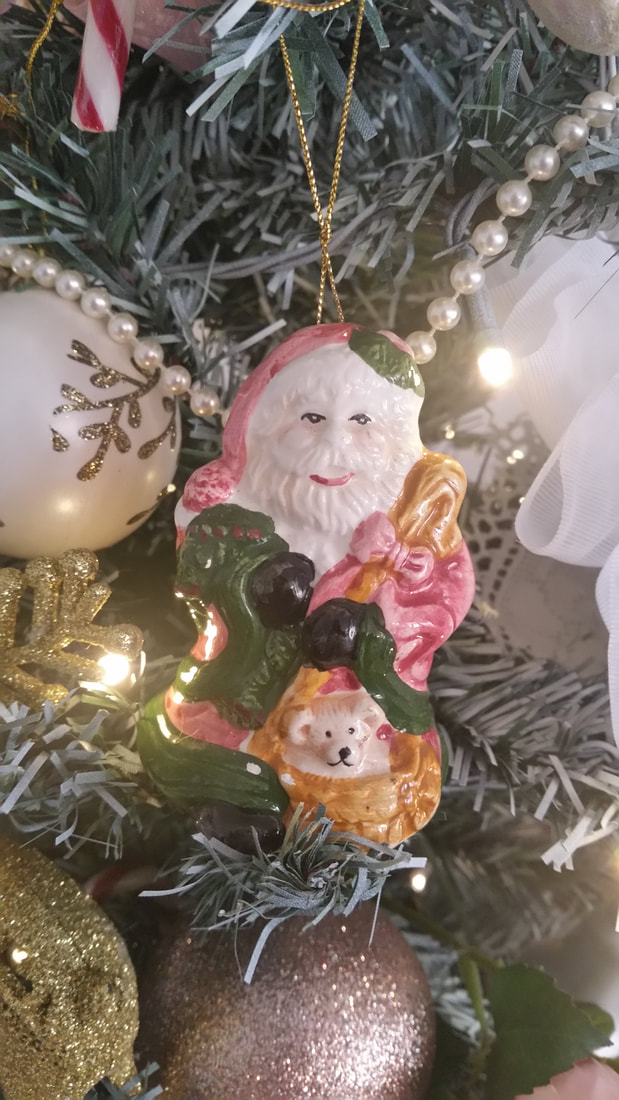
 This last week I've been working on creating a romantic Christmas theme for the family room and kitchen. I told my girlfriend that I'd done a pink color scheme and she said, 'Oh so you've been out and bought a whole new lot of Christmas decorations.' I told her I didn't. The catch was I mustn't buy anything new. I had to make do with what I already have from previous years and make new decoration from my craft stash. I found a way to do it even though it was quite a time commitment. She's coming over next week to see it in person. 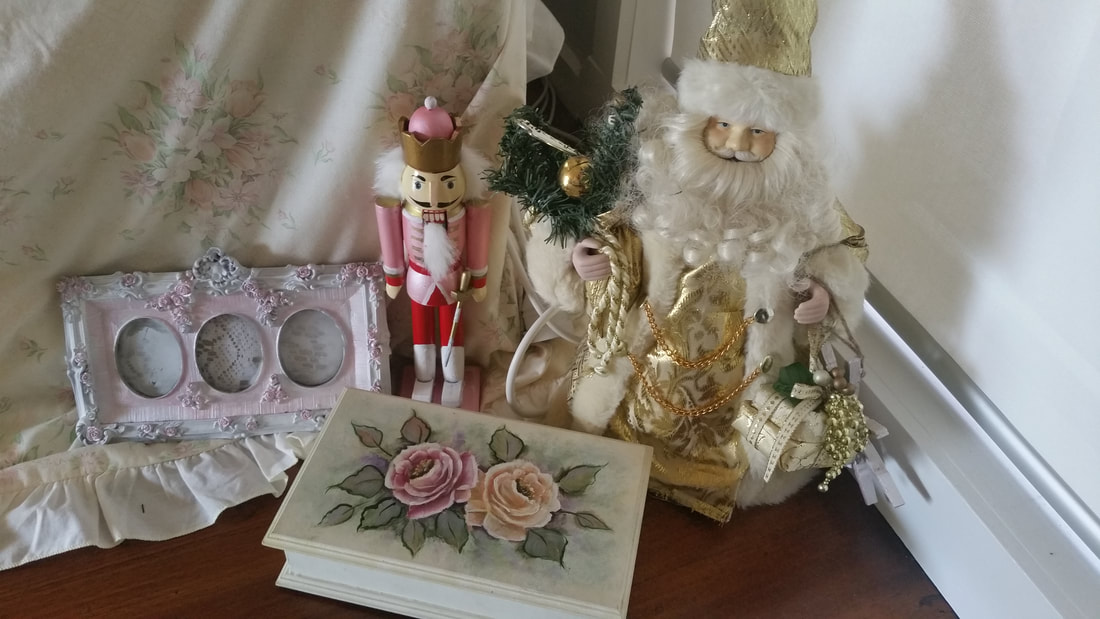 This is the corner below the TV. I painted the roses on the remote control box about fifteen years ago, but they still look fresh. I added my favorite Father Christmas. The nutcracker used to have a green coat and black boots but he was given a touch of romance and brought into line with this year's pink palette with folk art paint. I also painted the picture frame I found in the garage and put a piece of lace from an old curtain inside. That lace curtain certainly came in handy. 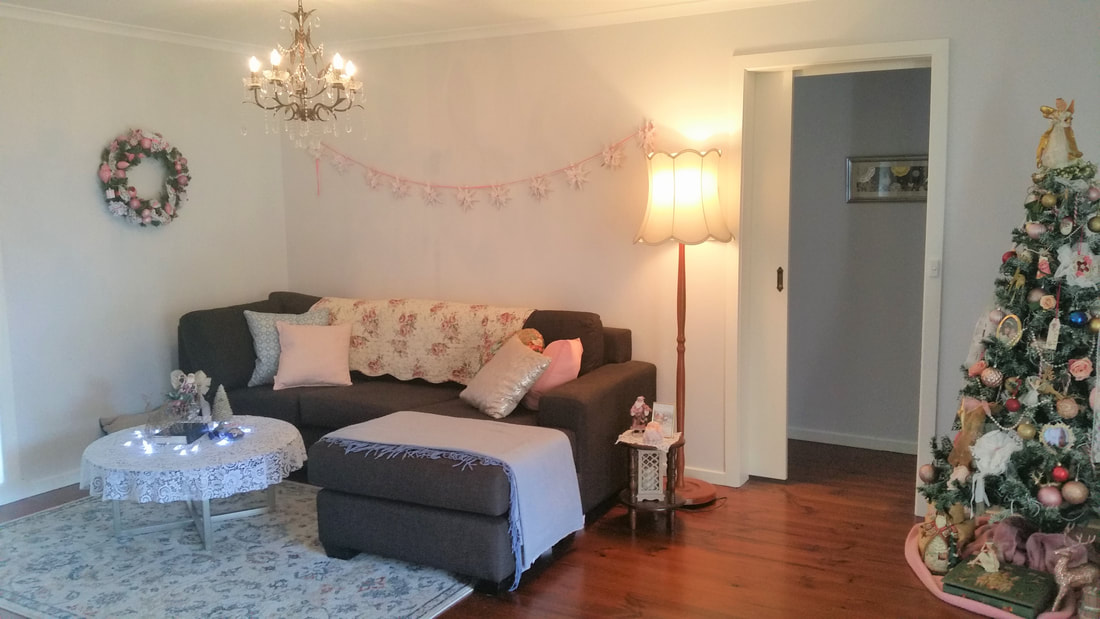 I dug around in my linen press to find some pink pillow covers. I also discovered a pretty rose patterned throw which I put over the back of the couch. I made the wreath using baubles that I painted using folk art paint. I mixed shades of red and burgundy with a pearl white to get varying shades of pink. I made lace ribbon by cutting strips from the before mentioned, the old lace curtain which I also discovered when exploring the linen press. I used hot glue to stick all the ornaments and lace in place. The gold scrolls came from a broken Christmas tree that was made up of them. I broke them all apart and wove them in. I like the lux effect they add. 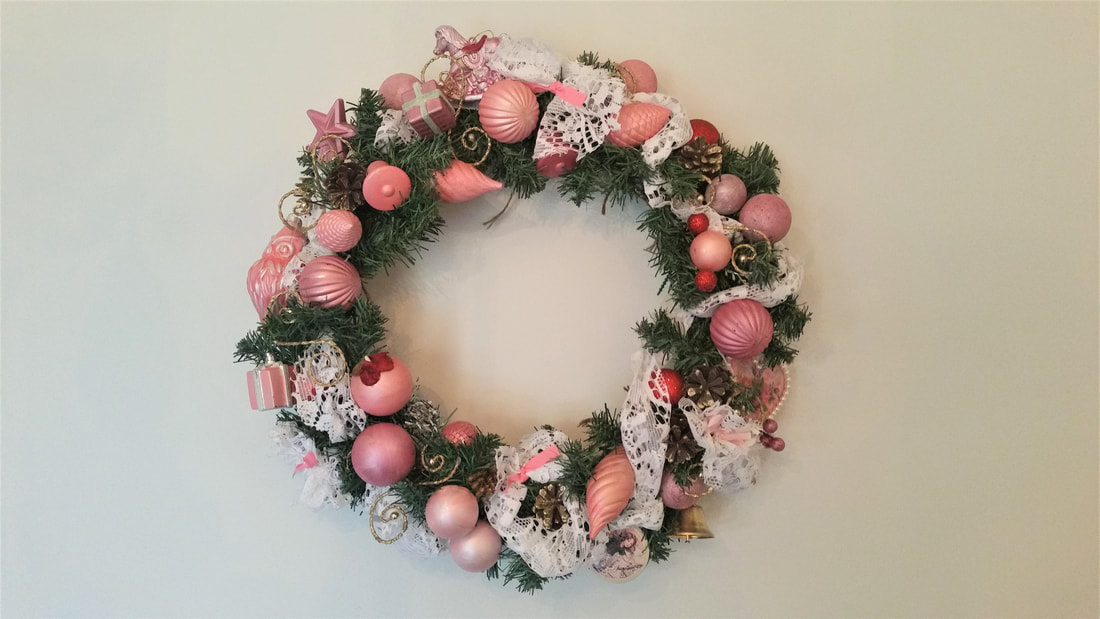 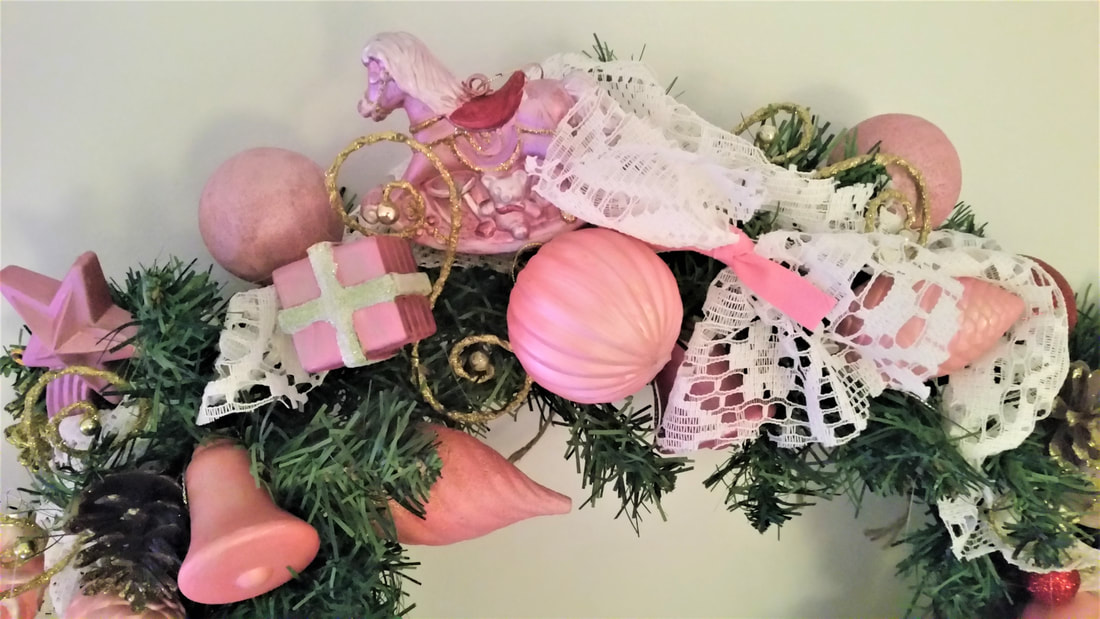 Last year I spent ages hot gluing wooden pegs together to make stars. This year I painted them and made mini lace rosettes from the curtain strips, scrap ribbon and glued faux jewels in the middle. I tied the stars onto a strip of bias binding from my quilting supplies to make a garland for the wall behind the couch. 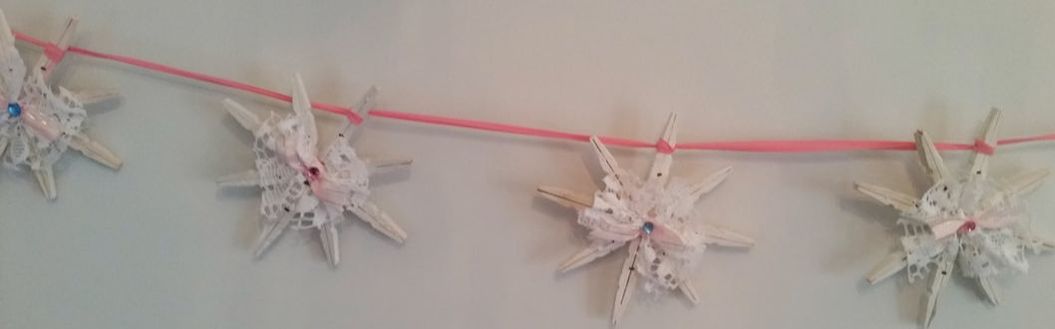 That curtain came in handy when I looked around for a lace cloth for the coffee table. I folded it into a triangle and then halved it and cut it to size making a round piece of fabric, much like cutting paper for the bottom of a round cake pan. 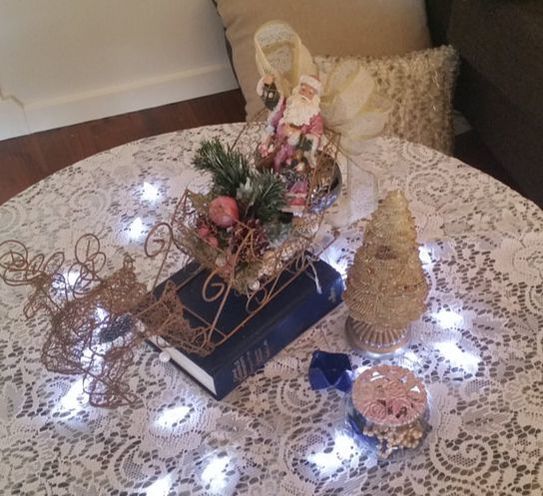 Santa in his sleigh was given a makeover too. I used the same paint as for the baubles to lighten his coat and make him a pink Santa. 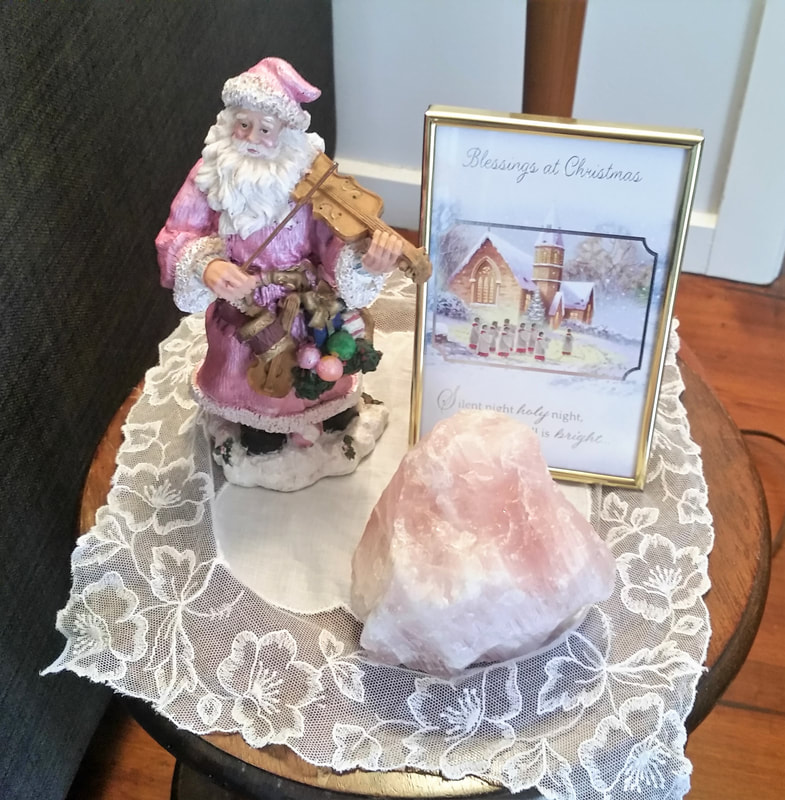 Fiddler Santa was given a pink coat also. I sat him next to framed card from last year and a hunk of pink quartz which is meant to give off love energy. Well, it is romantic Christmas after all. The lace cloth is one of my mother's special handkerchiefs. 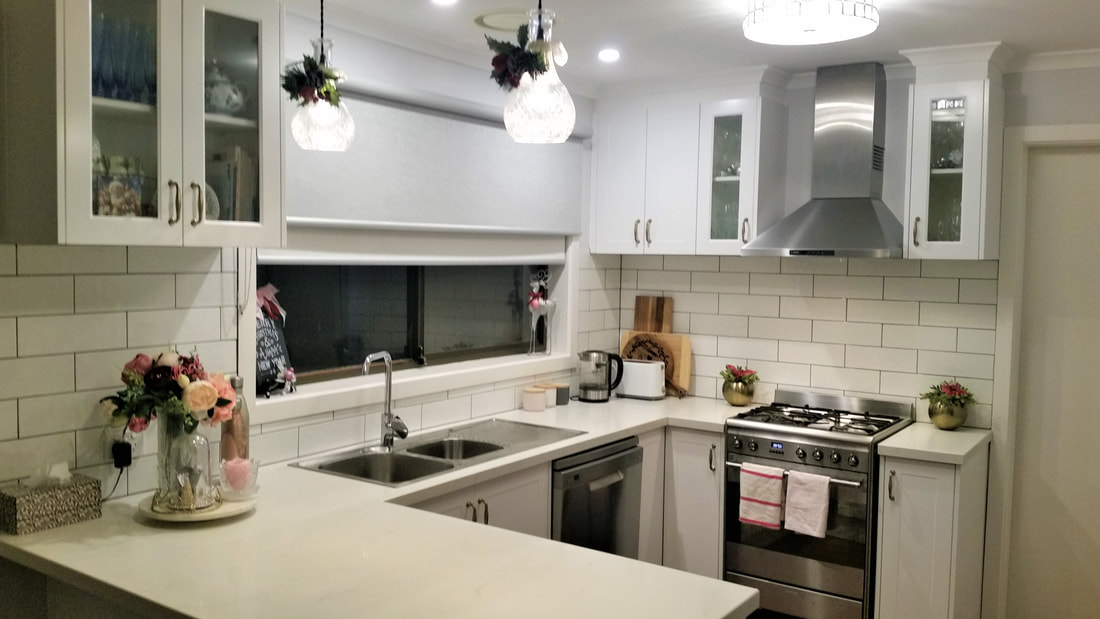 The kitchen only has a few decorations as there isn't a huge amount of bench space. I added poinsettia picks to the pots of faux sage that sit next to the stove and hung pink check and pink and red striped tea towels over the oven handle.
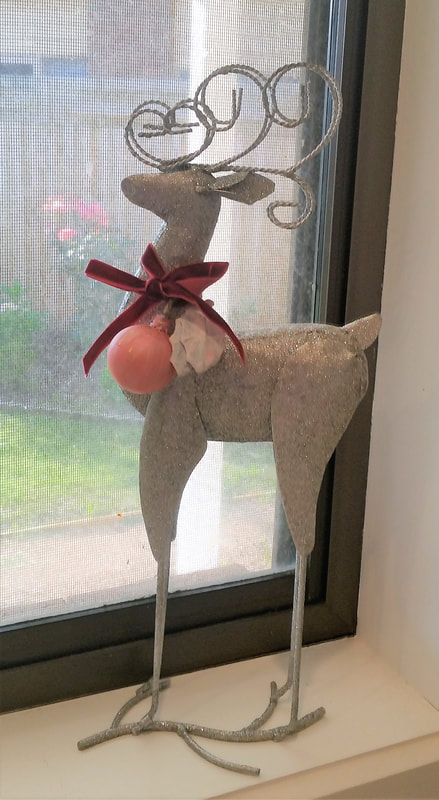
On the window sill above the kettle, I placed a reindeer that I dressed up with a bow and painted bauble. On the other side is a sign with some ribbons, lace and a pink holly pick to make it more romantic. 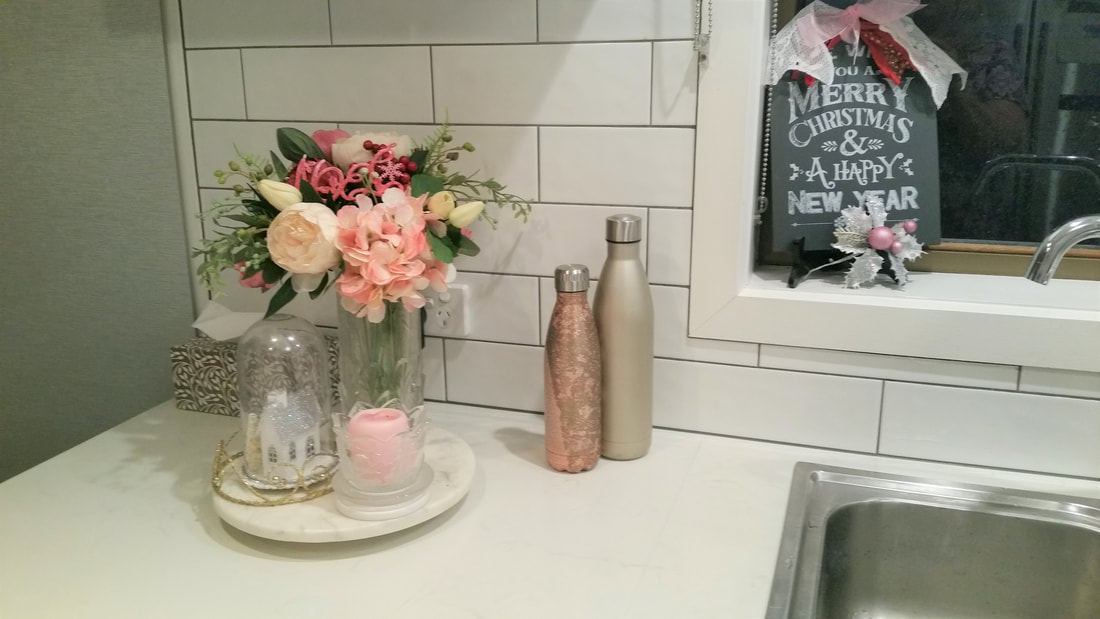 I always have roses next to the sink. For Christmas I used a bunch in shades of pink and added some berries and a Noel sign. I teamed it with a Christmas dome and bowl with a pink candle. The water bottles are mine and Sams. I thought they looked cute standing there so I didn't put them away. 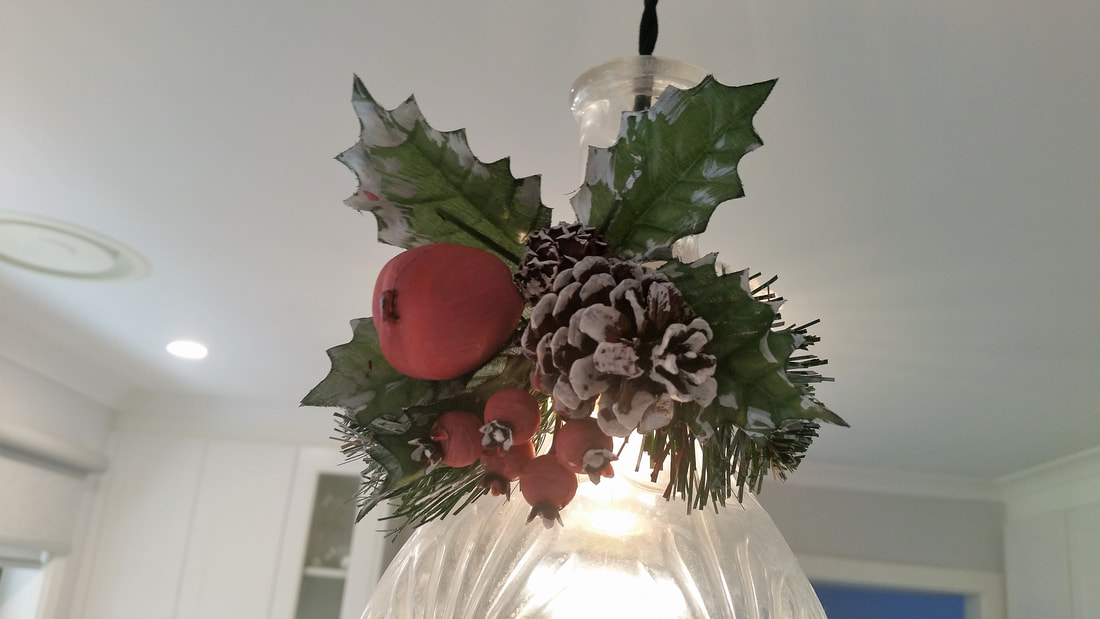 The lights over the island bench got some festive attention this year. I added picks that I found at Savers a couple of years ago. I added white paint to give them a frosted look and painted the deep red berries and fruit a lighter shade of blush pink.  I'm hosting Sam's and my family for lunch this year. I wonder what they'll think of our romantic pink Christmas theme? The good news is the decorating is done for this part of the house and I haven't spent any money. That's right, zero dollars. I'm feeling proud of that. I only need to think about making a plum pudding and buying a huge turkey.
Next week will be the last in the Romantic Christmas series when I show you the master bedroom, en-suite and my study/guest bedroom. Again, without spending any money so there will be more home made decorations being used. Thanks for dropping by to see what I've been doing to get ready for Christmas. Dora 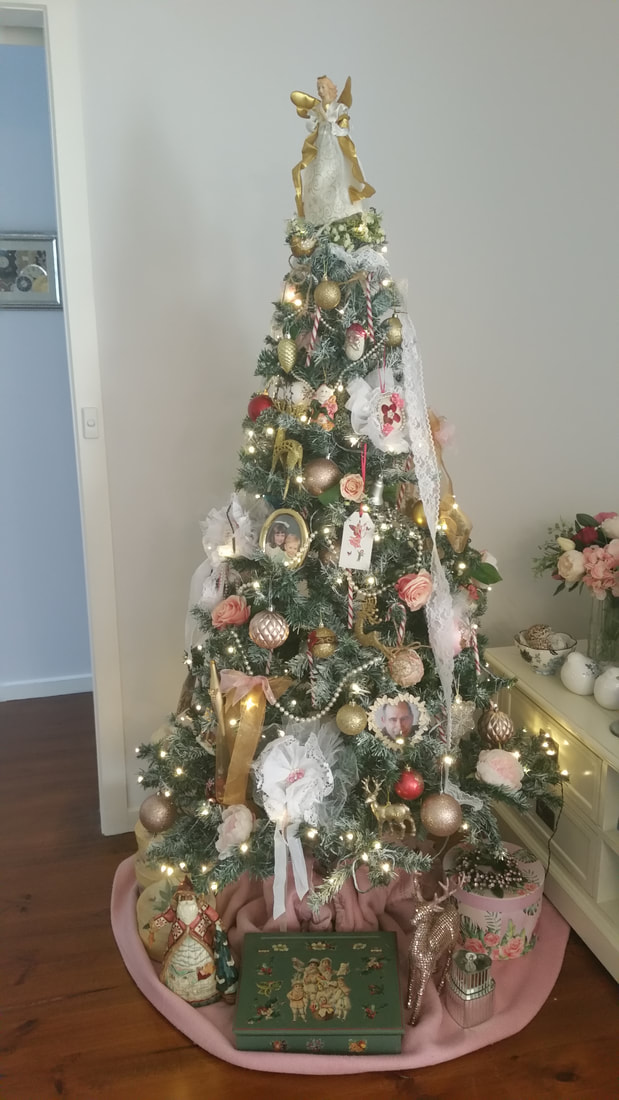 In past years I've enjoyed a traditional red and gold themed tree but this year I'm newly engaged and so a romantic tree fits my mood. I sprayed the tree with a can of white primer that I had on hand. It didn't turn the tree white but created that frosting of snow effect which I'm happy with.
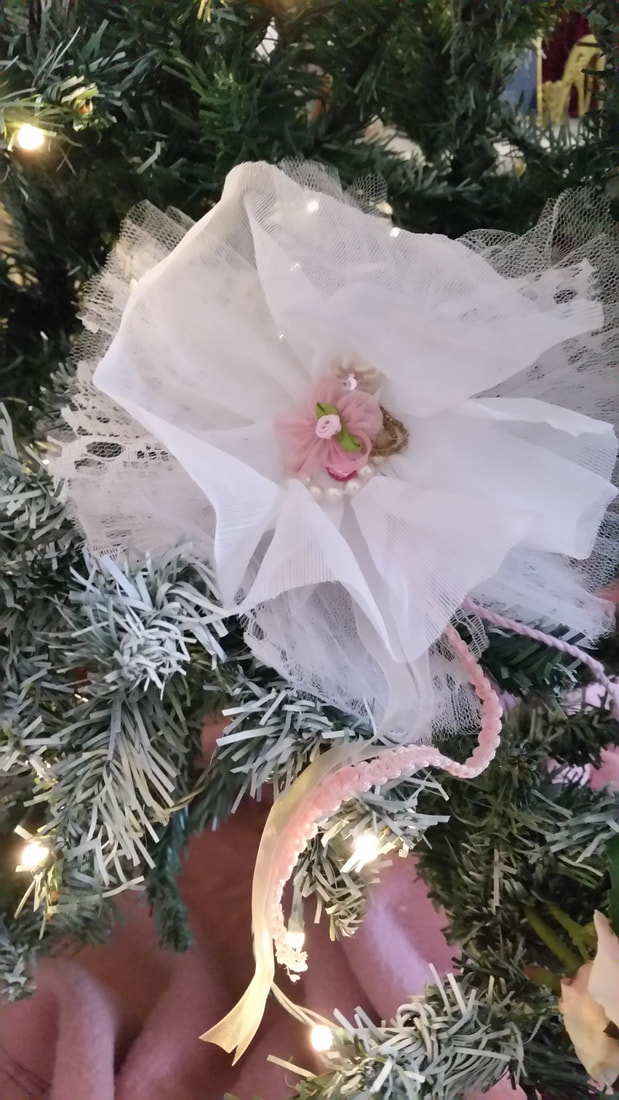
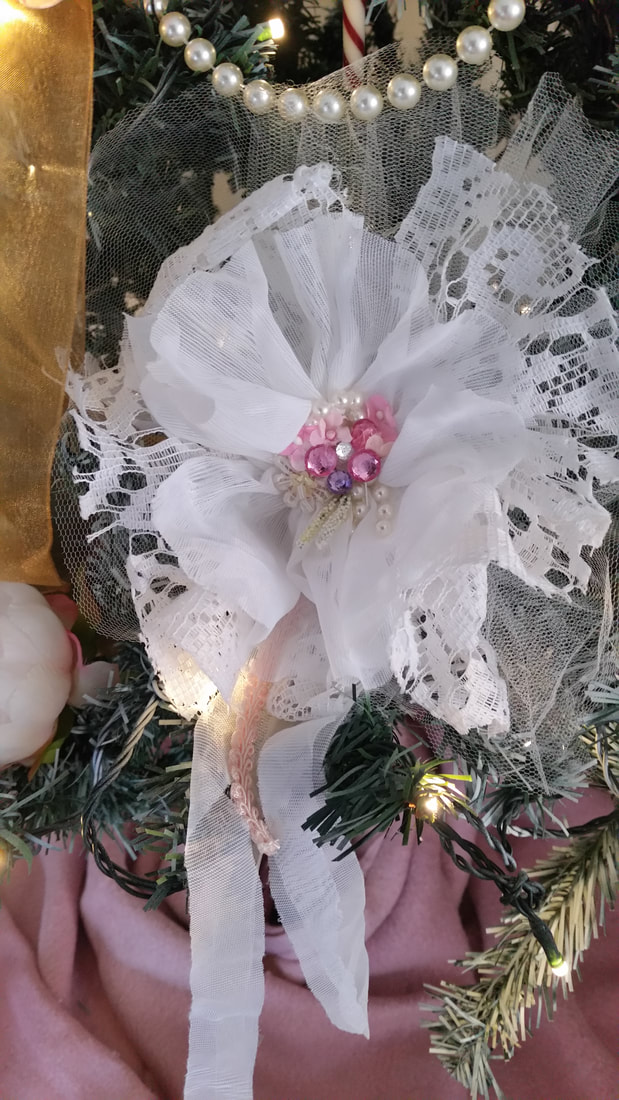
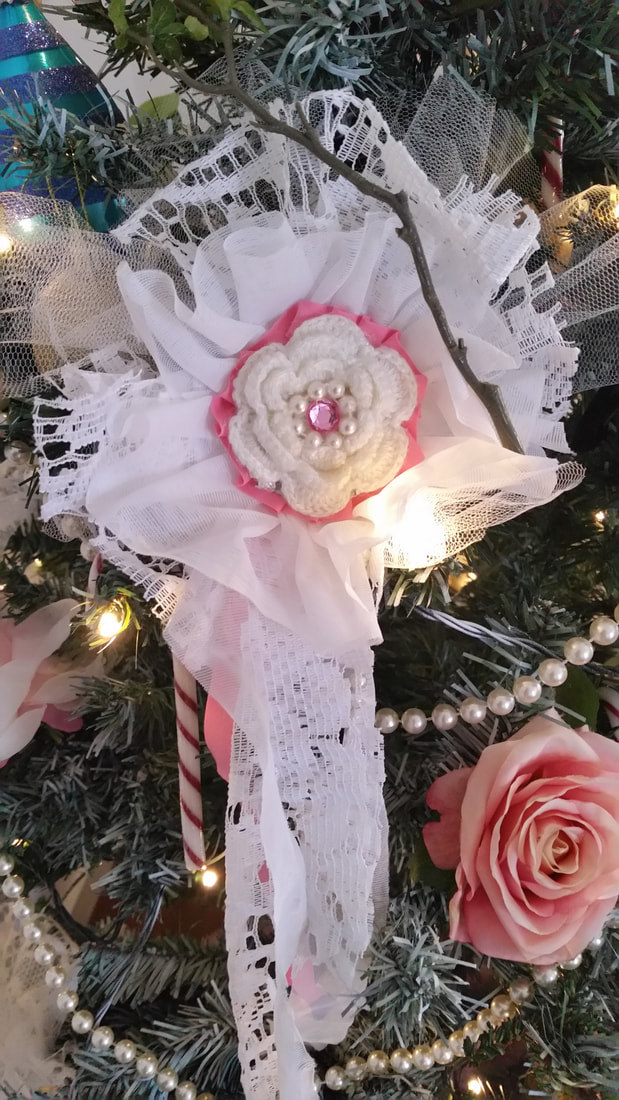
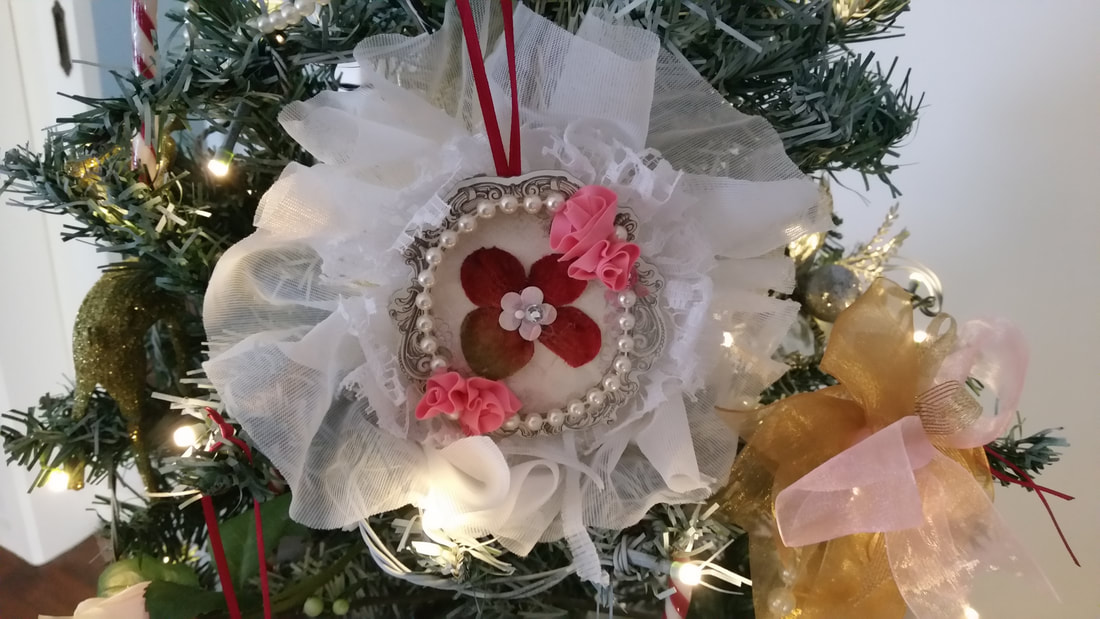 These rosettes are made without sewing. A rectangle of fabric, a hairclip and a peice of string work magic. Hot glue sticks the layers of rosettes together and attached the bling in the middle. The white rosettes are DIY. After watching a YouTube video from Olivia's Romantic Home I made these romantic decorations from old lace and scrim curtains, tulle and blingy bits from my scrap-booking supplies. If you'd like to make them too, here's a link to her YouTube video .
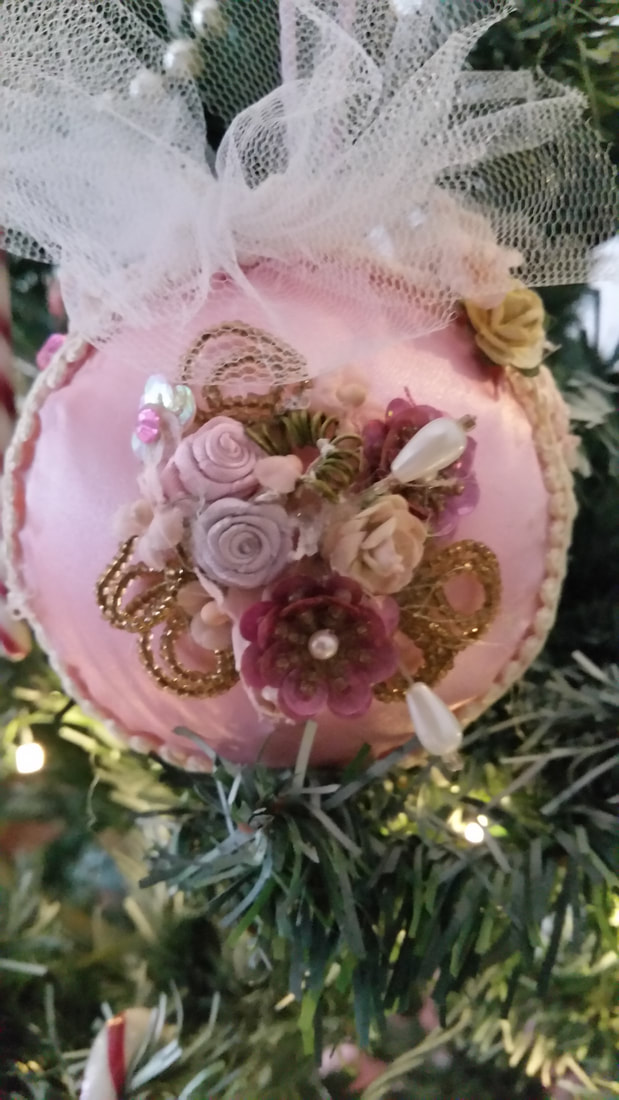
I went through my ornaments collection from years past and selected the pinky reds and every shade of pink I could find. I cobbled together some ornaments from broken things but I don't think you'd know it I didn't tell you. I shopped my home for romantic elements to use as tree ornaments. I found stems of pink silk roses that once belonged to my mother, I also found the peony roses from Kmart used in a previous post. From my jewelry box I chose long strands of pearls (which are my go to necklaces) and around the house I selected picture frames with Sam and one of my kids when they were little. In the craft cupboard I found a length of lace which I draped like a streamer down the sides of the tree. 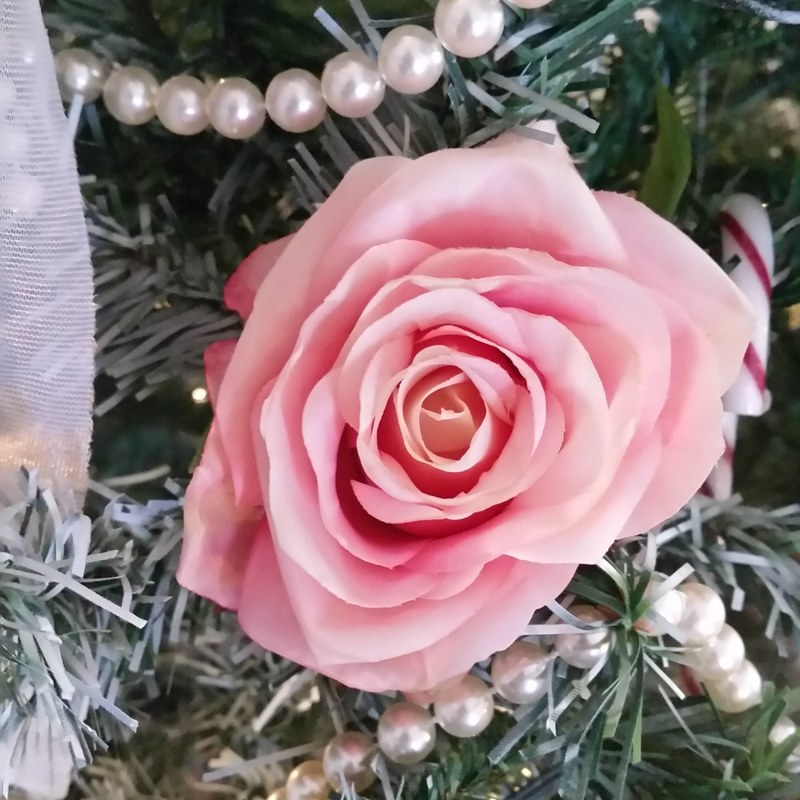 Lastly I added an old pink blanket as a tree skirt and put some pink gift boxes on it with a pink Santa and rose gold reindeer. The green box in the middle I painted and decoupaged years ago, to be used as a Christmas card box. I love the romantic Victorian feel this tree, created with timeless elements of roses, lace and pearls. I didn't spend any money to get this look. Well not much, beside the candy canes which need to be fresh, I just used what I had. I have to say it makes me happy to have this girly, pink and ruffly tree where I spend so much time. I can see it whether I'm cooking dinner or relaxing later on with a Netflix Christmas movie.
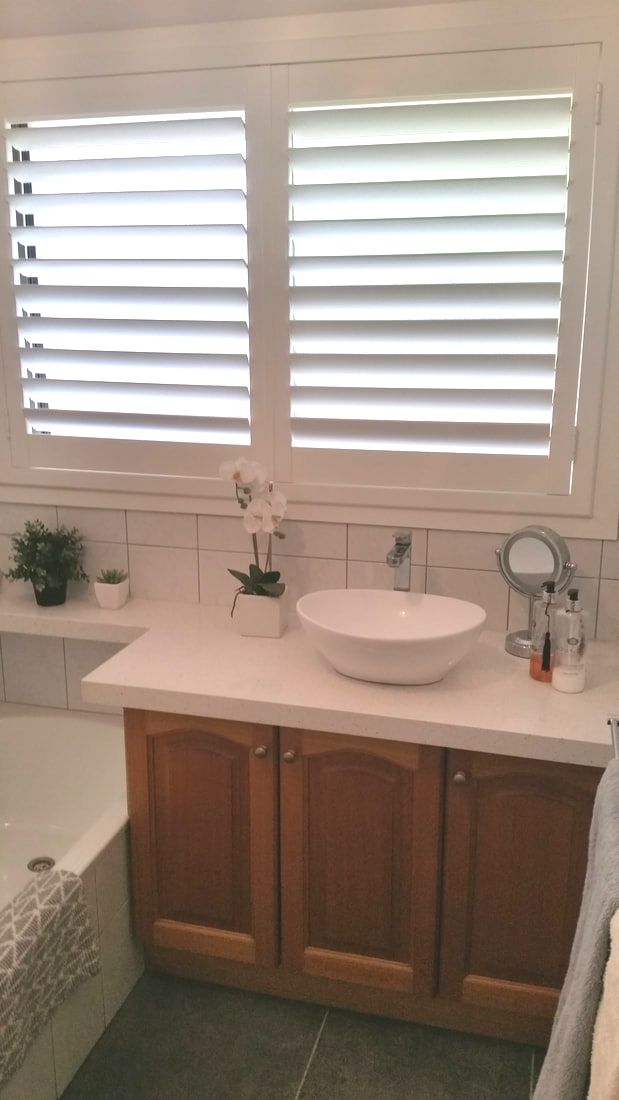
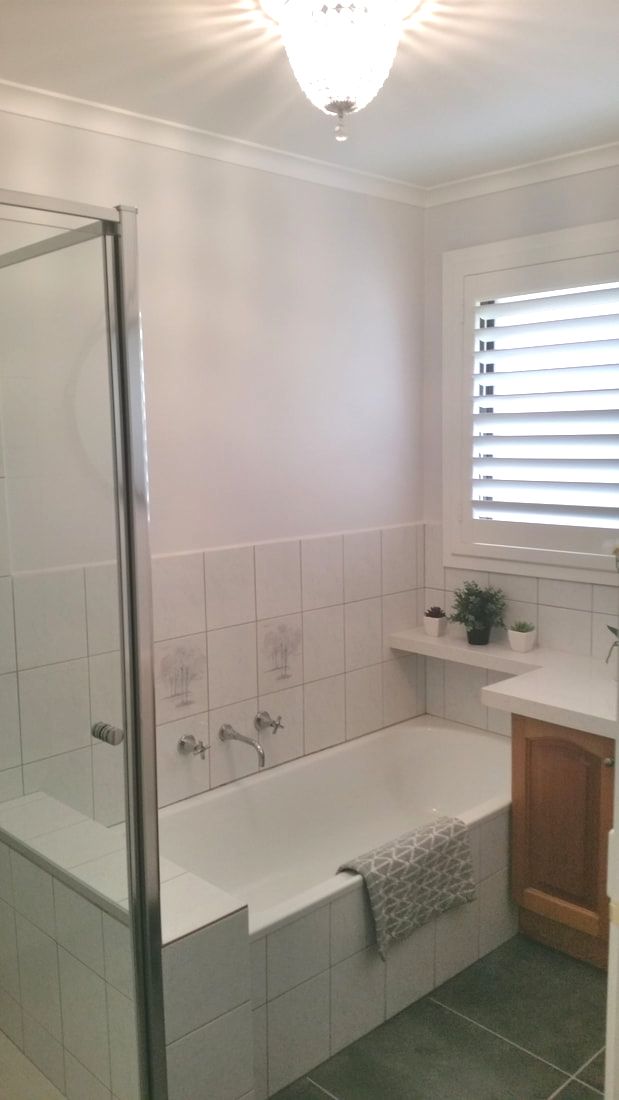
Next week the Romantic Christmas series will continue with decorating the kitchen and family room. 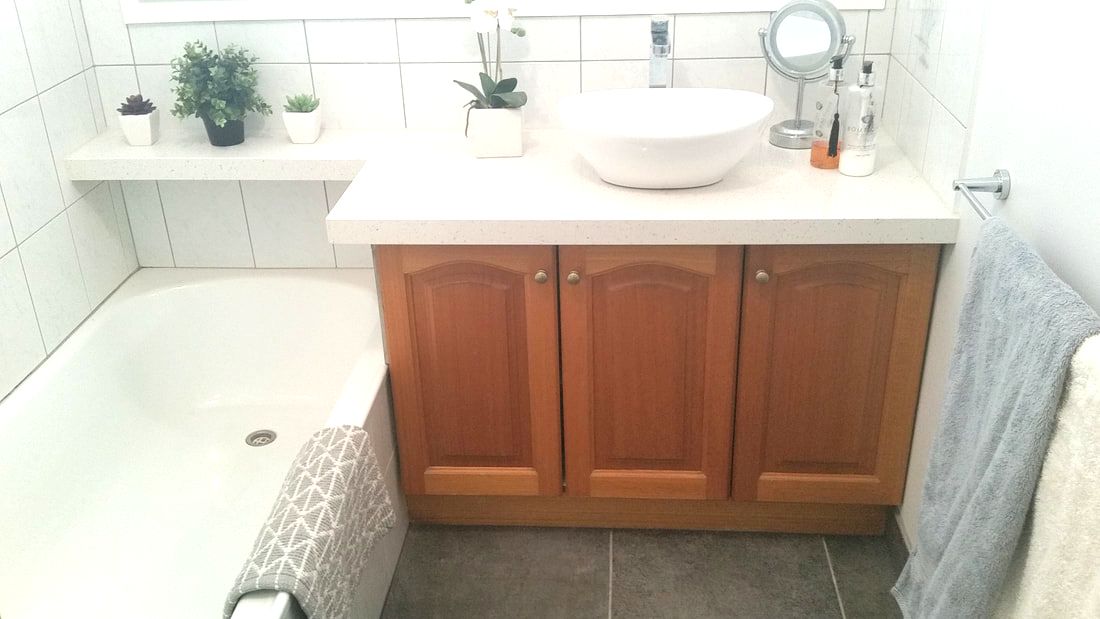 Updated Bathroom We saved money in the bathroom while still updating it in the modern farmhouse style. My design plan for choosing floor tiles, wall paint and new fixtures consisted of the farmhouse basics, contrasting whites and grays combined with natural elements. Originally I wanted to gut this room and put a freestanding bathtub under the window and bring the vanity around to where the bath is. But our budget didn't allow for the expense of redoing all the tiling and plumbing that would be required to alter the layout. 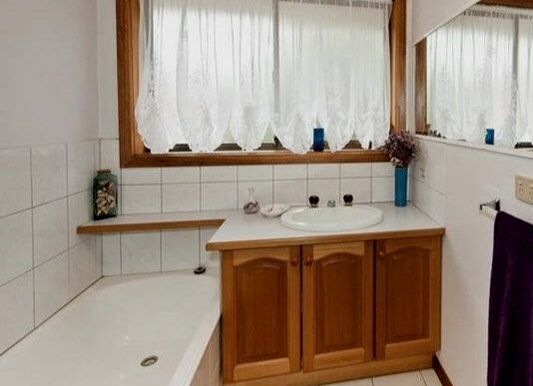 Before I loved the existing grey and white marble look tiles so it wasn't necessary to paint them or re-tile. The timber vanity doors provide a natural element and a contrasting warmth to the cool palette. The bath and shower were in good condition so we kept them but updated the floor tiles with a more modern large grey tile. The vanity unit is very low. Originally it had a set in sink making the problem worse, so we had a new quartz bench top installed over the old counter top and sat a new basin on top, bringing it up to a functional height. New taps all round made a huge difference. 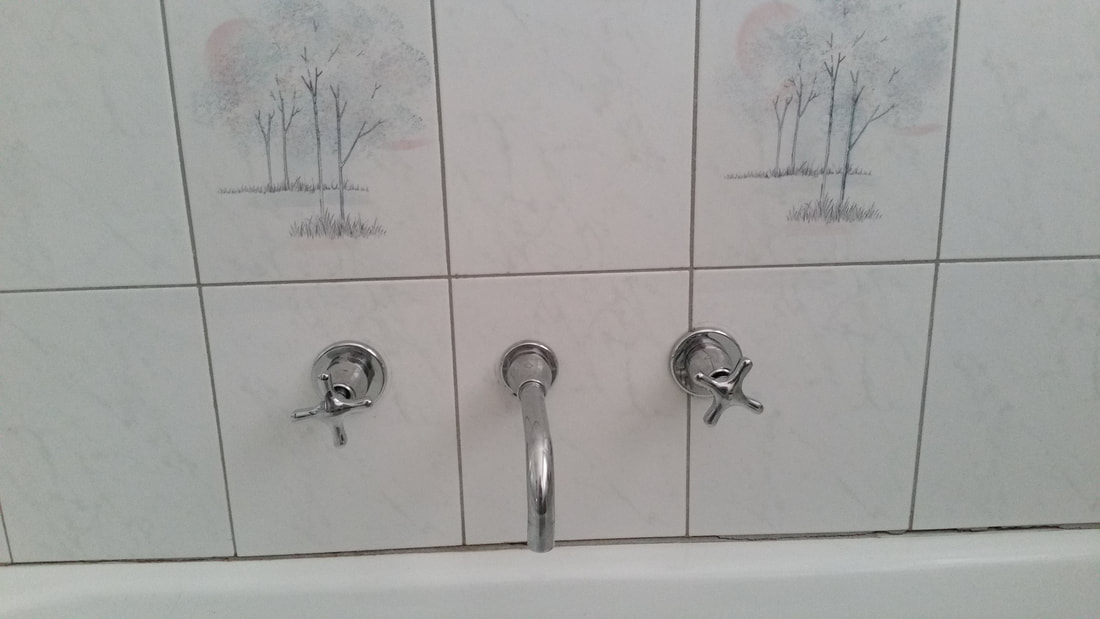 New taps over the bath I swapped out the curtains for shutters and painted the timber frame white to match. The walls were painted in the same soft grey called Windswept Beach that we used in the rest of the house.
A new ceiling light in my beloved chandelier style gives this room a a touch of the romantic. I have to squeeze some romance in there somewhere. 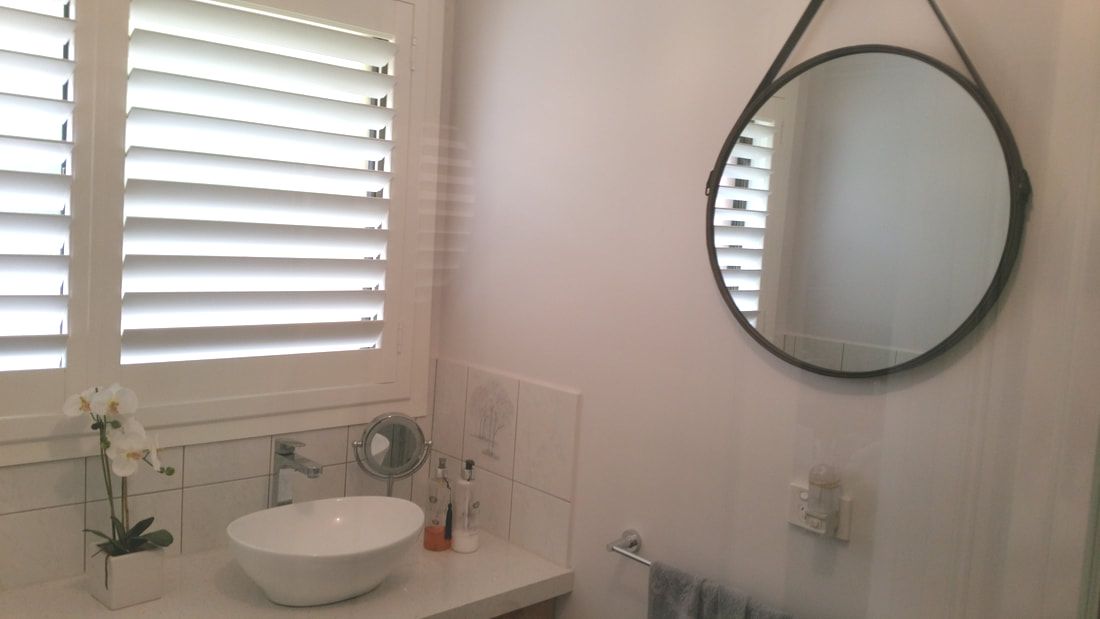 The original long mirror spanning the length of this wall was replaced with a very budget friendly Kmart mirror that suits the modern farmhouse style.  Replacing the shower screen's opaque, wire mesh, ripple glass with clear glass opened up the space and made the bathroom feel larger than before. You can also see the pretty tiles including the woodland feature tiles scattered through the bathroom. I can live with the old fashioned soap dish even though I would love a wall niche for the shampoo bottles and soap. Sam and I shower in the en-suite so this is really a guest bathroom and the shower is rarely used. 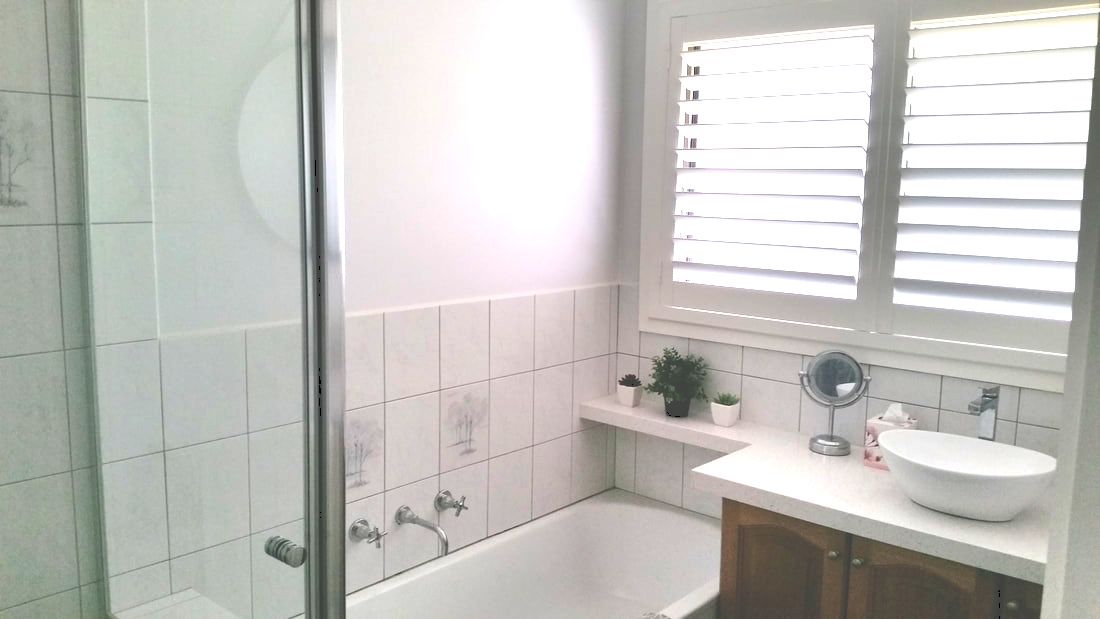 Even though I wasn't able to do a full makeover I feel the bathroom now suits the rest of our modern farmhouse/romantic home. I'm very pleased at being able to achieve a lovely space while staying within our budget.
If you'd like to know more about this renovation, leave a comment and I'll answer you as best I can. Oh also, there's one small change I made that I didn't point out. Can you pick what it was? Thanks for stopping by the blog. Dora  Cup cakes remind me of birthday parties and sunny afternoons. They are cheerful additions to my afternoon cup of tea which I have religiously at 4pm every day.
An easy and quick little treat that tastes of sunshine and happiness is remarkably similar to the wheat flour ones I fondly remember from my childhood. These, pictured above,accidently ended up with strawberry flavored icing but they still taste lovely. Ingedients: 1 cup gf self raising flour 1/2 cup buckwheat flour (gives the mix some body) 1 tsp gf baking powder 1/2 cup sugar 1/4 cup margerine 2 eggs 1/2 cup milk Finely grated rind and juice of one orange 1 tsp vanilla essence Gf icing mixture 1 tsp margerine extra Method: Pre heat oven to 160C fan forced. In a bowl, combine margerine, sugar, eggs, orange rind and vanilla essence. Beat until they look like fluffy custard. Alternatively fold in dry ingredients and milk. Spoon two heaped desert spoons of the mix into patty pans and bake for about 15 to 20 minutes. They are cooked when golden on top and spring back when tapped. Turn out onto a wire rack and leave to cool. To make icing, put a cup of icing sugar icing mixture into a bowl and add 2 tblspns orange juice and a tsp of margerine. Beat together with a knife until it makes a paste. Add extra juice if too thick. My icing mixture turned pink when the juice was added because I'd used strawberry flavored by mistake. If you want pink icing like mine just add a drop of pink food coloring. Spread icing over each cooled cup cake. These cupcakes were a hit with my Dad and sister who came for lunch the day I made them. The mix made nine but it could make a dozen if you use less mix in each patty pan. Recipe for an afternoon treat: A pot of tea, your favorite tea cup, a good book and two cupcakes. Thanks for stopping by, Dora. |
Romance author and lifestyle bloggerMy whole life is inspired by romance. I write romance novels of course but also love creating DIY's and decorating in a romantic style. I'm rejuvenating an old garden, including rescuing a couple of old rose bushes and planting new ones. Archives
March 2021
Categories
All
|

 RSS Feed
