|
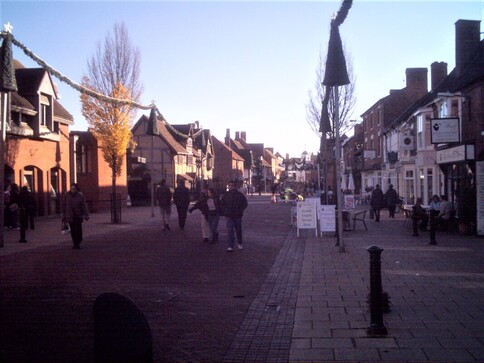
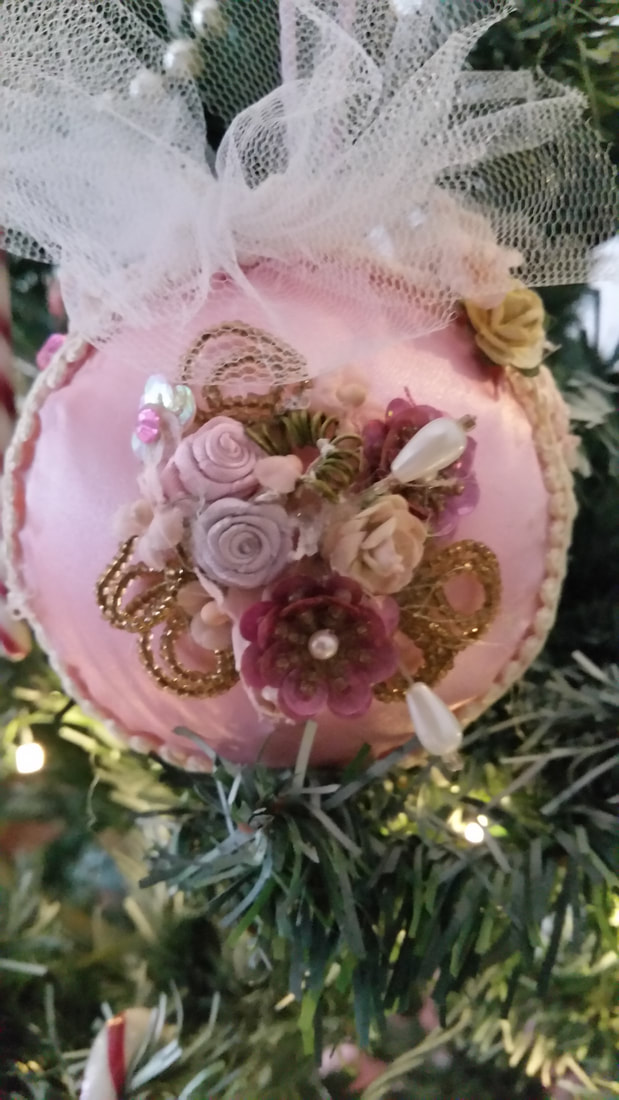
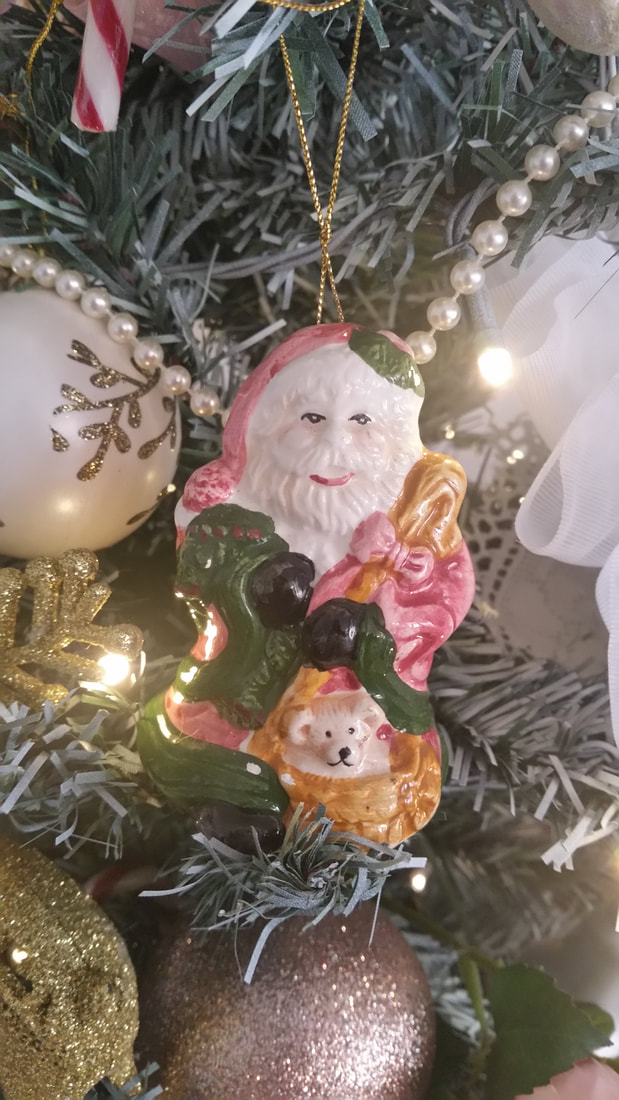
Hi, thanks for stopping by the blog to see what I'm up to. I've been working on and off for a couple of months on a Christmas story. It's been great during our Melbourne lock down to have a sweet story to retreat to in a setting close to my heart. If you'd like to read about how it all started and take a peak into my creative process read on.  It all began when I decided to participate in a Melbourne Romance Writers Guild online writing challenge. The first consideration was, what can I realistically commit to? I hadn’t written any new words for a long time because I’d been reworking a book I wrote earlier. To fire up my creative spark, I needed the excitement of a fresh story. Also, I craved writing something unlike anything I had ever done before. What would give me joy? What would be a pleasure to immerse myself in? Christmas in July came to mind. I love Christmas shops, the ones that are stuffed full with happiness decor. Elves and Santas, fairies and angels, nativity scenes and forest animals, I love them all. Anyone who knows me can tell you how much I love Christmas decorating. I have posts about it on my blog under the Christmas category. It wasn’t long after I started imagining a cute Christmas shop that Samantha Bell, the shop’s owner, made her appearance behind a counter tucked into a corner. She turned and looked at a staircase that led to a mezzanine area full of boxes crammed to the ancient oak beams. Then she looked out the shop’s front glass door. The street outside was in an English village that was paved in brick and lined with Tudor style shops. I had my heroine and the setting and the beginnings of a Christmas novel. Samantha Bell has been struggling to keep up Jingle Bells, her father’s Christmas shop, since he passed away five years ago. I wondered, in author style, what is the worst thing that could happen to her? I imagined her arriving at the shop one morning, coffee in hand, ready to open up and start her day. It’s the first of October and the official start to her Christmas season. New stock will start arriving today, and the town’s people will be calling in to see the new displays she’s setting up. But someone has put a piece of paper on the front door with a big red X on it. On closer inspection, the fine print declares that her building has been condemned. Christmas wouldn’t be Christmas without Jingle Bells. Her life, as she’d always known it, would be finished too. How would she provide for herself without the shop? Samantha heads straight to the council offices to sort out what must be a terrible mistake. It’s here she meets Nicholas Grant, the super organized and efficient manager of the building department. He excels in administering the department codes. Following the guidelines suits him perfectly. Oh, and he doesn’t do birthdays, anniversaries or Christmas. He spends those days with his model railway, which he’s very proud of. But there’s something about blond curls and red cheeks and tears in blue eyes that make Nicholas look a little closer into Miss Bell’s situation. It seems a fire report has been the cause, strange that it hadn’t been flagged until now. Then he remembers how her father, always came to the orphanage, where Nicholas lived for six years, dressed up as Santa Clause to give presents to the orphans. Miss Bell had accompanied him, dressed as an elf. She was all grown up now at five feet tall, but she still has blue eyes, bouncing blond curls, and red cheeks. Before Nicholas knows it he’s up to his armpits in helping Miss Bell to unravel the council’s building codes that apply to her shop. With his help she starts to see that she needs to step up and take responsibility for all that comes with owning a business and he helps her to discover her full creative potential. What he doesn't know is that Miss Bell is going to be the catalyst for him to face something dark from his past. Something that is keeping joy from his life. It's Samantha's purpose in life to spread joy where ever she can so she's not going to give up easiliy when Nicholas begins to push her away. I'm working on having it ready for release around this time next year, but if anything changes or when the release is due, I plan on including that kind of information in my newsletter that I'll have up and running soon so if you'd like to be on the list, email me at [email protected] and I'll make sure you get an update. Part of this blog are an extract from my Romancing the Genres post this September. It has been updated with the latest on how the novel is progressing and I added the photos. Until next time, happy reading. http://www.dorabramden.com Follow me on: Amazon Author Page Instagram @dorabramden Facebook Dora Bramden Author Page
0 Comments
Last weekend I went to the Melbourne Romance Writers annual Christmas party. Along with a Kris Kringle Present we each bring a plate to share. It's always an uplifting meeting, we look back on the year and celebrate our highlights. Afterward we have lunch together, As a Coeliac I always take something that is gluten free.
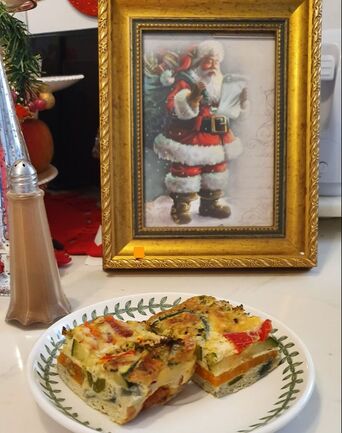
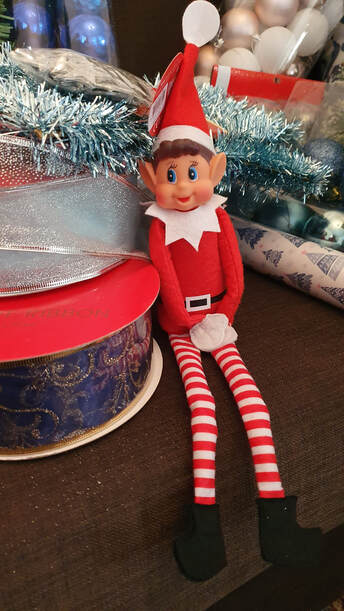
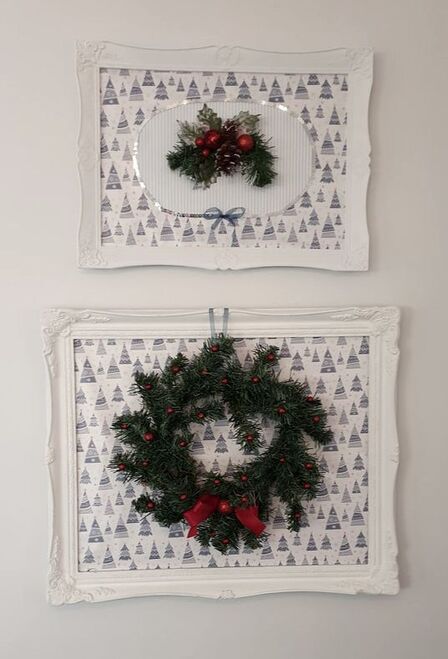
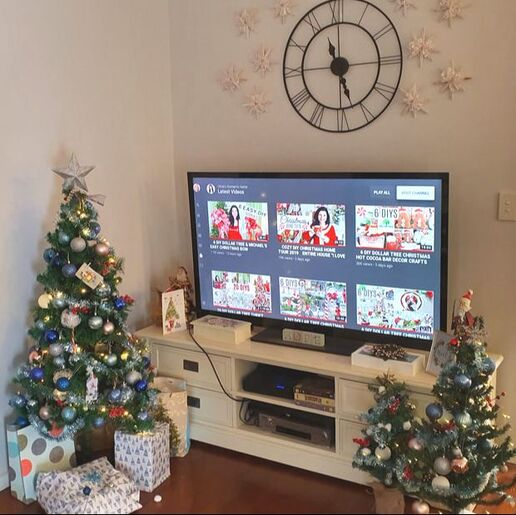
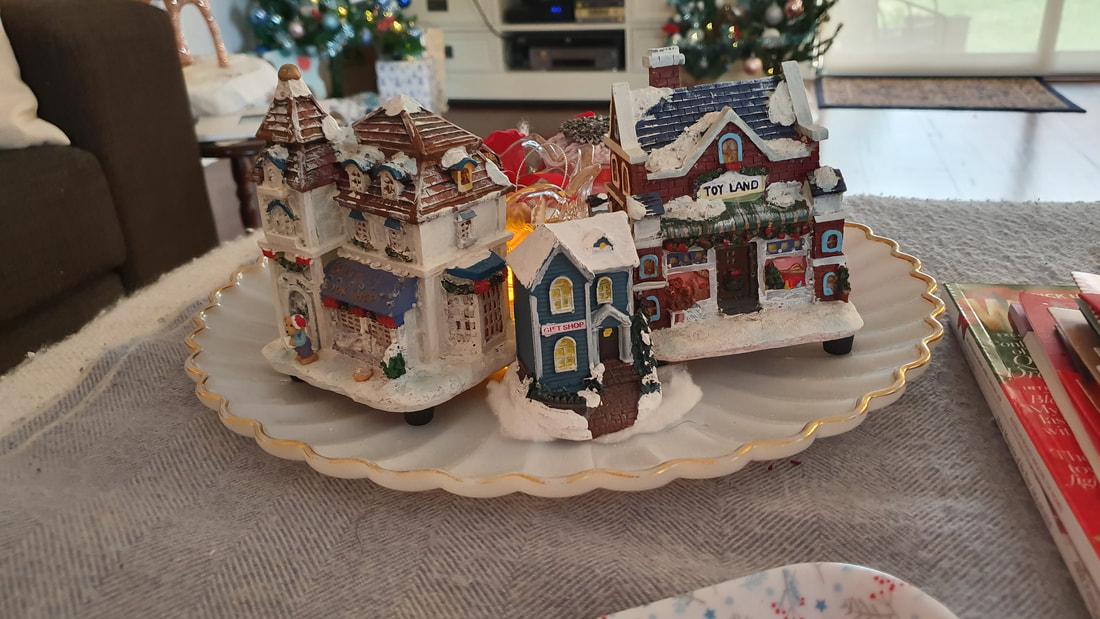
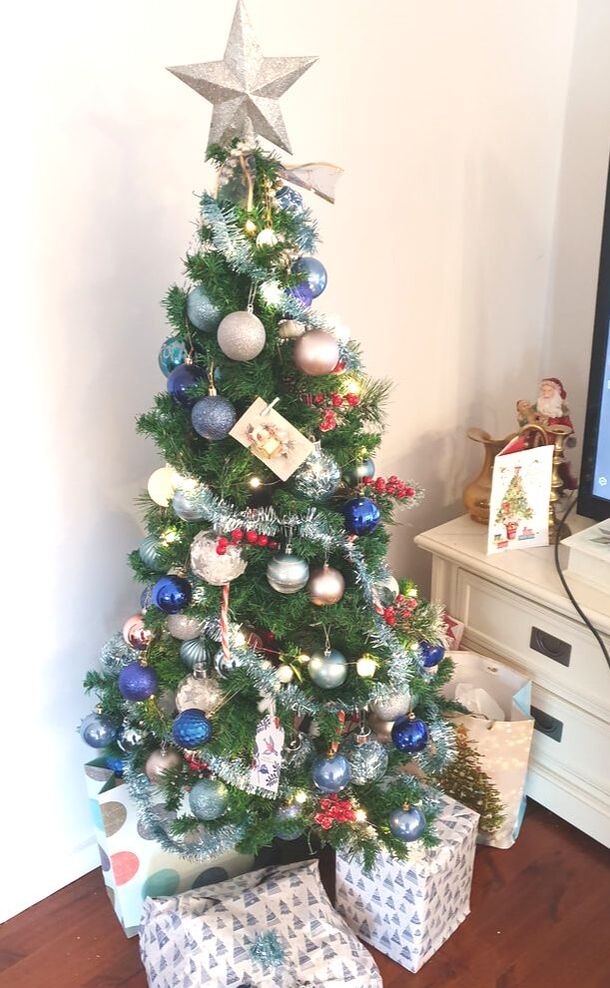
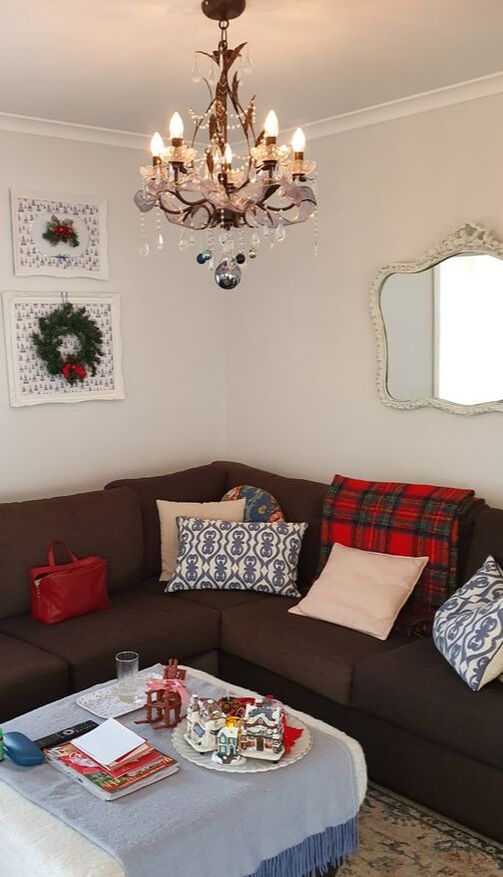
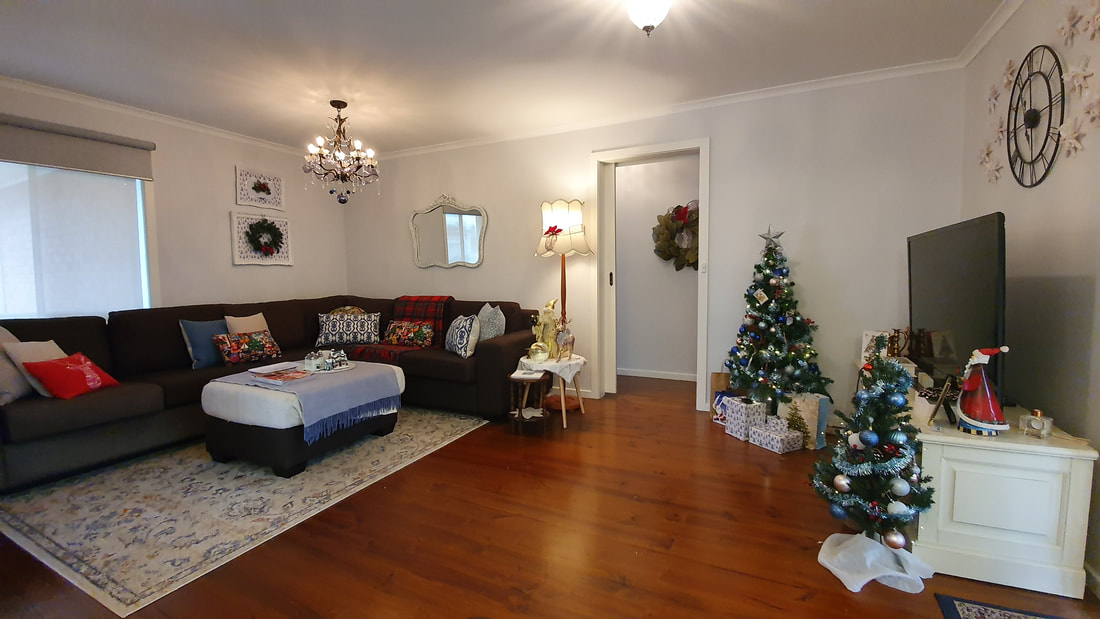
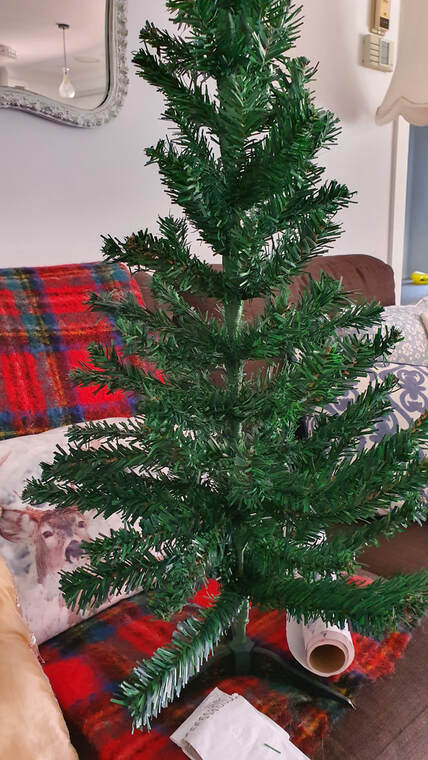
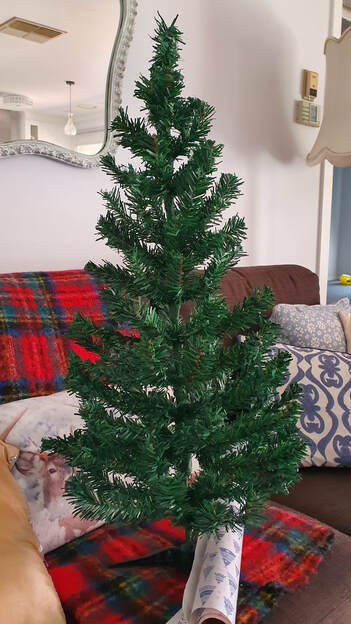
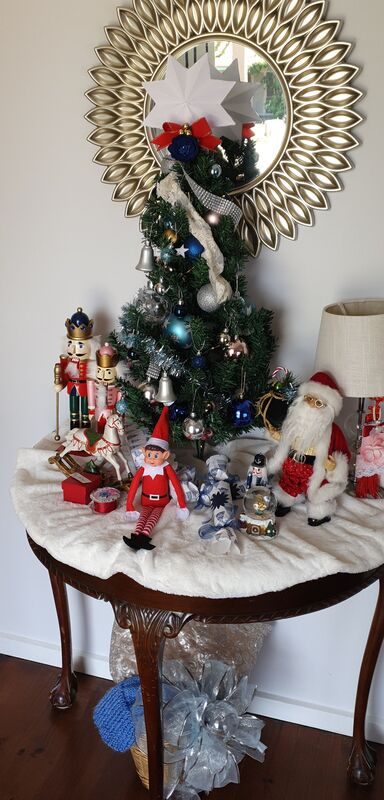
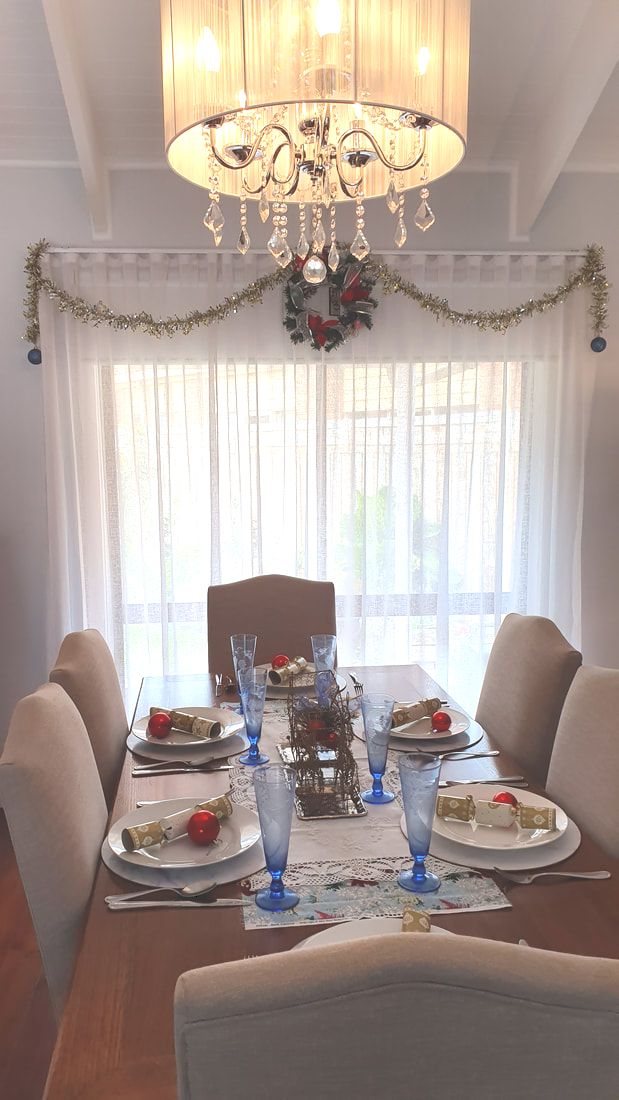
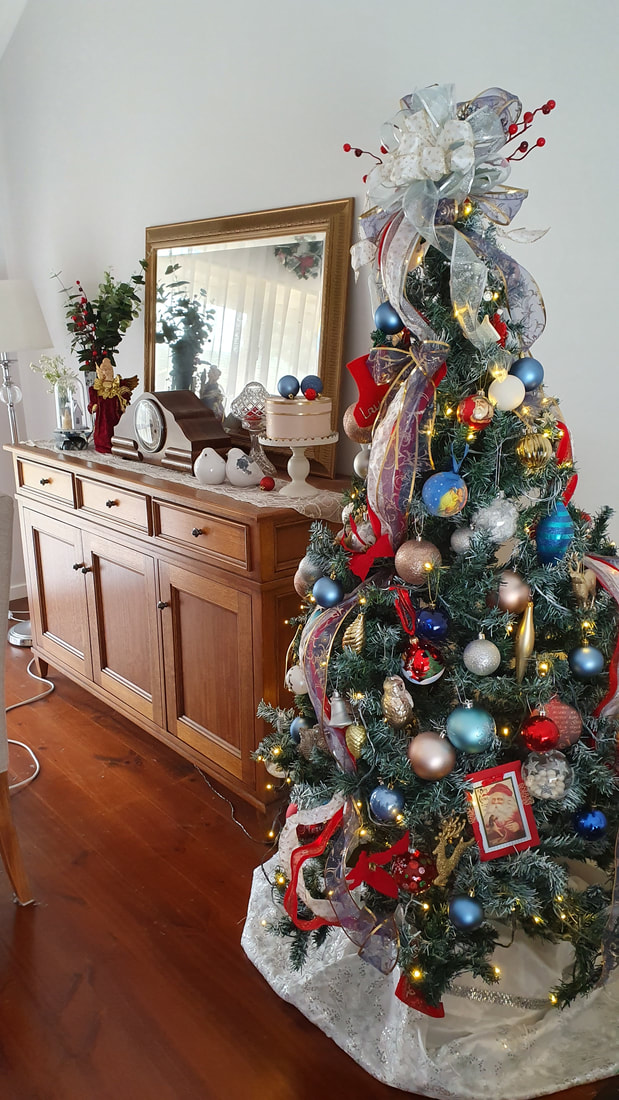
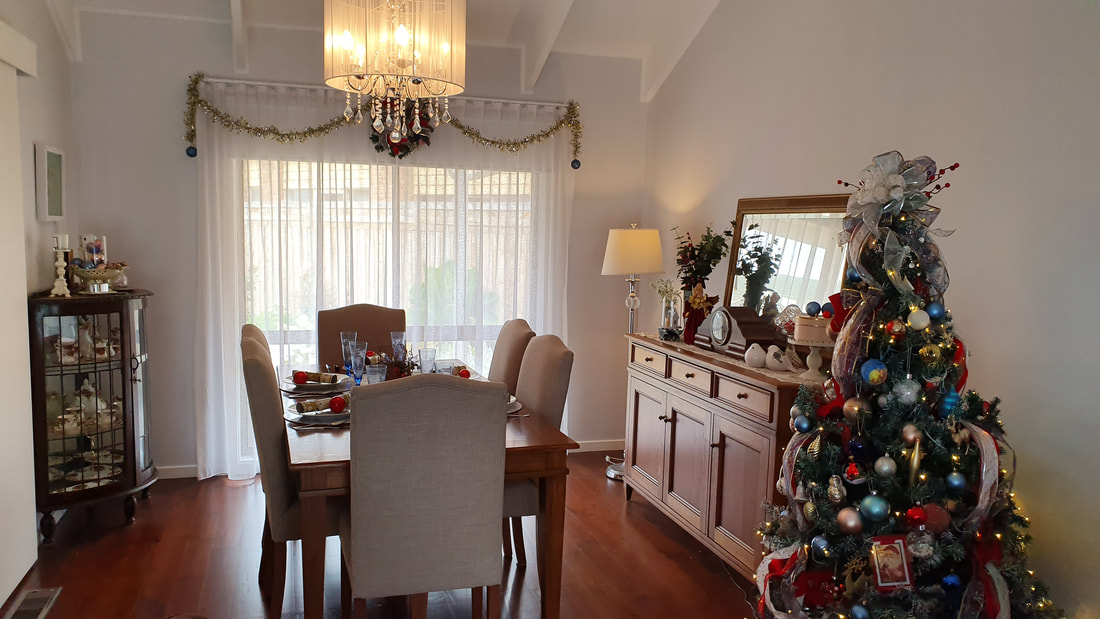
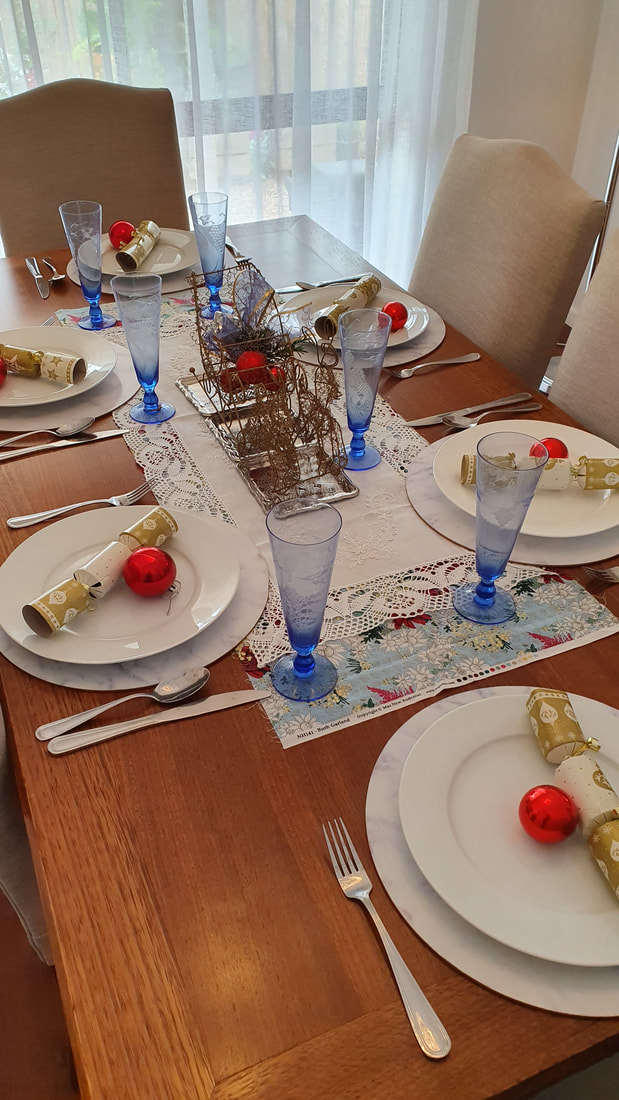
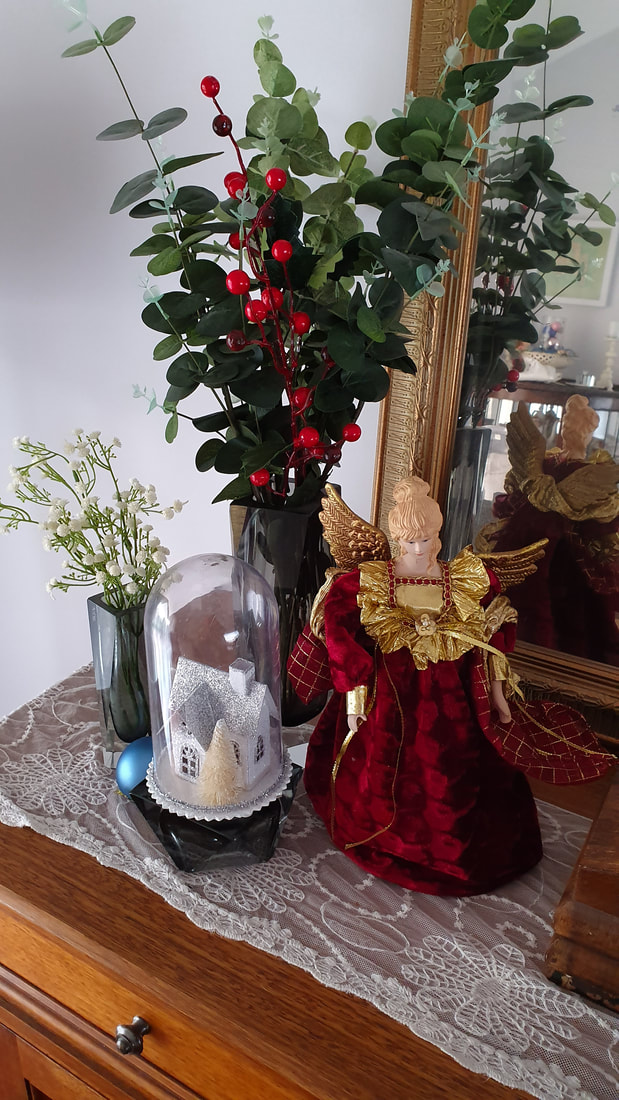
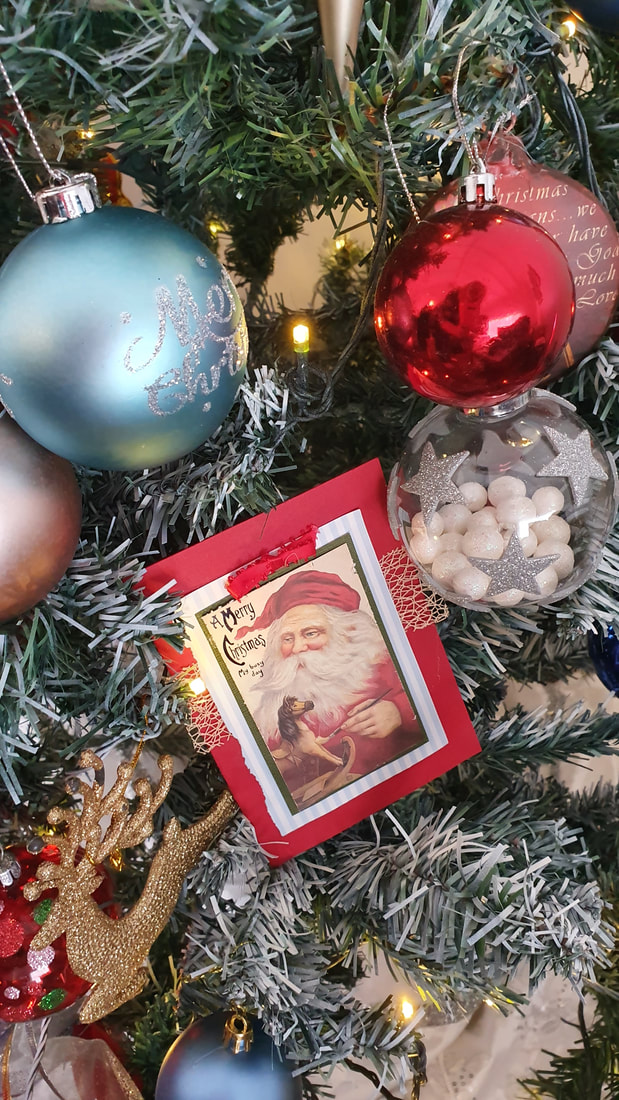
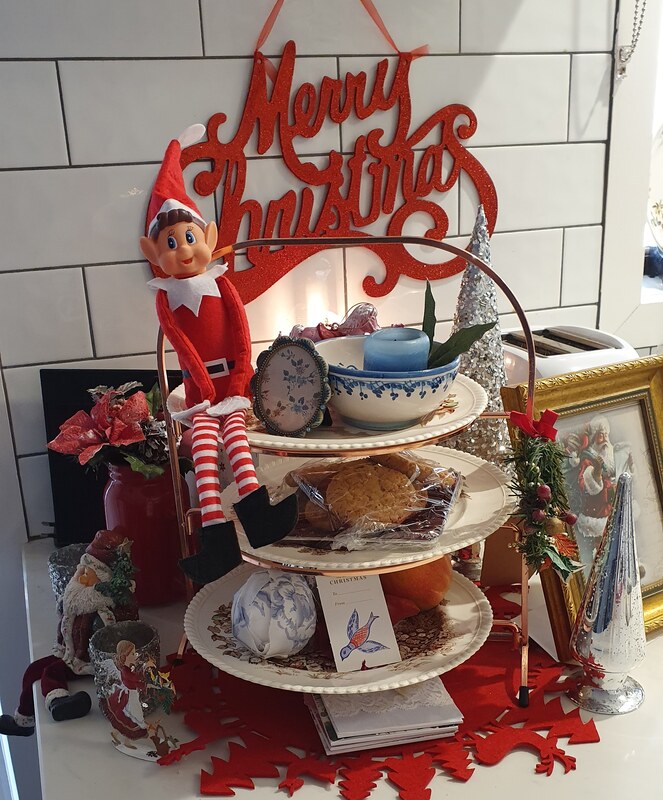
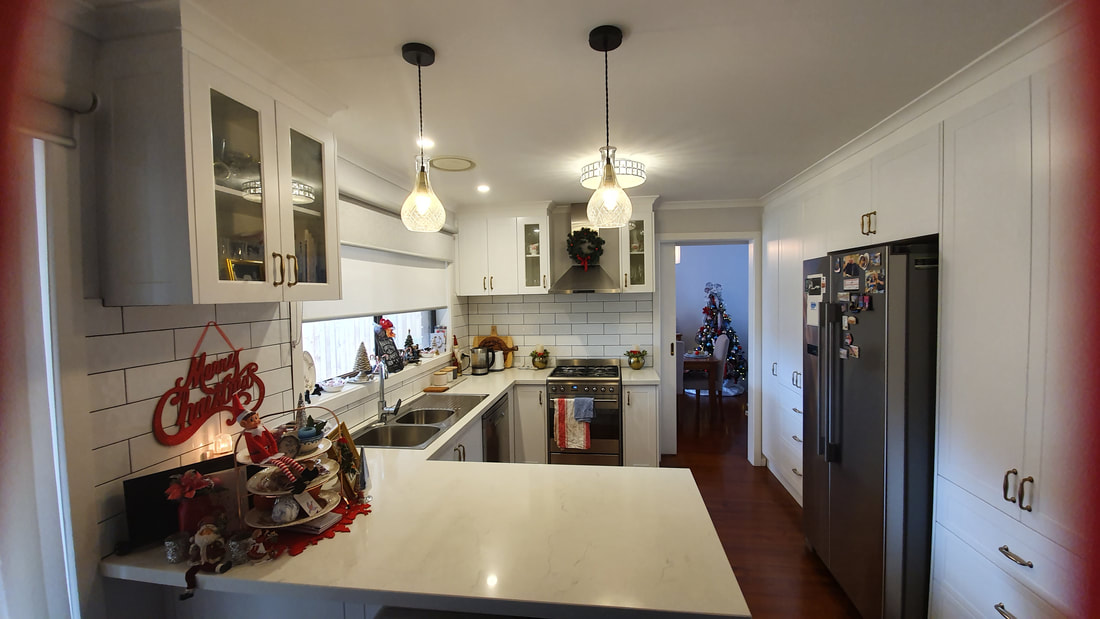
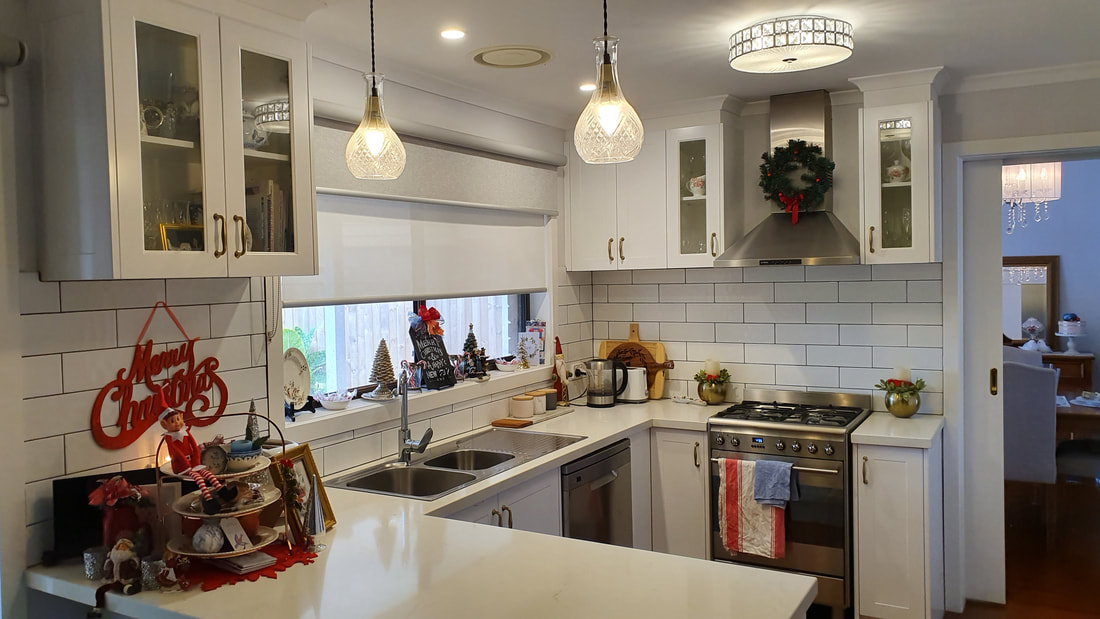
I opted for this vegetable frittata this year. The combination of red onion, red and green capsicum, sweet potato and zucchini and one other secret ingredient tasted great together. It baked to a nice firm texture that wasn't heavy but traveled well. It could be eaten comfortably using either fingers or a fork. Nearly all of it was eaten and I was asked for the recipe, which made me think it might be useful to post it here. Vegetable Frittata Ingredients One small red onion (diced) One medium green capsicum (diced) One medium red capsicum (diced) Half a medium sweet potato (peeled and sliced thinly) One medium zucchini (sliced thinly) half a small head of broccoli (chopped into small pieces) 100 gms tasty cheese (grated) 50 gms melted butter (or margerine or oil) quarter cup milk (I use lowfat) one doz eggs (beaten) Method Preheat a fan forced oven to 160C. Or without a fan 180C. Line a rectangle casserole or slice tray with baking paper and begin to layer the vegetables. First the onion and green capsicum, next is the sweet potato, then the zucchini. The last two layers consist of the red capsicum and the broccoli. Top this with the grated cheese. Add the butter and milk to the beaten eggs and combine. Pour this mix evenly over the vegetables and cheese. Cover with foil and bake for 45 minutes, remove the foil and bake a further 15 minutes until gold brown and set in the middle. Let stand for five minutes and then cut into serving size pieces. It tastes very nice at room temperature or reheated and is quite filling. when cut into 12 pieces each person will have one egg in a serve. I cut it into smaller pieces and got about 18 serves. I wanted to incorporate blue into my Christmas colours this year because I have a lot of blue in my decor already. The rug and cushions have shades of blue which I really love as it's timeless. Think of Willow Pattern China. But to make it Christmasy I also wanted to bring in some red and even touches oflight pink from last year. As I played with decorations in Kmart, trying them against each other to see how they'd go I discovered a sign that incorportated these colors. All I had to do was copy the combination and ratios of colour for an effect that looks pleasing. I noticed that there two both light and royal blue mixed with red and pink. The two shades of each color made the combination interesting. I found some wrapping paper with shades of blue Christmas trees and a pink star on top. I grabbed it, planning to wrap presents to put beneath the tree but also had a DIY in mind. I was inspired to use it to make these pictures similar to ones I'd seen on Olivia's Romantic Home. She framed pink stripped wrapping paper from a roll and hung a wreath in front. My version in Blues and Red combined with a wreath turned out better that I expected. I like the way it evokes a Hallmark Christmas feeling. I then decided to do another smaller one using some scrap booking supplies and a pick that I had on hand. Again it compliments the wreath and adds a traditional quality. I used blue and pink baubles on the tree and adding pops of red with berries. I took large berry picks apart and got about three bunches from each one. Pretty light blue tinsel to remind me of my childhood. We always had a small tree when I was growing up, about the size of the one on the left. I always wished for a big tree and love having one now that I have a home of my own. But I've set that up in the dining room because I've moved the television to the corner where I used to set it up. To add extra greenery and Christmas abundance, I set up two smaller trees as well. To make it feel like a forest I hung the peg stars that I made last year above the scene. I screwed a round hanger into the back of each one and hung them on the small clear Command Hooks. When shopping I found the tiny house in front. Blue and white it fitted my theme perfectly however my existing houses, Toy Land and Book Shop had a lot of yellow and light green so I painted over those bits with Warm White artists acrylic. I left the little pops of red on the awnings. As a base I utilized a large white and gold rimmed platter. Loving the blue on this tree and the complimentary presents wrapped below. I wanted the lights to be the same on all three trees so I used battery wire light strands. I've hidden the battery pack on top of one of the presents for easy switching on and off. Working with the blue cushions, throw and floor rug I added the village, DIY pictures, and decorated the chandelier with blue ribbon and baubles. The tartan mohair throw on the couch was a 21st birthday present that I've kept for all these years. Just a quick tip I wanted to share. When I fluffed the tree it looked very sparse and fake so I tried curving the wired branches up and seeing what would happen. I think the finished tree on the right looks heaps more natural. I couldn't resist including this vignette on the hall table. I adore these little elves and it inspired a toy room theme for the entry way. Tinsel! This how my mother always decorated the windows for Christmas and I'm bringing it back this year. The dining table has pops of blue and red that were easily added. I put this together in about ten minutes. I used my everyday marble print place mats (from Kmart) and white plates. I had the these crackers left over from last year and popped a red bauble next to each one. The blue glasses were handed down to me through family. The blue and red fabric is from my quilting stash and the white lace table runner was a gift from a dear lady in Cyprus. The big tree is in the dinning room and it's festooned with red and blue ribbon and decorations, spare baubles dotted through the room are an easy way to bring the eye around the the scene. I'll have the fabric hemmed nicely before Christmas night, when my guests will arrive. I love lace at Christmas. This runner is here all year round so I don't have to change it. An easy DIY is to take a hand made Christmas card and stick it to stiff cardstock with a string hanger attached. This was a gift I received several years ago from a writer friend. I added the blue striped paper to fit in with my theme. Christmas cuteness makes being in the kitchen so much more fun. Loving this cheeky elf. Red and blue continues in the kitchen. This year I used a command hook to hang a wreath over the stove. Simple red stripe and blue tea towels complement the look.
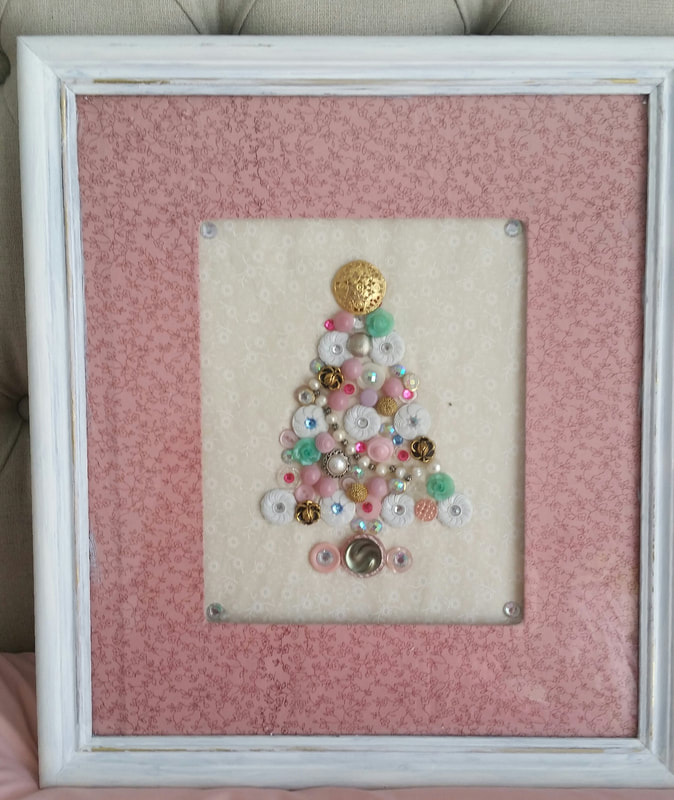
I hope you've enjoyed this Christmas tour and have fun decorating your home like I did. I really enjoy being at home at this time of year because, for me, my home feels like a warm hug. Wishing you all a festive and happy Christmas. Dora writes heart-melting, passionate romance. Creating something sweet for Christmas while not spending money is this year's challenge because I have our wedding next year to save for. All romance heroines know, that not having a lot of money to spend doesn't mean you can't do things. It requires being more resourceful, which is a good skill to cultivate. For me that means an appreciation for whatever resources you have available and making the most of them. One of the lovely things about using what you have is that you can include items that are sentimental to you. I have a broken bead bracelet that Mum gave me which I couldn't throw away, so I used it as a garland on this tree. Many of the buttons were my great aunts and came to me through Mum. If you don't have a craft stash like mine, go to second hand shops. It's much cheaper to shop the craft section of your thrift store and women's or girl's second hand dresses or shirts in pretty fabric with sweet buttons can help bolster your supplies. The Reject Shop or dollar stores sell bling for only a couple of dollars. My button and bling tree is hot glued to fabric but a sheet of scrap booking or other craft weight paper would be lovely also. I used an old framed picture that I had stored in the garage. Again if you don't have an existing one crying out for a makeover, thrift one. I painted my frame white with craft paint and covered the mount and backing picture with fat quarter quilt fabric. I added a layer of thin batting under the fabric but I don't think this is really necessary. The color palette was chosen to go with my Romantic Christmas theme. Romantic for me has a shabby chic feeling. so the colors are soft with pops of pink however it would look wonderful done in traditional red and green or whatever your decorating pallet is this year.
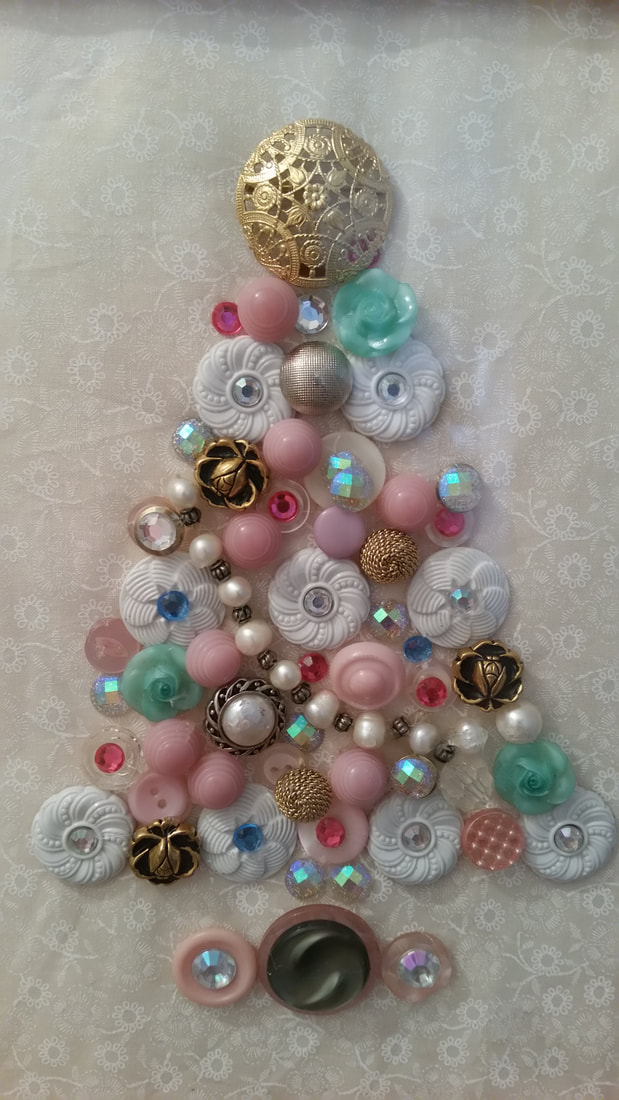
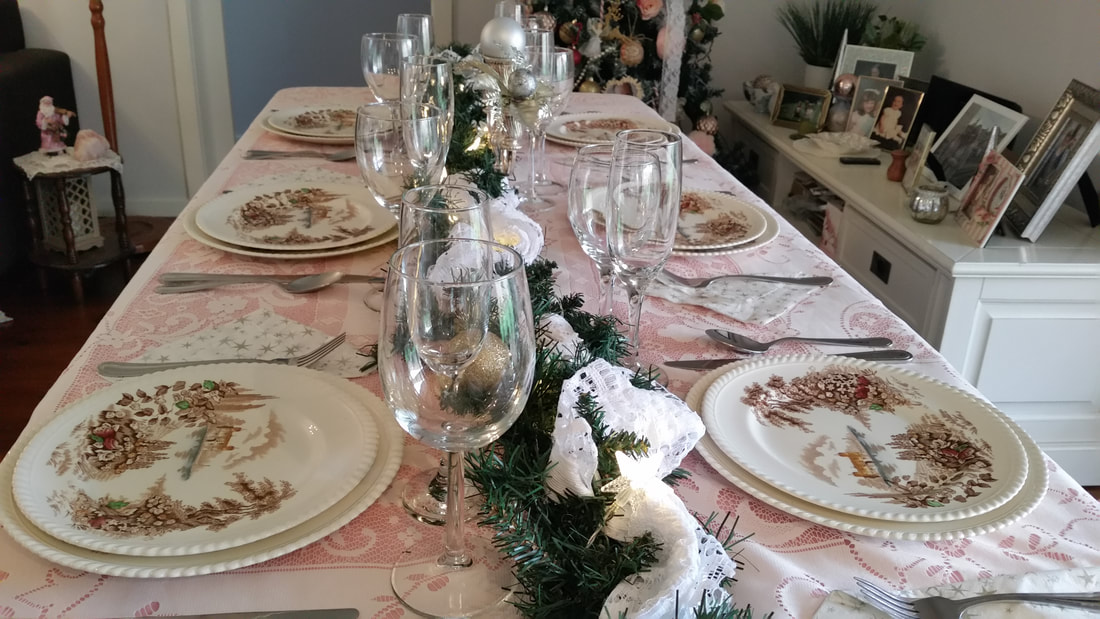
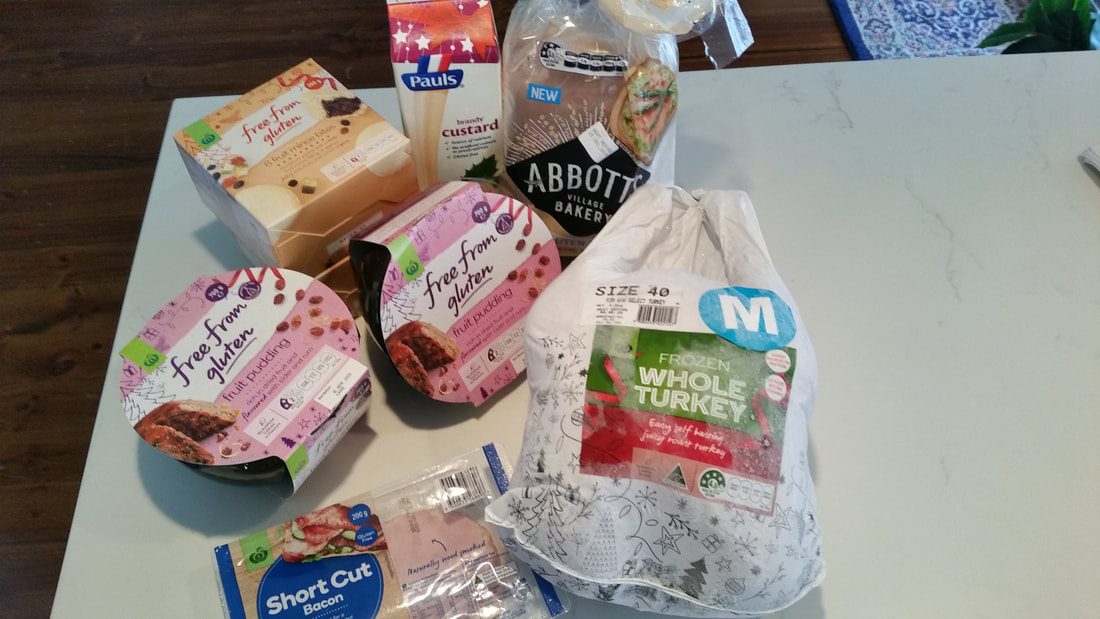
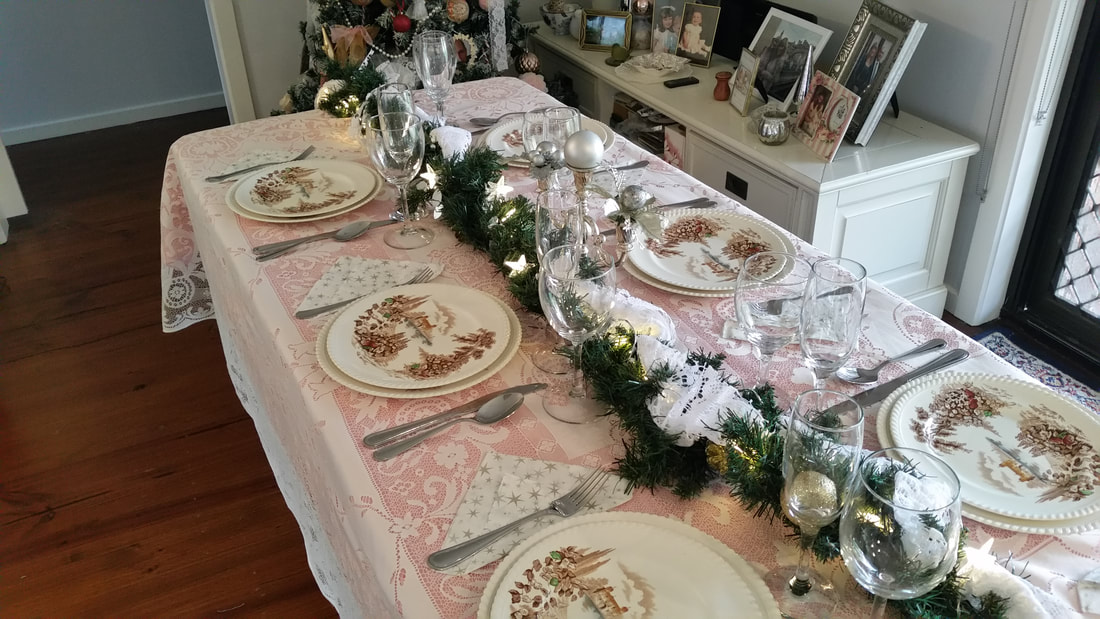
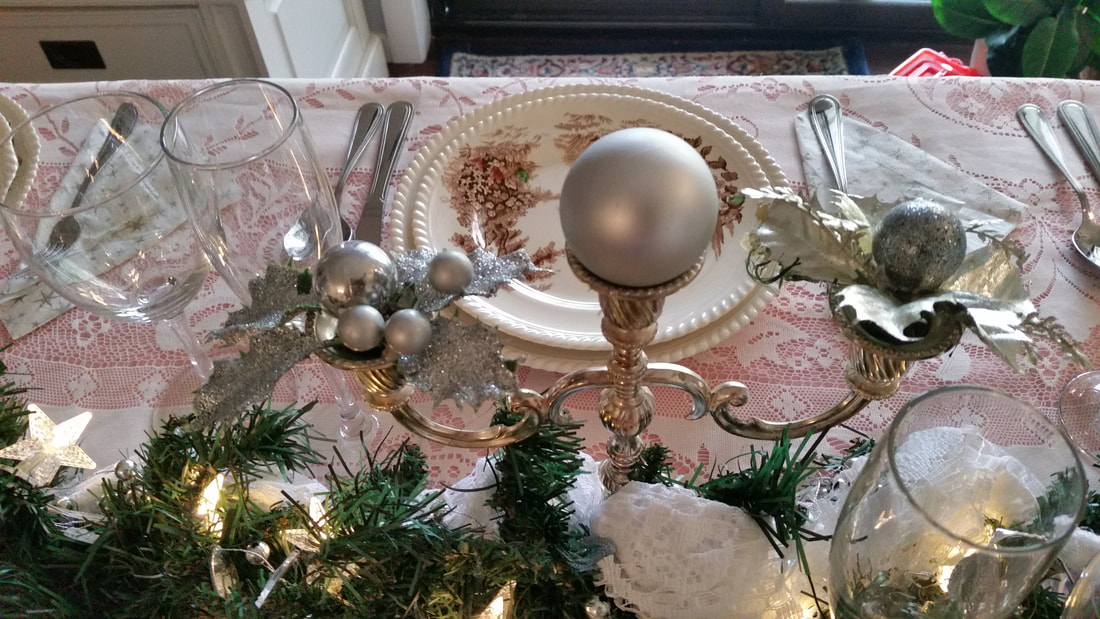
I made an arrangement that I liked without gluing first. I recommend taking a photo of it. I didn't however it still came out okay. I used the big white buttons to create a form work, then I draped the garland down between those. I used three of each brass and green rose buttons arranged in a zig zag shape down the tree. The green ones point left and the brass ones point right. I glued all of that down first. After that I glued the single feature buttons around the tree to draw the eye over the whole picture. Next I filled in with the random smaller buttons and bling. I layered bling onto buttons to add dimension. Some of the blingy bits were self stick and I made the mistake of just adding them without hot glue. One has shifted in the picture above so I recommend a small dab of hot glue on the self stick ones also. I crowned the tree with a vintage gold filigree buckle. Again this was from my great aunts stash. A vintage broach or a sparkly one from a thrift store would be gorgeous also. If you need inspiration, Pinterest has lots of very beautiful examples of these trees. You don't have to make an arrangement the same as mine. This was inspired by the buttons I had. If you don't have more than one of each kind of button you can group similar ones together and use some of my principles to help get you going. But really it's got to be what you like. Everyone's tree is destined to be unique and special because you created it. I've hung mine in the hall leading to the bedrooms and bathroom. Each time I pass I enjoy seeing it. When the hall door is open, which is most of the time, I can see it from the kitchen and family room too. Even though Christmas is nearly here. Just a couple of sleeps away and it's exciting and wonderful, my heart is calling to love ones who've gone ahead of me to spirit. If you are also experiencing sadness at Christmas, I understand how you feel. I love the memories that this tree helped bring back. They are mine forever. But the greater the love the greater the loss, so at Christmas I have to focus on being grateful for their many gifts over the time I had them for. However, I know it's my turn to carry on and make the most of this festive time of year with the family and friends who bless my life and fill me with gratitude. So dear readers of my weekly blog, thank you for stopping by to see what I've been writing about each week over the last year. It means so much to me and I'm truly grateful for your support. I hope you have a lovely Christmas day planned for yourself and wish you and your loved ones a very happy Christmas. Sending you all a big hug. Merry Christmas Love Dora xoxo Three weeks before Christmas I stop thinking about it and pick up a pen and start making a record of my plans. I work out how many I have coming for lunch this year and put that number at the top of my menu. Now I move forward with listing the menu items. Next to each item, I write who is doing what. Lunch is a community affair so the guests are contributing some of the dishes. Mine looks like this. 13 people Nibbles anti-pasto platter Dora Entree prawns and crayfish My dad and Sam’s sister homemade seafood cocktail sauce Dora Main Course roast turkey with seasoning Dora roast pork with crackling My brother in-law roast potatoes and pumpkin Dora stuffed tomatoes My sister peas and carrots Dora cauliflower cheese My daughter also gravy, apple sauce and cranberry sauce Dora Dessert plum pudding with cream and custard for dessert. Dora With Coffee Cadbury Roses chocolates My son Drinks flavored mineral water, soda water, sparkling white wine, red wine, port, other liqueur Sam and my son tea and Coffee Dora I feel full just reading this list. But it will take us a few hours to get through all the courses. I then make a shopping list of items I need and three weeks before Christmas I start shopping for what I need to provide. I’ll start stocking up on things like tea bags, instant coffee and long life milk. I get my turkey at least two weeks before Christmas to make sure I have the size I want. This year I decided not to make a plum pudding. It was a difficult decision but being a Coeliac I can’t make the one Mum used to. I had a pre-made gluten free one from Safeway last year, which I enjoyed, so I bought two of those and a litre (about 2 pints) of brandy custard too. It’s 10 days before Christmas when I’m writing this blog and it’s time I know what I’m doing with the table setting so I’ve created a sample table-scape that I’m happy with. On Christmas day, I’ll translate it into two trestle tables that will run the other way in the family room so that I can seat thirteen people. I’ll bring the dining chairs in from the formal lounge room and other chairs scattered through the house. I can put eleven together so I still need to source another two chairs. My sister will lend me those. As this year’s theme is Romantic Christmas featuring pink and lace so as a table cloth, I used some pink quilting fabric that was bought to back a quilt which I haven’t gotten round to making. I layered my Mother’s lace tablecloth over it. Down the center of the table, I have a garland that I’ve used in various places throughout the years to which I added lace strips. Fresh batteries for the star lights and it’s done. In the middle of the table is a candelabra for a centerpiece with a little bit of height. Instead of candles, it holds berry picks and a bauble. I found a vintage dinner set this year and decided it would go very well with the pink theme. I’ve put out a dinner plate for the main and a smaller plate for the seafood entree. These will be passed around on platters and people will serve themselves. Wine glasses are a must. Even if some of the guests only have soda water in theirs. I think stem glasses are more elegant and create the party atmosphere I want. 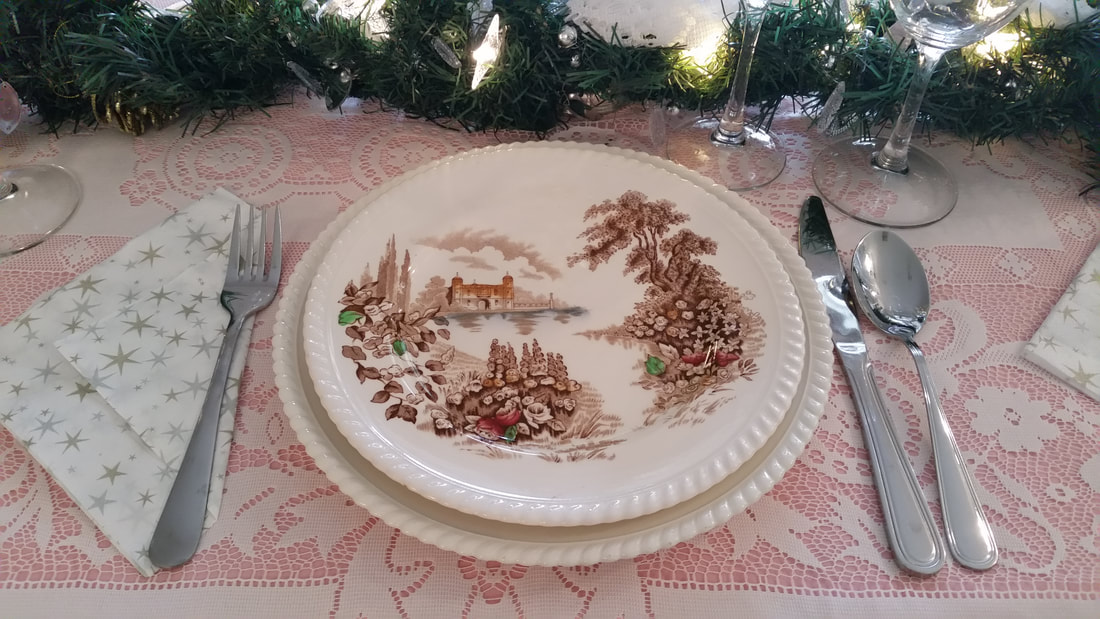 Make sure all your cutlery is the same distance from the plate and the table edge. The serviettes need to be thought about as decorative but also easily accessible for functionality. To be added is some bon bon crackers. I need a trip to Kmart for those over the weekend. I'll put one next to each fork on top of the serviette. I still need to buy all the perishable items like pumpkin and cream
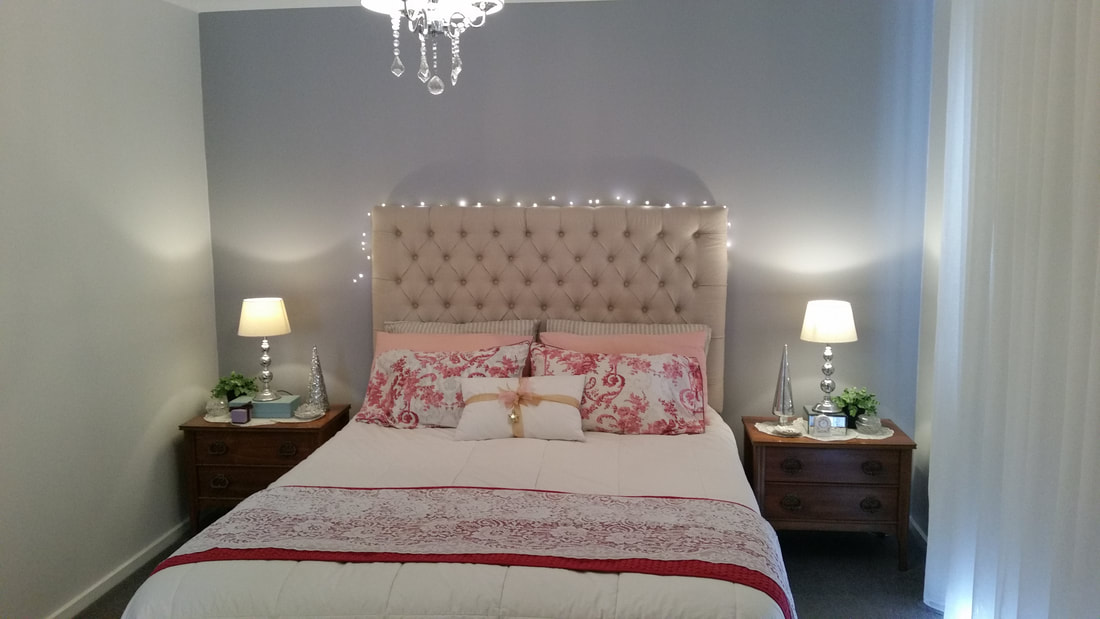
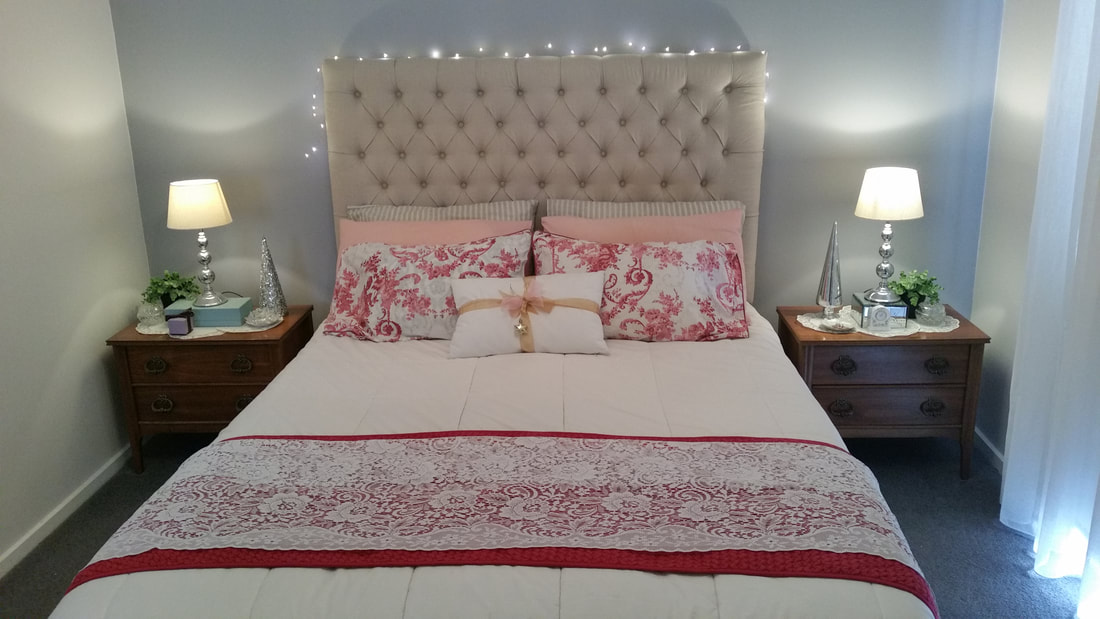
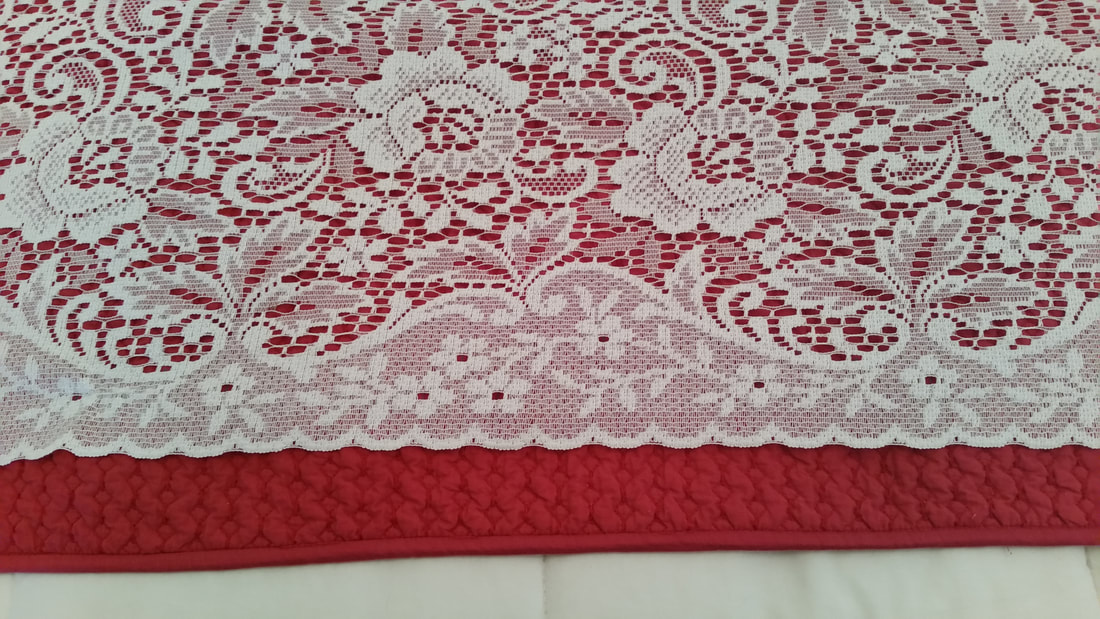
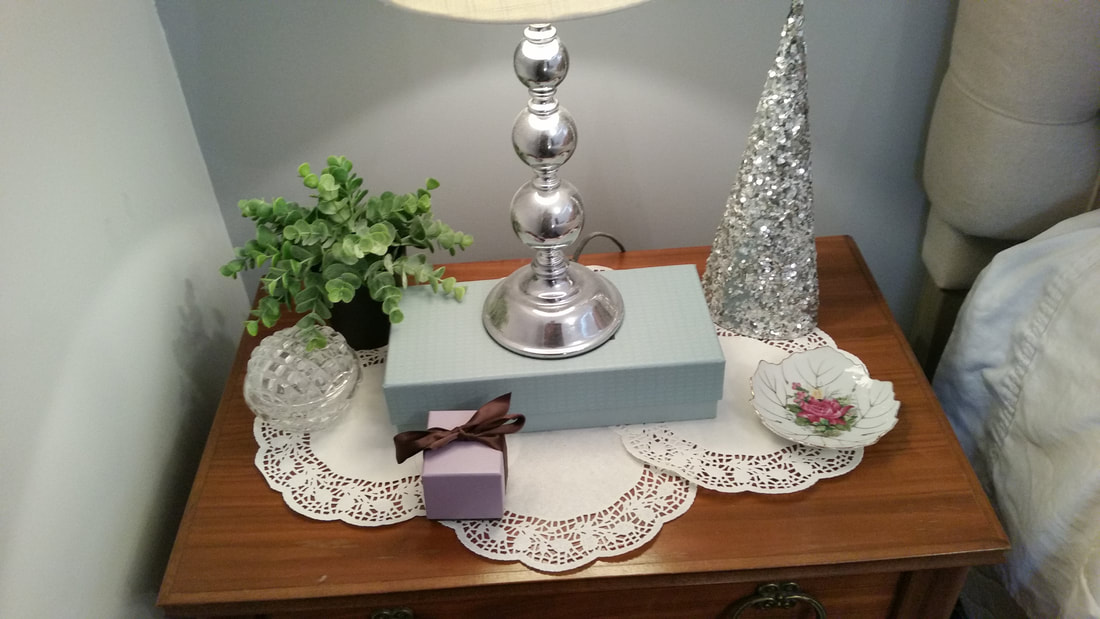
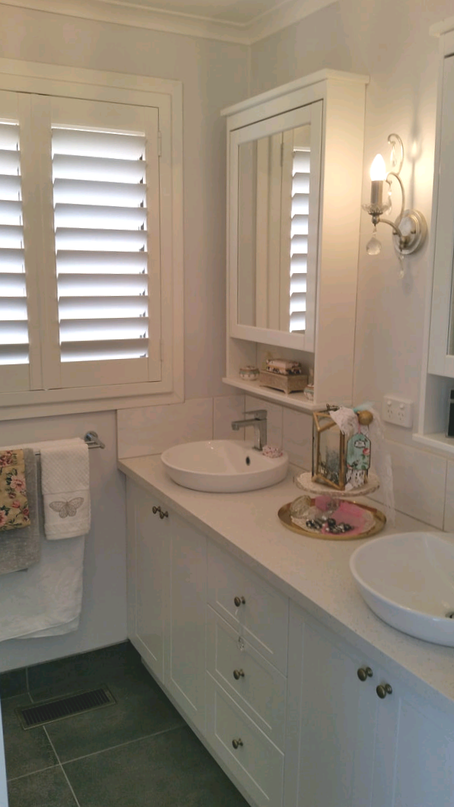
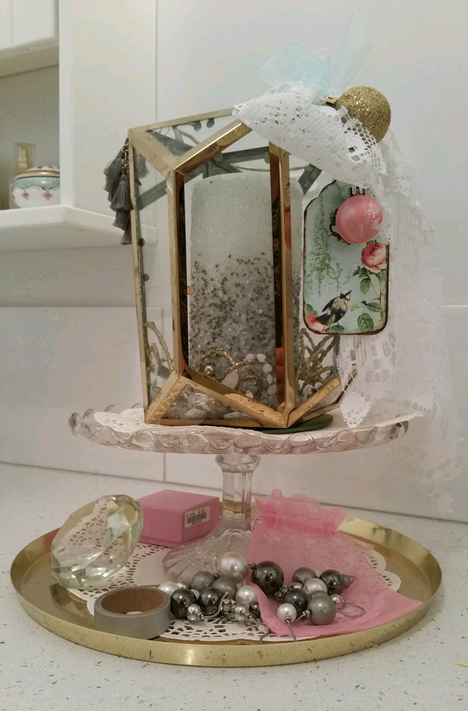
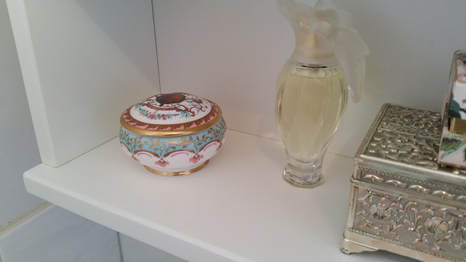
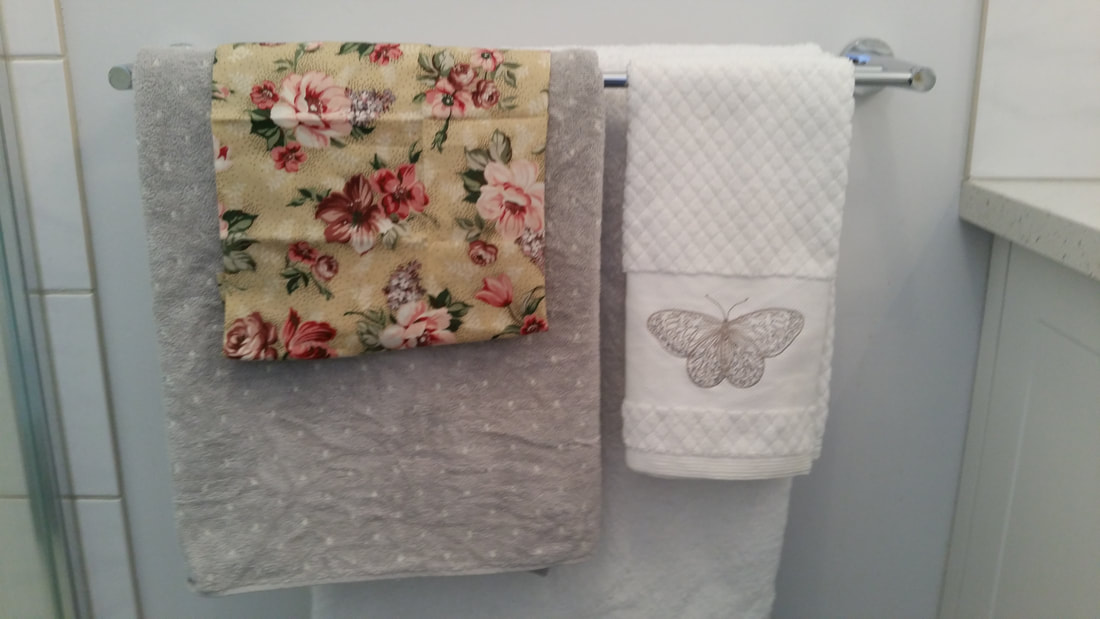
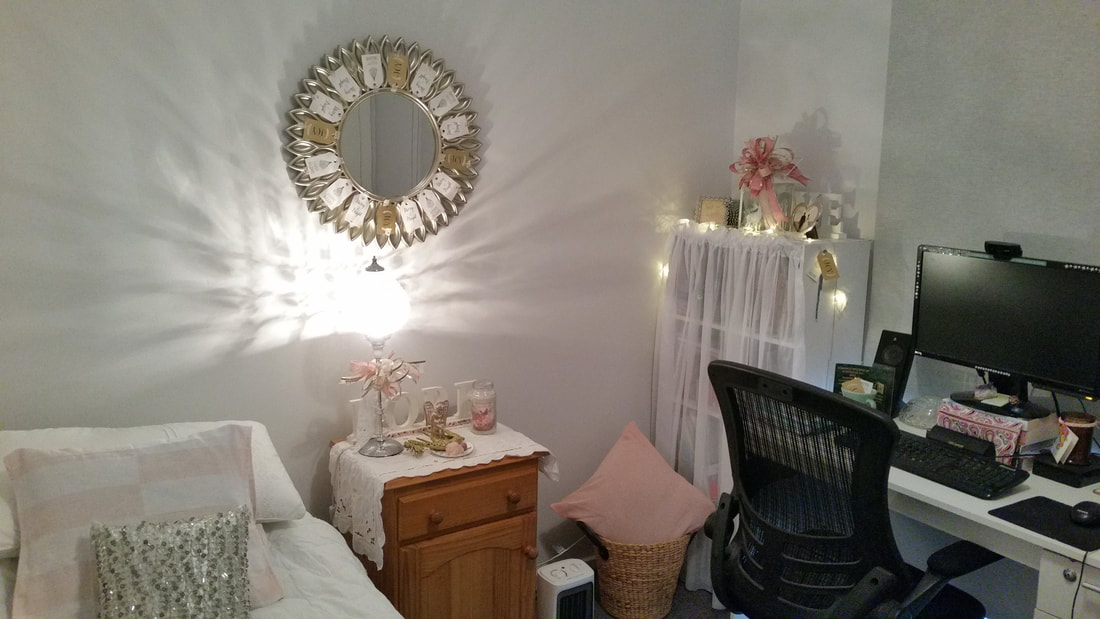
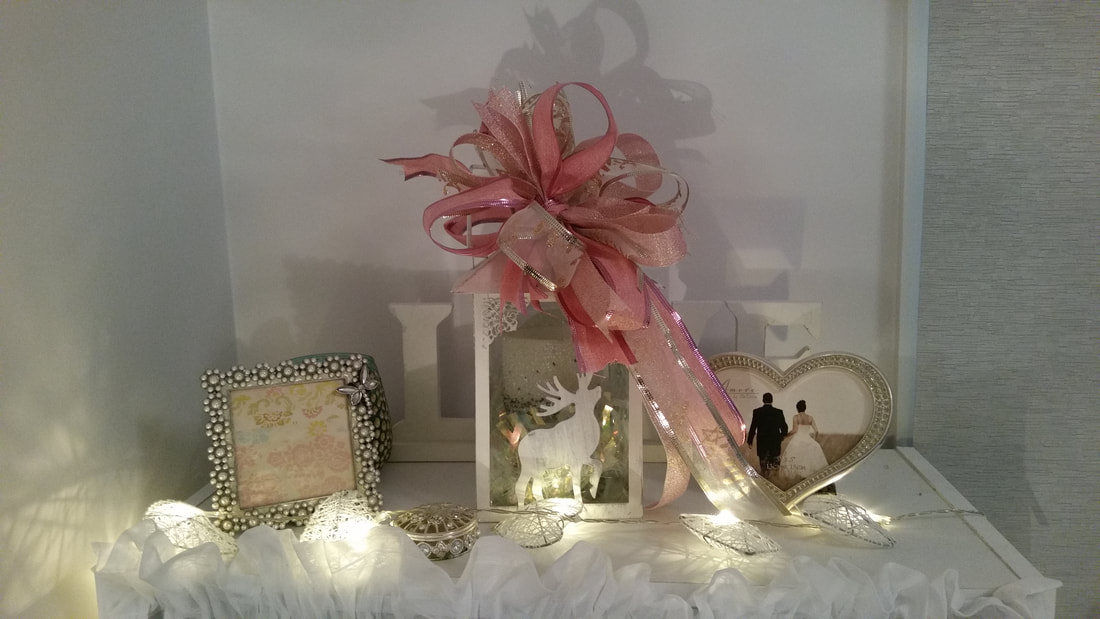
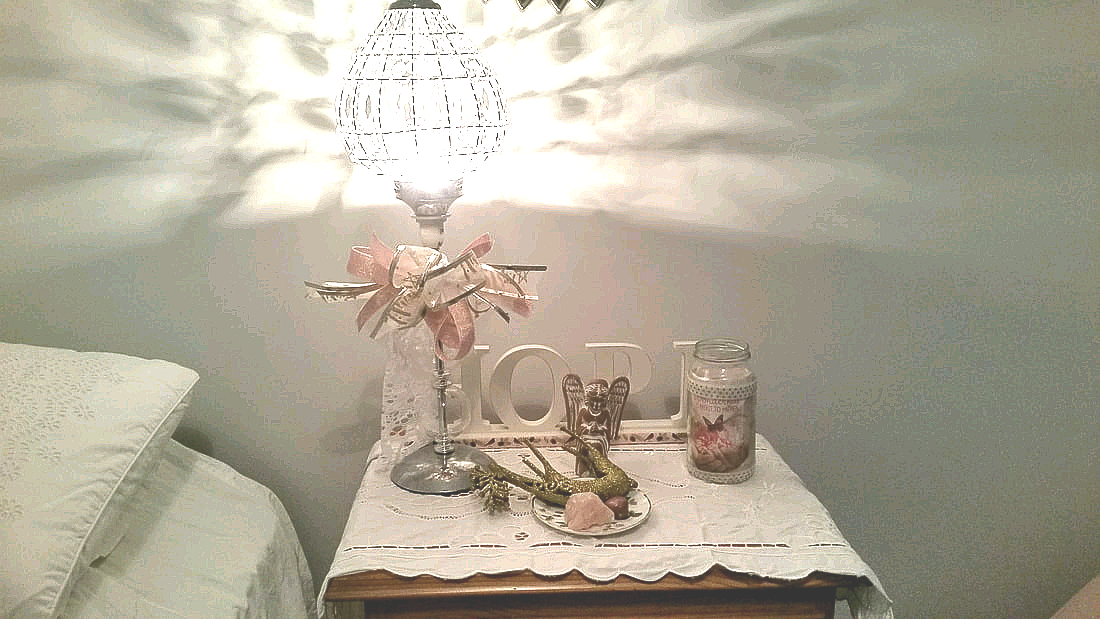
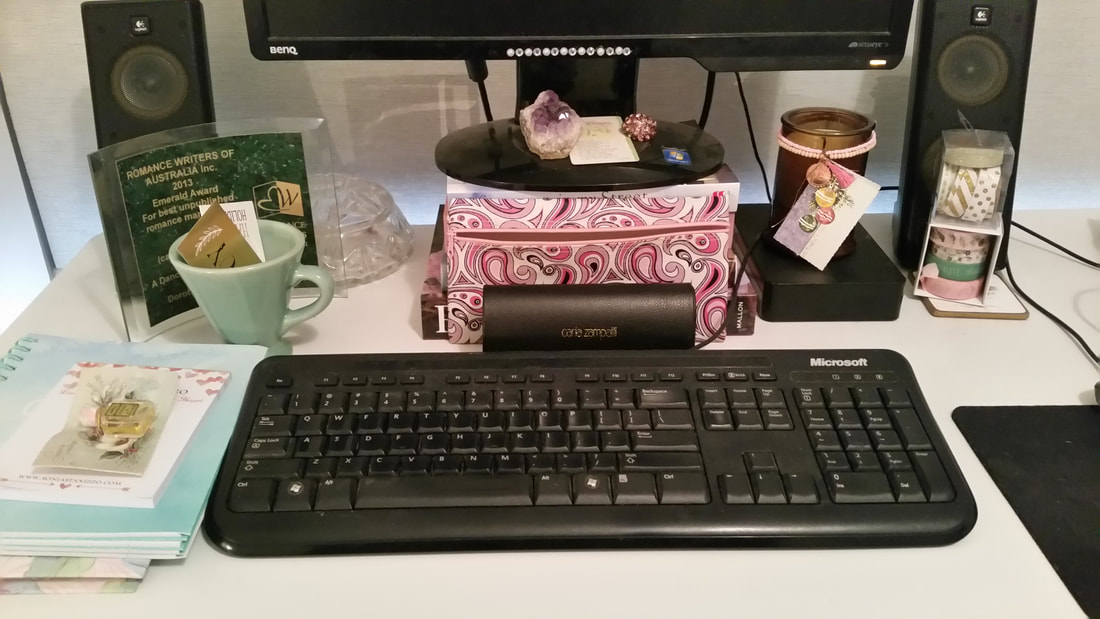
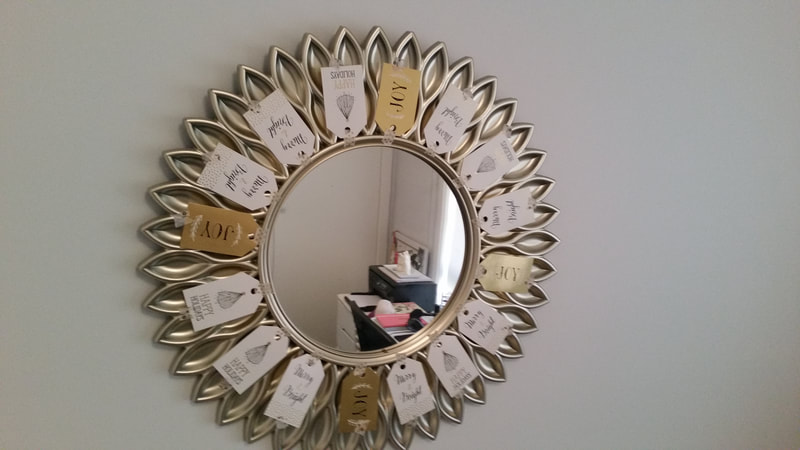
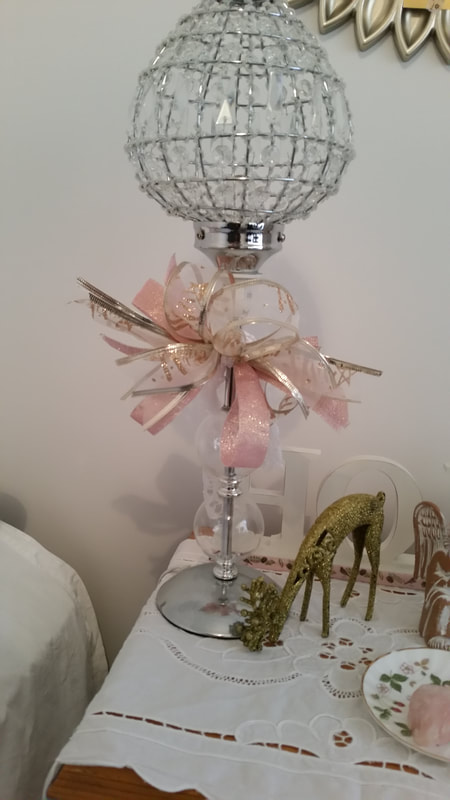
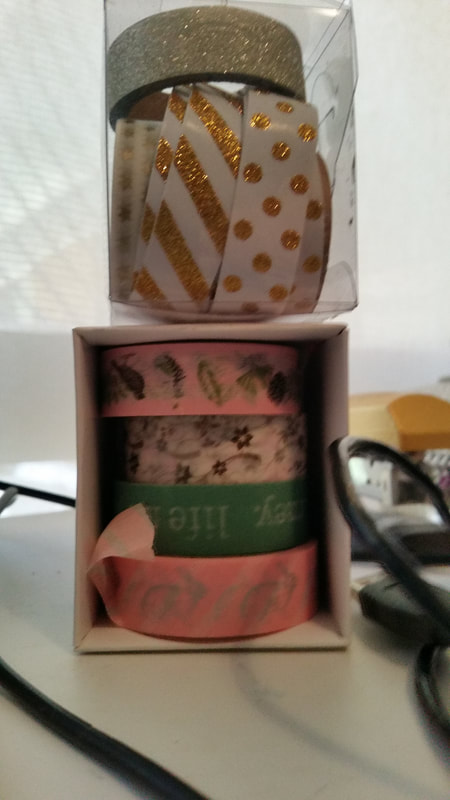
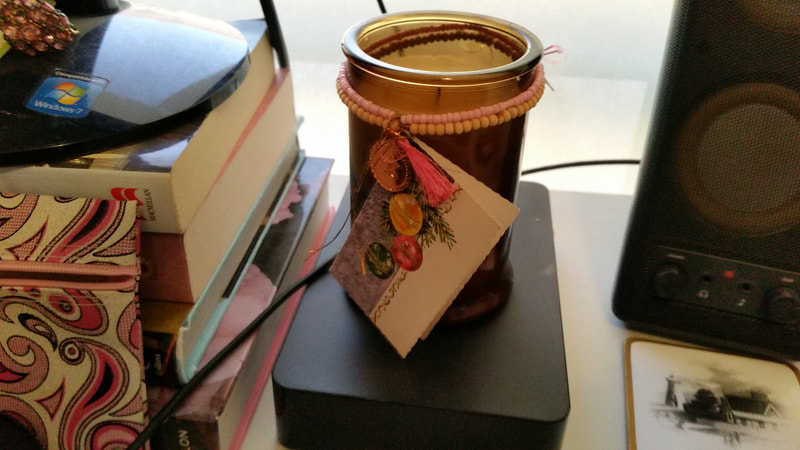
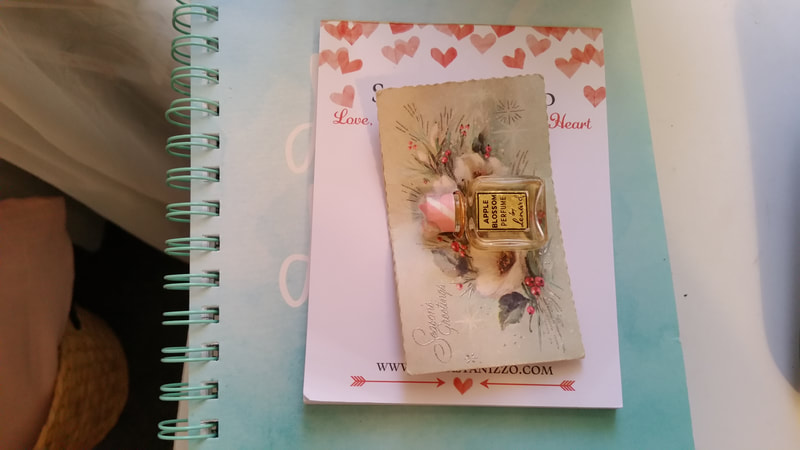
Buy the drinks we want. Here’s my schedule for hosting Christmas lunch Three weeks before Christmas Make a list of the guests Plan your menu Two Weeks before Christmas Shop for key ingredients that can sell out Plan your tablescape Last week Defrost the turkey if yours is frozen like mine. Instructions on the packaging will tell you how many days it needs in the fridge section per kilo. Shop for perishables items like vegetables or antipasto Do an on line click and collect from the bottle shop. It will save time and be boxed up ready for you to take home. Christmas Morning Make sure you're up an hour before the turkey needs to go on. Make the seasoning. Stuff the turkey and put in the oven to begin cooking. Peel and chop the potatoes and pumpkin. Put the potatoes in a pot of water until it's time to par boil them and put in the oven to bake. Peel and slice the carrots. Set the table. Make up the antipasto platters. Tips Don’t try and do too much. I’ve called it regarding the plum pudding. I want to do it but can't see how I can personally manage it. Wheat flour is toxic to me, and besides that, I have a limited amount of energy so I have to spend it wisely. Enlist the help of your guests. It’s an inclusive thing to do and allows everyone to feel they have made a contribution that is valued. Don't aim for perfection. Remember that this is about giving a Christmas experience to your guests. The food is a part of that but it’s not a big deal if something gets overcooked or overlooked. We forgot to put the tomatoes out one year and found them in the oven later in the day. Everyone had a great time just being with each other and giving our modest gifts after lunch. The Bedroom The bedroom is one of the most romantic rooms in the house. There's no TV to distract us from being present with each other. We usually have our heart to heart talks in here. It's very much a place that we live and I wanted to include the coziness of Christmas romance in here too. Lace is an important part of this year's theme but I've learned to use it sparingly. If you follow my Facebook page or Instagram you'll see the first version of this room which was just a tad over the top with lace. This is a more restrained, elegant arrangement that highlights the lace without letting it over power the room. Paper lace doilies are cheap but add romantic texture. I found these in the bottom draw with the casserole and serving dishes. The ring box with a bow is the one that Sam gave me when he proposed. 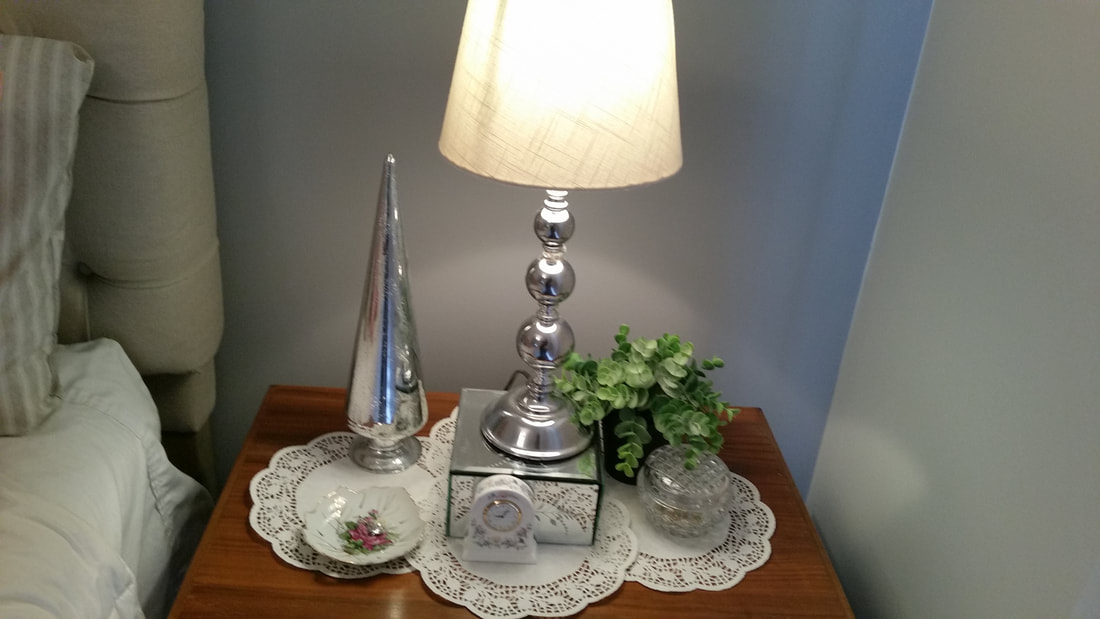 The little clock belonged to my mother. There are memories of her in each room of the house because I need to feel her presence at Christmas time. The little leaf dishes belonged to Sam's mum. I want him to feel her close by at Christmas also. The En-suite The en-suite has been prettied up with festive trinkets. The gold tone lantern had been outside and was very dirty but it cleaned up like new with dish-soap and warm water. I placed it on a cake stand and sat that on the gold tray which lives in the en-suite year round. I made a lace bow and attached some ornaments. Inside the lantern is a battery candle, some more of the gold swirls from a broken decoration and a necklace of pink quartz beads. On the tray below is a faux pearl necklace some pink things, washi tape in silver and a crystal. It feels romantically glamorous to me. The perfume was a gift I gave Mum so it came back to me. I bought the trinket box when I toured Windsor Castle. That's a bit glamorous too. Fluffy towels speak luxury to me. I chose my very best to display. Mum gave me the embroidered hand towel for Christmas about seven years ago. The grey with white polka dot towel is cute but Christmassy because it reminds me of falling snow. I scrounged a fat quarter from my quilt stash to add pink and gold tones. The Study This room took on a romantic glam theme as I began to decorate with what I had left after doing the rest of the house. I confess to spending $4.50 on ribbon to help this room have some softness and romance and $10 on this lantern from spotlight on sale. Thanks to Arlynn's Country Craft Corner, I learned to make a funky bow. It takes a lot of ribbon but the effect is charming. This is nothing compared to what Arlynn creates but I'm grateful to her for all the inspiration her YouTube channel provides. She's such a sweet warm hearted person too. Oh dear, the reindeer fell over. Didn't notice it when I took this shot. But never mind, I'll stand him up again. Being hopeful at Christmas is always a good idea. Christmas at my desk includes little gift cards I gave my mother when I was at primary school. One hangs from the candle and the other, with the mini perfume bottle still attached, sits on some note pads. When decorating my home for Christmas, I'm using my heart. I want to create a cozy retreat full of warm memories and a lovely space to create new ones. I'm thinking ,how does this make me feel?, when I finish and look at what I've put together. If I don't feel what I want to it gets changed. Several attempts are required for every vignette before I feel warm and want to smile but I know it's worth all the effort.
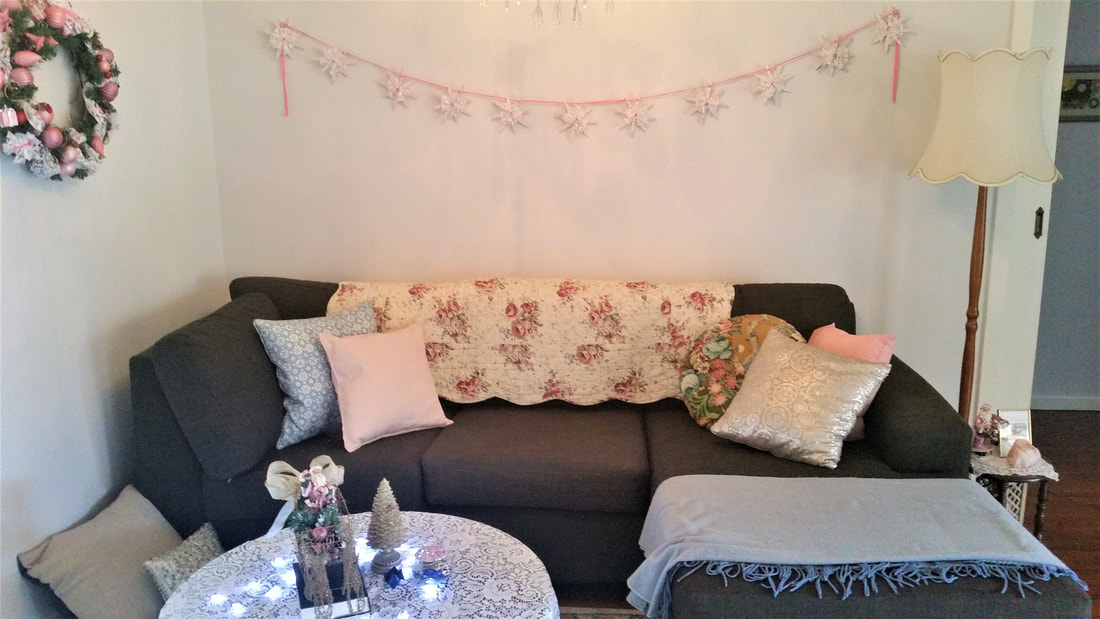
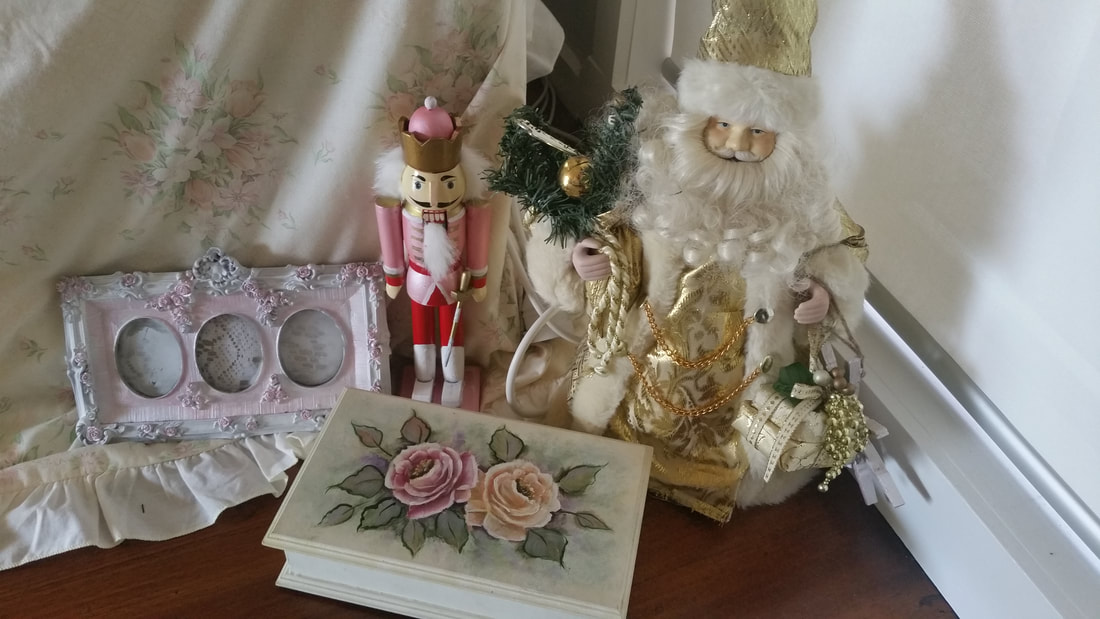
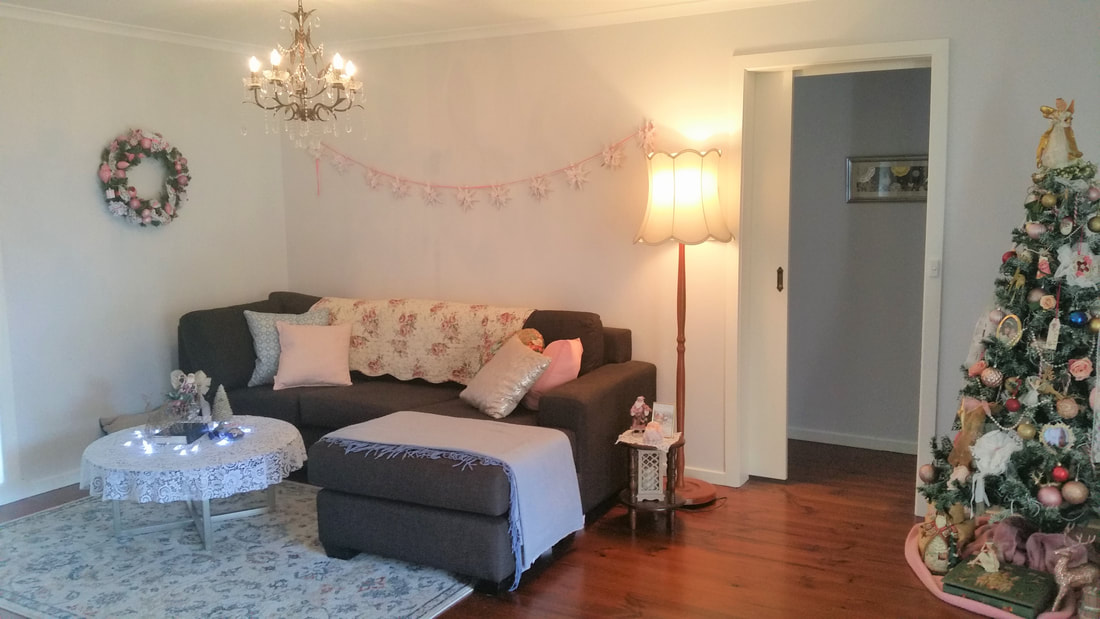
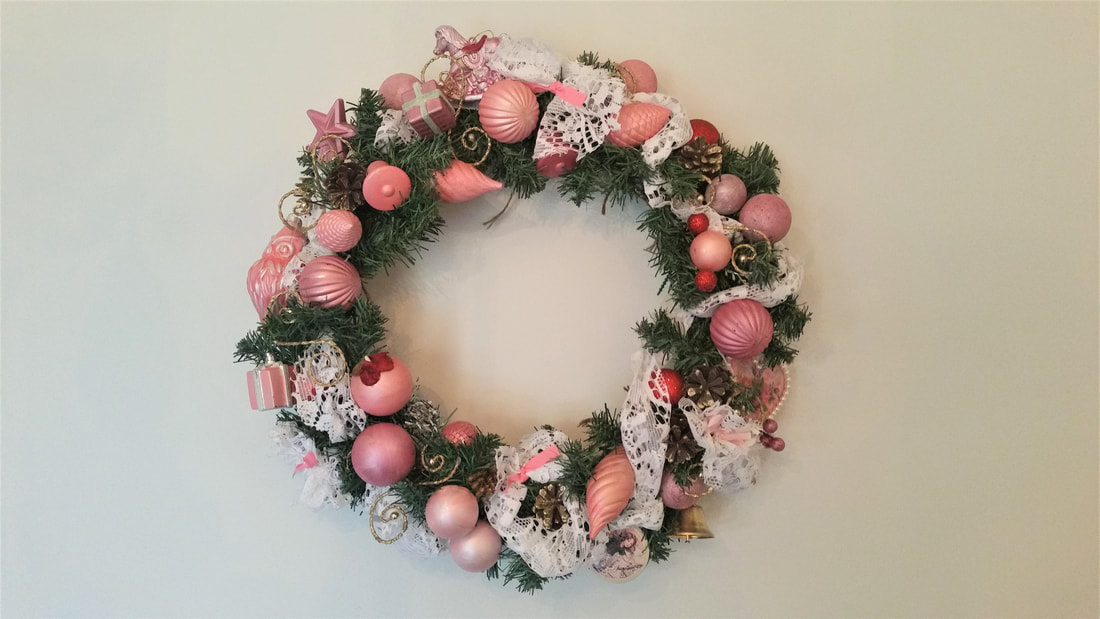
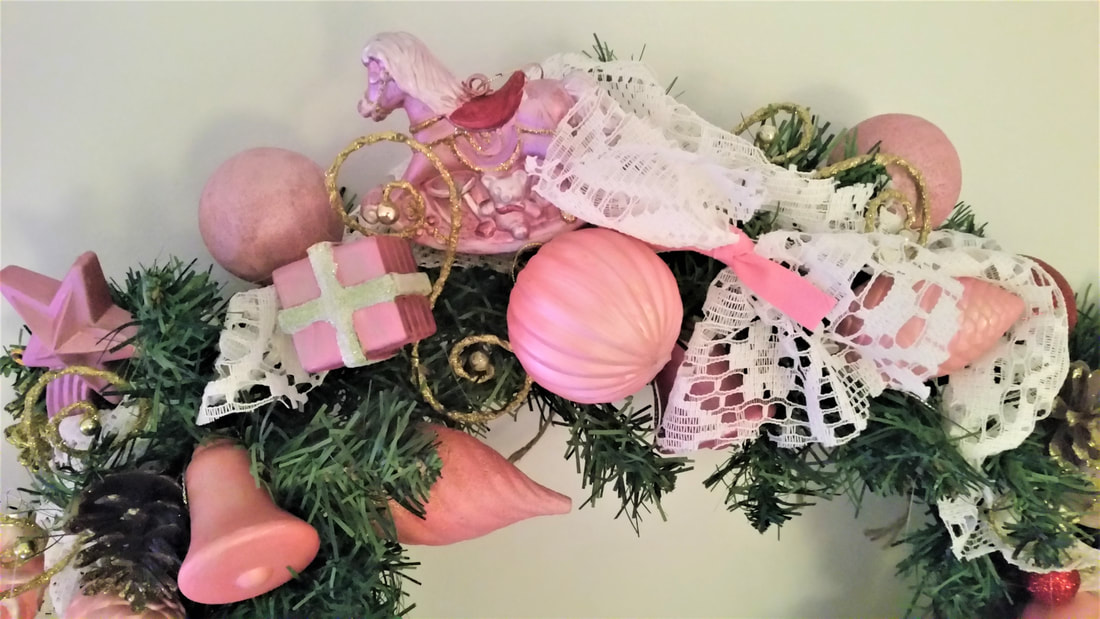
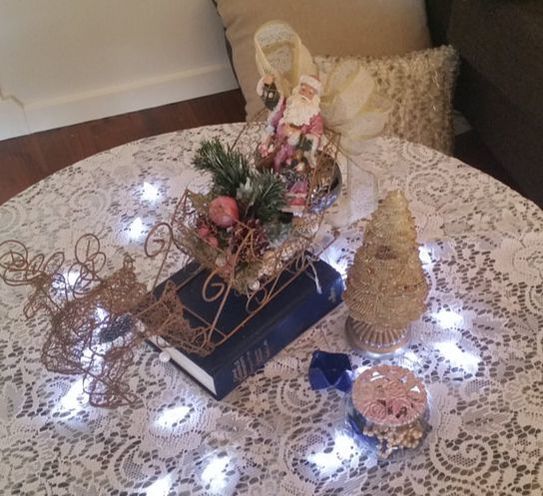
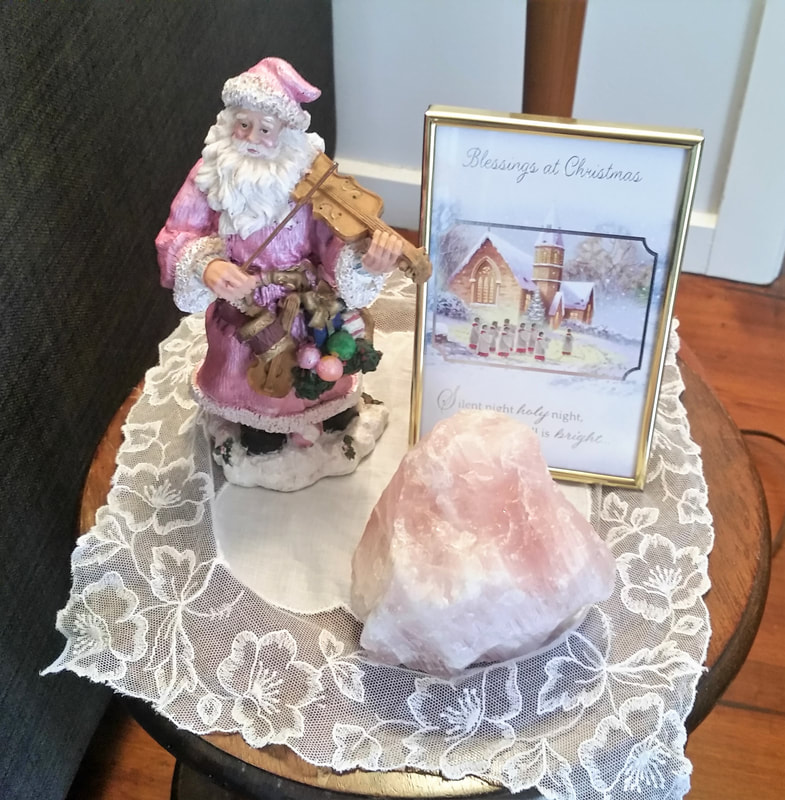
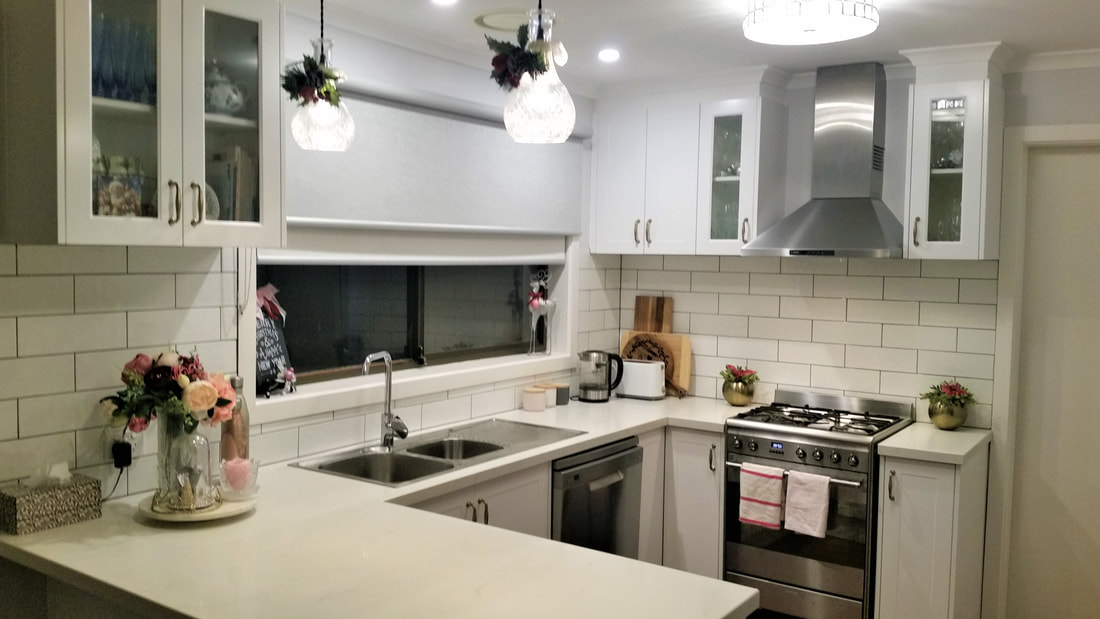
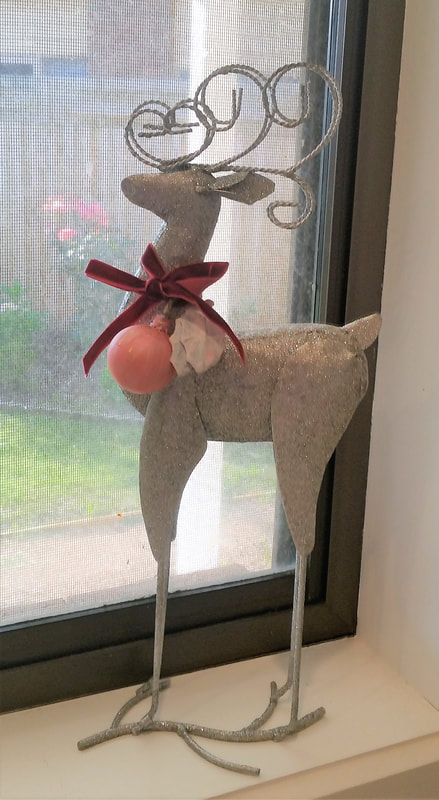
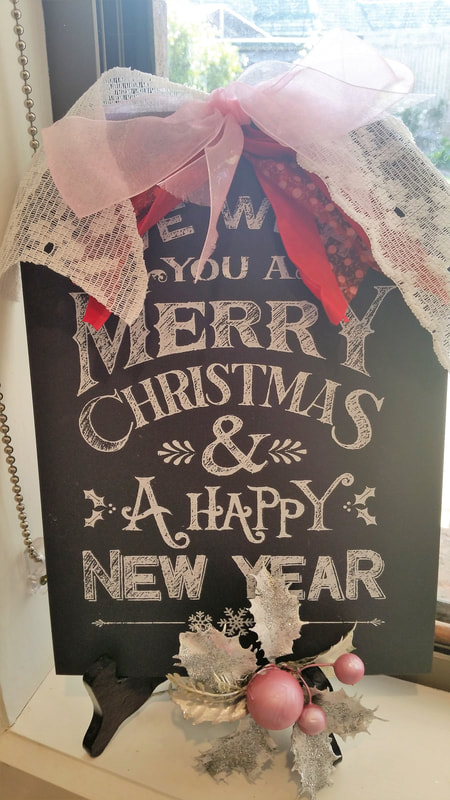
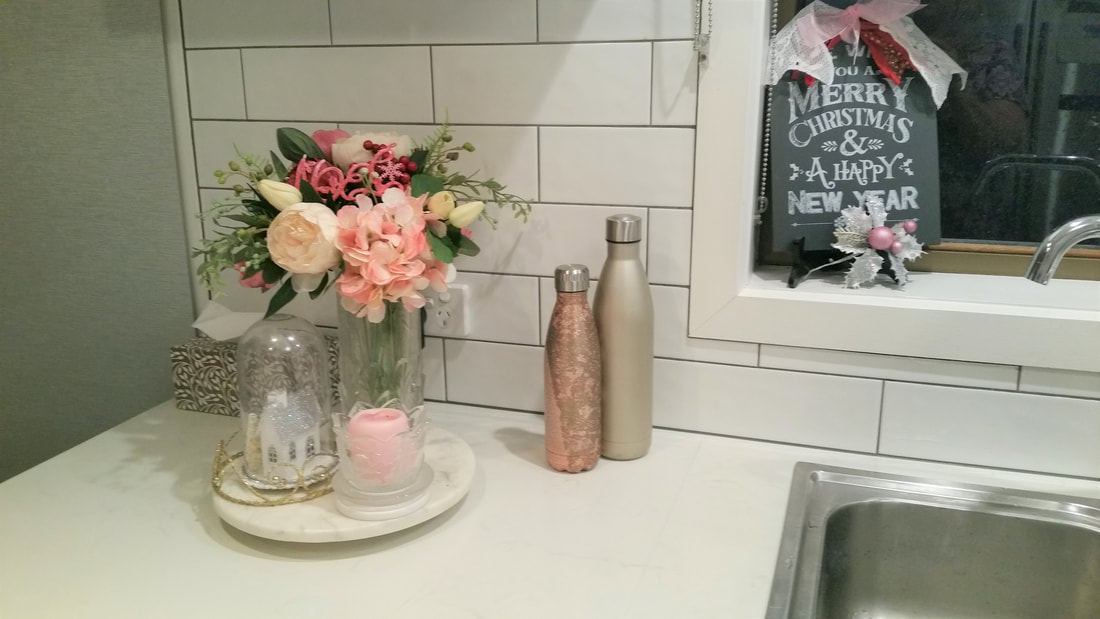
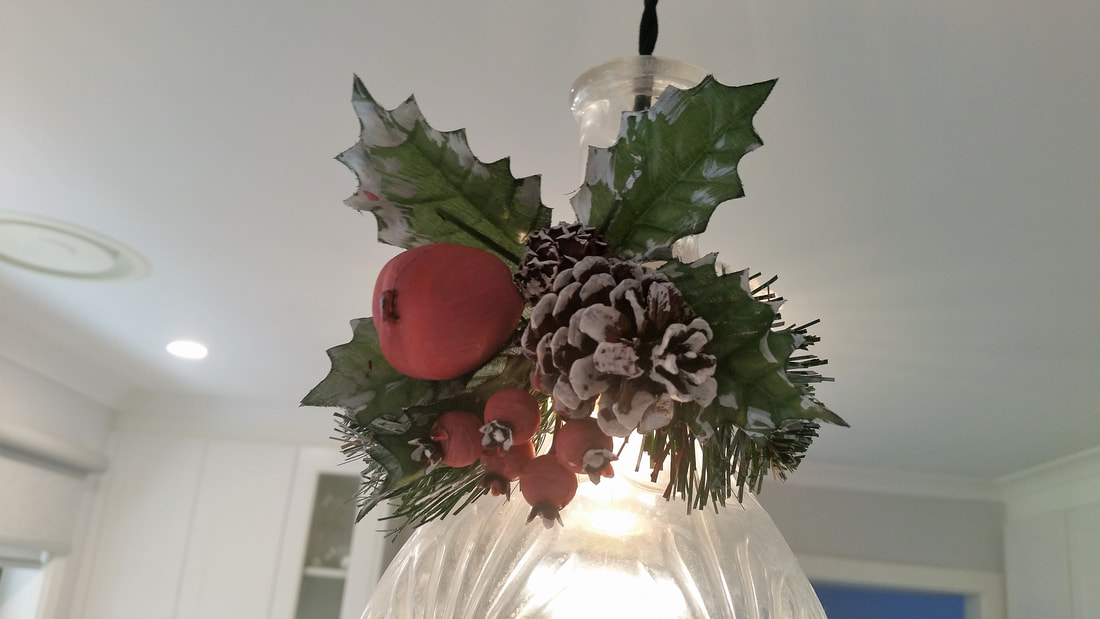
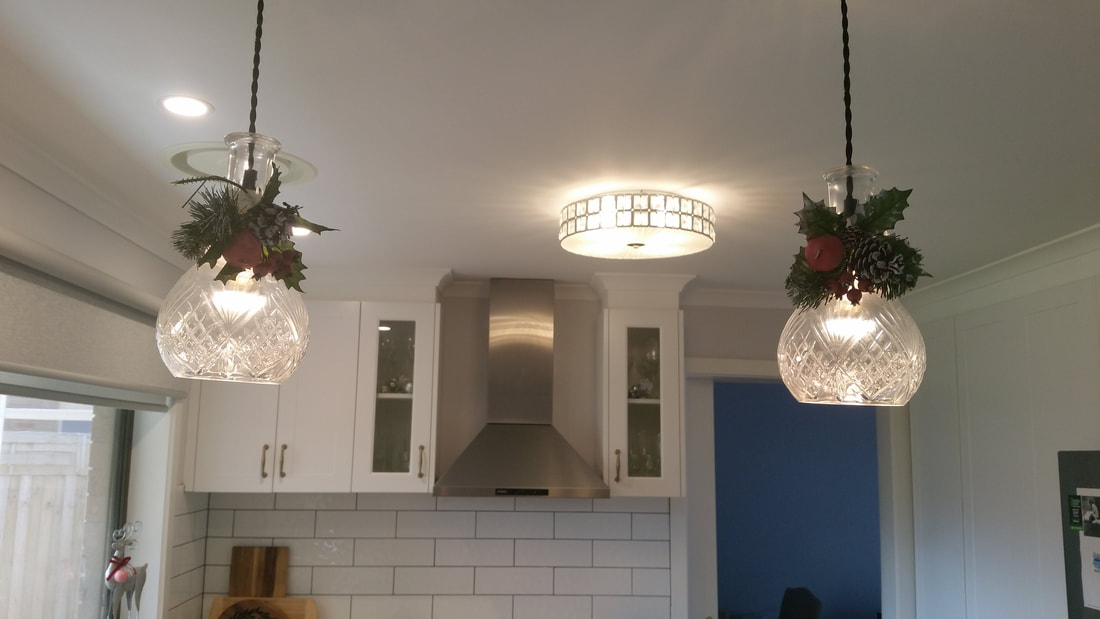
At a time when I'm thinking about spending time with my family and friends I'm also feeling the loss of those who won't be here this year. Decorating helps me cope with painful emotions. Doing what gives me joy helps to create a scale that is balanced. There's sadness and happiness. That's how life can be but it's okay. I'm hosting Christmas lunch this year for Sam's and my families. I'm really looking forward to that and am currently planning the menu. Next week I'll be blogging about how I prepare for a traditional Christmas lunch for thirteen. I'll be including the menu, the shopping, baking and preparation schedules and my Christmas tablescape. I hope you'll join me next week. Dora This last week I've been working on creating a romantic Christmas theme for the family room and kitchen. I told my girlfriend that I'd done a pink color scheme and she said, 'Oh so you've been out and bought a whole new lot of Christmas decorations.' I told her I didn't. The catch was I mustn't buy anything new. I had to make do with what I already have from previous years and make new decoration from my craft stash. I found a way to do it even though it was quite a time commitment. She's coming over next week to see it in person. This is the corner below the TV. I painted the roses on the remote control box about fifteen years ago, but they still look fresh. I added my favorite Father Christmas. The nutcracker used to have a green coat and black boots but he was given a touch of romance and brought into line with this year's pink palette with folk art paint. I also painted the picture frame I found in the garage and put a piece of lace from an old curtain inside. That lace curtain certainly came in handy. I dug around in my linen press to find some pink pillow covers. I also discovered a pretty rose patterned throw which I put over the back of the couch. I made the wreath using baubles that I painted using folk art paint. I mixed shades of red and burgundy with a pearl white to get varying shades of pink. I made lace ribbon by cutting strips from the before mentioned, the old lace curtain which I also discovered when exploring the linen press. I used hot glue to stick all the ornaments and lace in place. The gold scrolls came from a broken Christmas tree that was made up of them. I broke them all apart and wove them in. I like the lux effect they add. Last year I spent ages hot gluing wooden pegs together to make stars. This year I painted them and made mini lace rosettes from the curtain strips, scrap ribbon and glued faux jewels in the middle. I tied the stars onto a strip of bias binding from my quilting supplies to make a garland for the wall behind the couch. That curtain came in handy when I looked around for a lace cloth for the coffee table. I folded it into a triangle and then halved it and cut it to size making a round piece of fabric, much like cutting paper for the bottom of a round cake pan. Santa in his sleigh was given a makeover too. I used the same paint as for the baubles to lighten his coat and make him a pink Santa. Fiddler Santa was given a pink coat also. I sat him next to framed card from last year and a hunk of pink quartz which is meant to give off love energy. Well, it is romantic Christmas after all. The lace cloth is one of my mother's special handkerchiefs. The kitchen only has a few decorations as there isn't a huge amount of bench space. I added poinsettia picks to the pots of faux sage that sit next to the stove and hung pink check and pink and red striped tea towels over the oven handle. On the window sill above the kettle, I placed a reindeer that I dressed up with a bow and painted bauble. On the other side is a sign with some ribbons, lace and a pink holly pick to make it more romantic. I always have roses next to the sink. For Christmas I used a bunch in shades of pink and added some berries and a Noel sign. I teamed it with a Christmas dome and bowl with a pink candle. The water bottles are mine and Sams. I thought they looked cute standing there so I didn't put them away. The lights over the island bench got some festive attention this year. I added picks that I found at Savers a couple of years ago. I added white paint to give them a frosted look and painted the deep red berries and fruit a lighter shade of blush pink. I'm hosting Sam's and my family for lunch this year. I wonder what they'll think of our romantic pink Christmas theme? The good news is the decorating is done for this part of the house and I haven't spent any money. That's right, zero dollars. I'm feeling proud of that. I only need to think about making a plum pudding and buying a huge turkey.
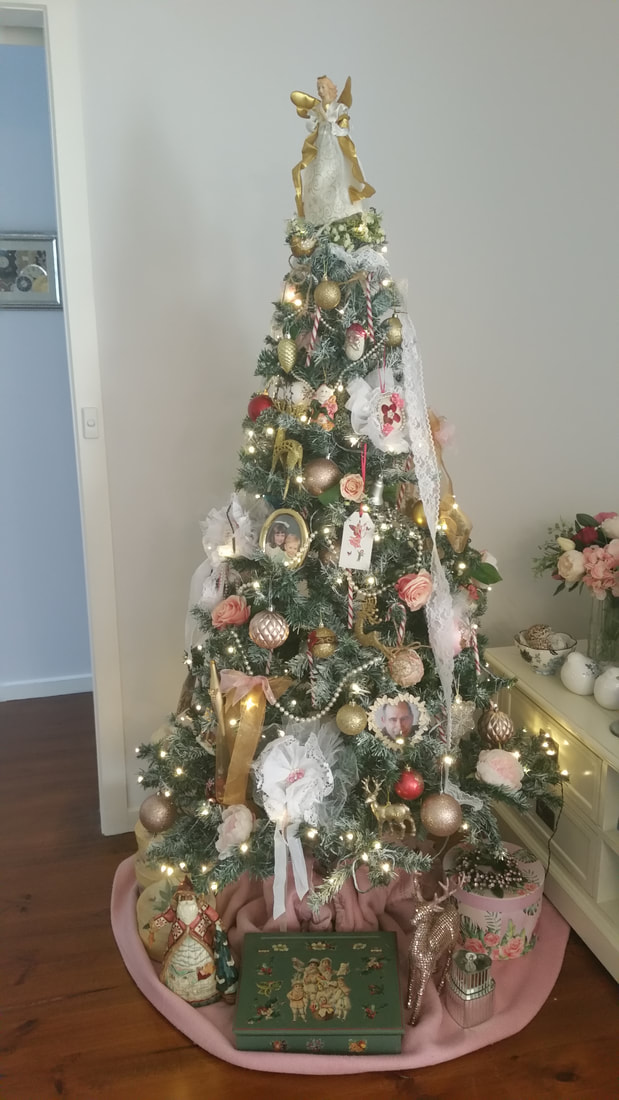
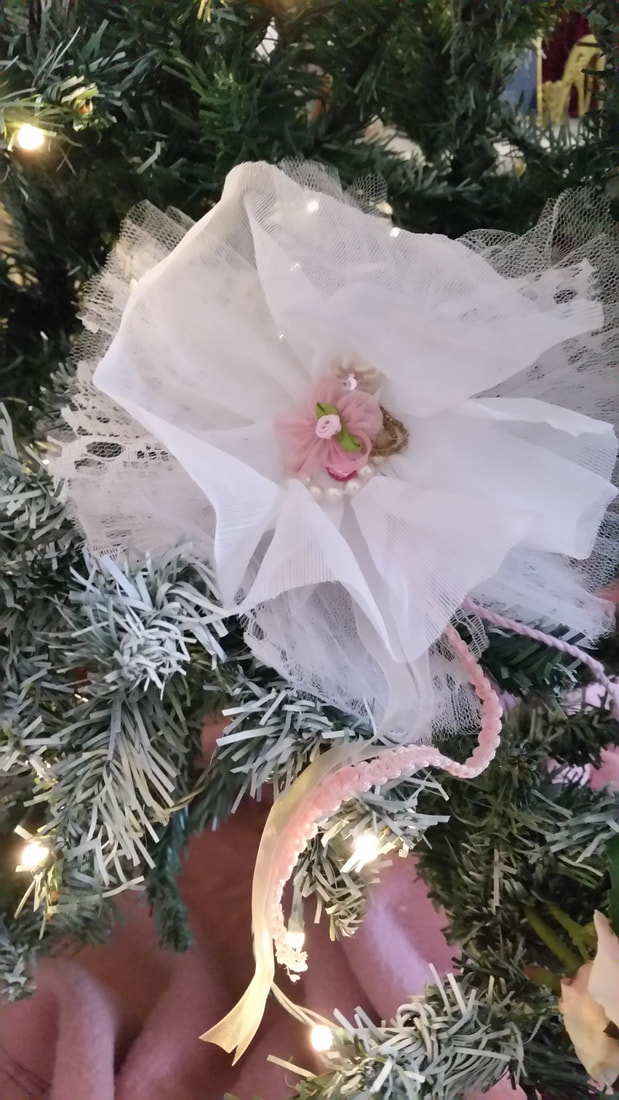
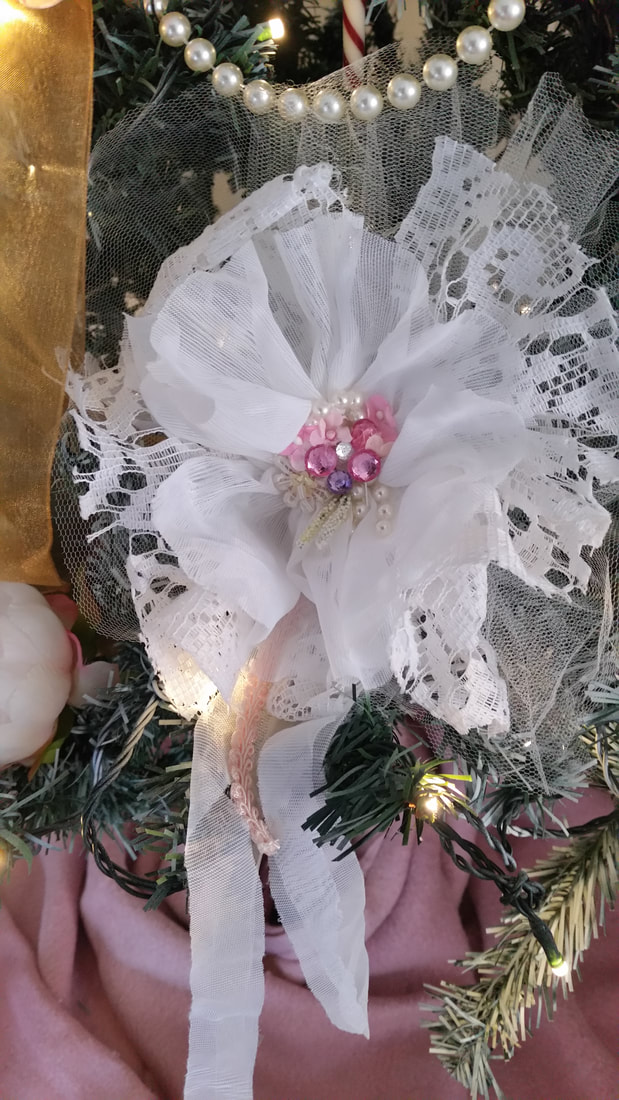
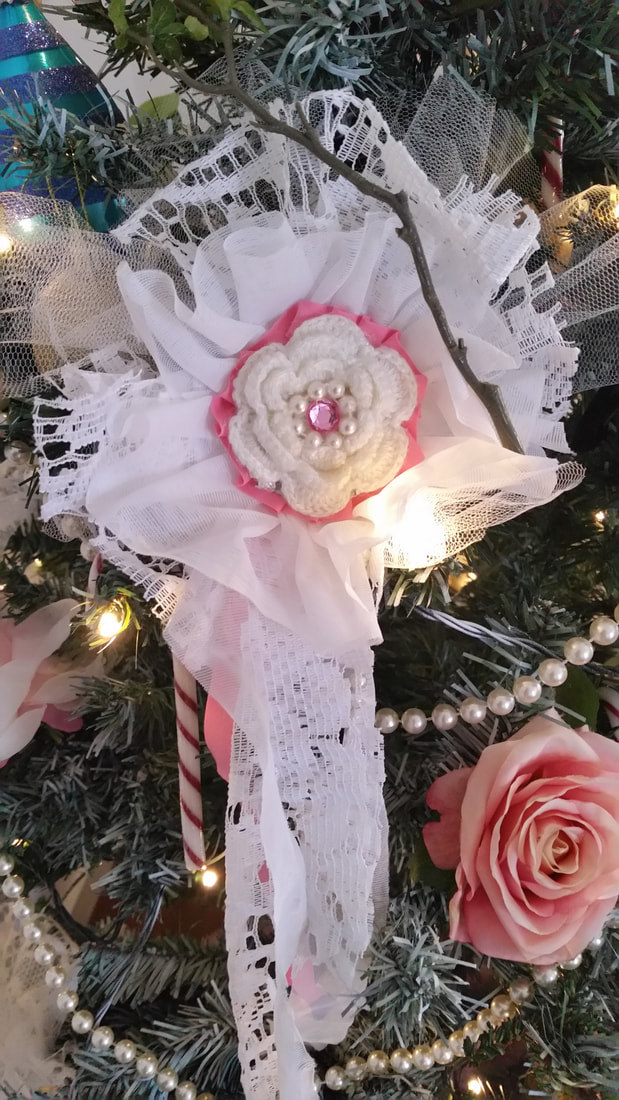
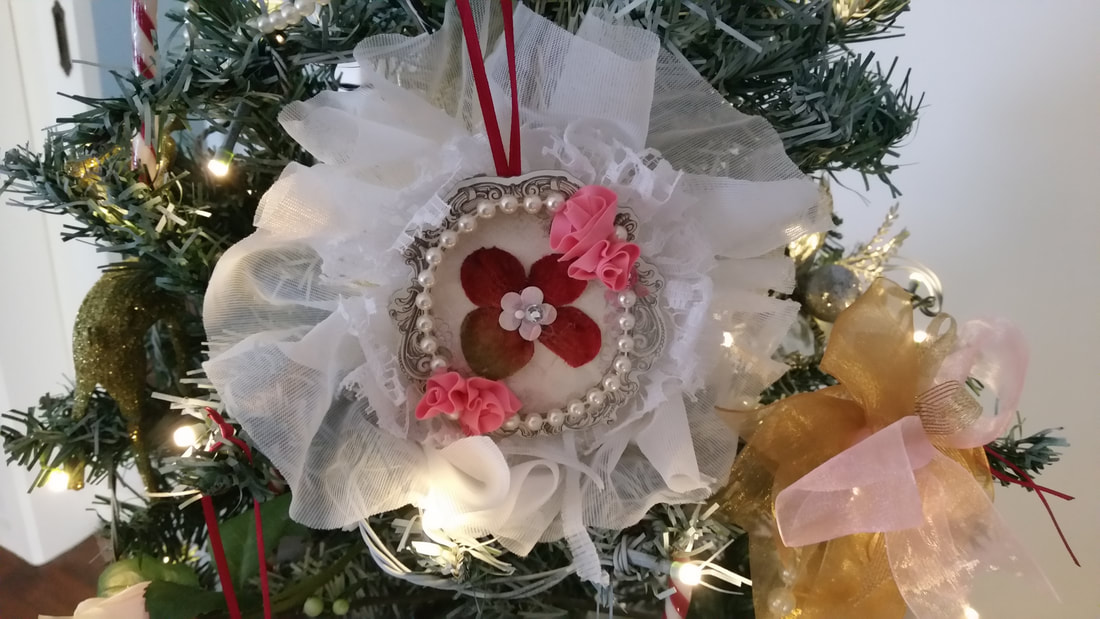
Next week will be the last in the Romantic Christmas series when I show you the master bedroom, en-suite and my study/guest bedroom. Again, without spending any money so there will be more home made decorations being used. Thanks for dropping by to see what I've been doing to get ready for Christmas. Dora In past years I've enjoyed a traditional red and gold themed tree but this year I'm newly engaged and so a romantic tree fits my mood. I sprayed the tree with a can of white primer that I had on hand. It didn't turn the tree white but created that frosting of snow effect which I'm happy with. The white rosettes are DIY. After watching a YouTube video from Olivia's Romantic Home I made these romantic decorations from old lace and scrim curtains, tulle and blingy bits from my scrap-booking supplies. If you'd like to make them too, here's a link to her YouTube video . I went through my ornaments collection from years past and selected the pinky reds and every shade of pink I could find. I cobbled together some ornaments from broken things but I don't think you'd know it I didn't tell you. I shopped my home for romantic elements to use as tree ornaments. I found stems of pink silk roses that once belonged to my mother, I also found the peony roses from Kmart used in a previous post. From my jewelry box I chose long strands of pearls (which are my go to necklaces) and around the house I selected picture frames with Sam and one of my kids when they were little. In the craft cupboard I found a length of lace which I draped like a streamer down the sides of the tree. Lastly I added an old pink blanket as a tree skirt and put some pink gift boxes on it with a pink Santa and rose gold reindeer. The green box in the middle I painted and decoupaged years ago, to be used as a Christmas card box. I love the romantic Victorian feel this tree, created with timeless elements of roses, lace and pearls. I didn't spend any money to get this look. Well not much, beside the candy canes which need to be fresh, I just used what I had. I have to say it makes me happy to have this girly, pink and ruffly tree where I spend so much time. I can see it whether I'm cooking dinner or relaxing later on with a Netflix Christmas movie.
Next week the Romantic Christmas series will continue with decorating the kitchen and family room. 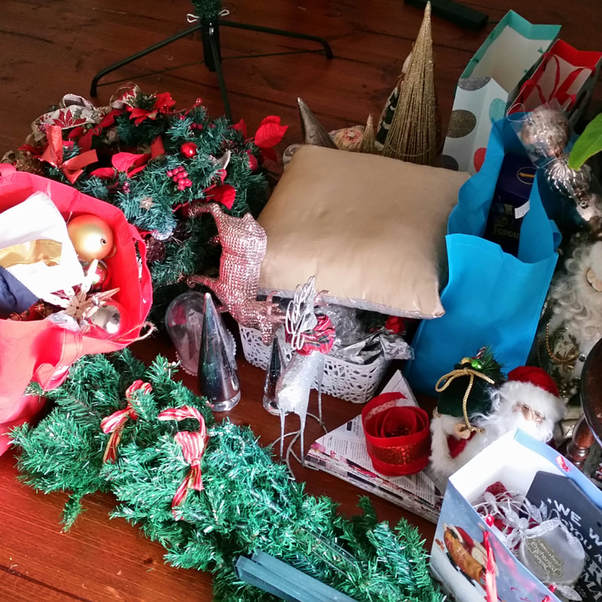 The last of my Christmas chocolates have gone. The days of wine and turkey-stuffing are behind me. It’s time to pack up the Christmas trees. I’ve let them linger this year, because I have been enjoying the baubles and the red and blue color scheme so much. The winter themed room, in the middle of an Australian summer, lifted me out of the everyday and into a wonderland of fairies nutcrackers and Father Christmases but I want I sense of space and that corner of the room, where the tree sits, back. There is a need to clear the cosy and create some fresh energy in the room. The task is a wee bit daunting. A seven foot tree, and a three foot one are being tackled today. There’s another five foot tree in the dining room but if I try and do that as well I may not start. So I’m breaking it down into manageable steps. The three foot one was a breeze but the seven foot one is a bit more involved. Every branch is slotted individually into the stem to set up the tree so the reverse has to happen to pack it up. I have the different levels of branches stacked around the room in green furry piles. They’re ready to be stacked back into the box it came home in. I’m enjoying looking at all the pretty things as I place them in piles on the floor ready to go back into their hobby box homes in the garage. The sweet little baubles from the tree are so charming. I love looking at the intricate designs on the few expensive ones I have. The fairy sitting high on the tree can be looked at up close and all her finer details fully appreciated. I’m putting all the wreaths together in a big garbage bag. The decor is bubble wrapped and then put into a hobby box. Heaviest things go in first so that they’re on the bottom, lighter things go in last and sit on the top. The care I take putting things away will ensure I have all these lovely things to enjoy same time next year. So while I’m wrestling with wired branches I’ll keep calm and remember that Christmas comes every year and without fail I’ll be looking forward to it. I might even start Christmas decorating earlier this year. Normally I wait until December 1st but early November t seems to be a time when a lot of bloggers are starting to put it together and publish posts so there’s a thought. For now I will enjoy a putting my summer decor back out on display. It’s not long until Valentine’s Day and I’ll start thinking about what I can do to make it special for Sam and me once I’m finished with the putting away the Christmas things. By the end of next week I think it will all be done. Wish me luck with getting the trees back into their boxes. 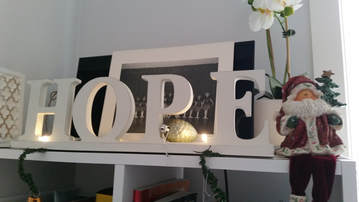 Christmas falls as the year comes to a close but it's a hopeful festival that celebrates new life. I have always found Christmas carols joyful and uplifting. They're a soothing remedy for the disappointments suffered during the year. A romance novel is like Christmas in that it's also hopeful, a story of overcoming difficulty and finding joy. Being a romance writer I must have a story of hope to write. It must solve the characters' problems through a journey that heals and brings lasting happiness to their lives. It must show love growing and sacrifices being made for that love. While I don't think romance novels faithfully represent people's reality, in my life there has been struggle and my romantic nature and attitude has paid off. I never gave up hope of finding a loving partner after my divorce. I remember when I was lonely on my own, imagining a loving man holding me as I fell asleep, then one day it became a reality. This year my dear Sam and I moved into a home we bought together. Decorating and settling into this home has been a labor of love and also represents a new start in my life. It's my first official home with my Italian heritage hero. I've learned to make espresso coffee just how he likes it and he still holds my hand when we go out together. As a couple we're very happy and have great hope for our future. So perhaps there's a bit of reality in the novels I write. This year I released the second book in the Baxter sister series and I updated the title of the first book in the series to "The Scottish Billionaires Secret Lover". A Scottish lord and an Australian event organizer plan a fundraising ball for third world orphans. They also desperately wish a home is found for a sweet little boy who needs a family in Scotland. There's a Christmas scene at the end of this book to make anyone feel hopeful for the future. To inspire me I even have a hope sign on the bookcase in my study and the Father Christmas I placed there sits quite comfortably next to it. I've signed up to be part of a Christmas anthology for next year so the picture at the top of this blog will come in handy as inspiration while I'm working on it. To be first to hear about the Christmas novella and other new releases, my newsletter is the way to go. It Also lets you behind the scenes to stuff happening in my life. You can subscribe below. Last but not least I want to wish you all a very merry, hopeful, Christmas and a wonderfully happy and prosperous new year. |
Romance author and lifestyle bloggerMy whole life is inspired by romance. I write romance novels of course but also love creating DIY's and decorating in a romantic style. I'm rejuvenating an old garden, including rescuing a couple of old rose bushes and planting new ones. Archives
March 2021
Categories
All
|



 RSS Feed
