|
Last weekend I went to the Melbourne Romance Writers annual Christmas party. Along with a Kris Kringle Present we each bring a plate to share. It's always an uplifting meeting, we look back on the year and celebrate our highlights. Afterward we have lunch together, As a Coeliac I always take something that is gluten free.
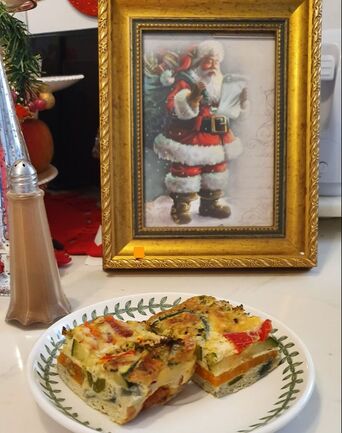
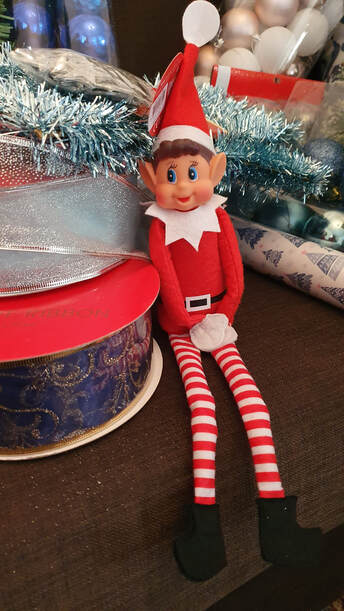
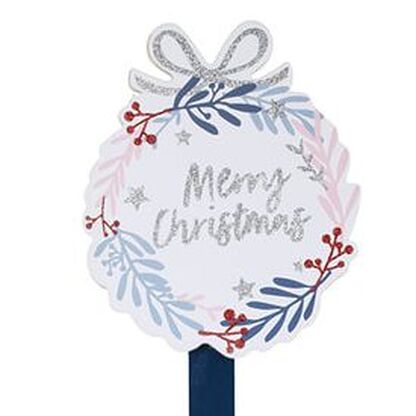
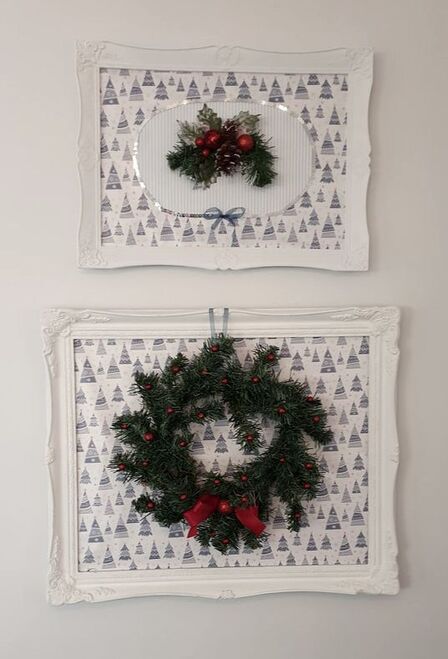
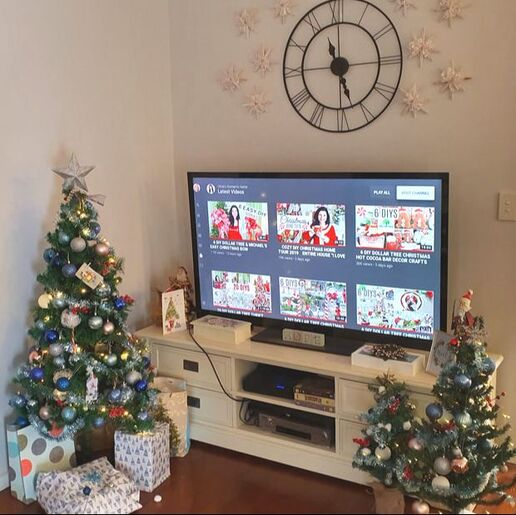
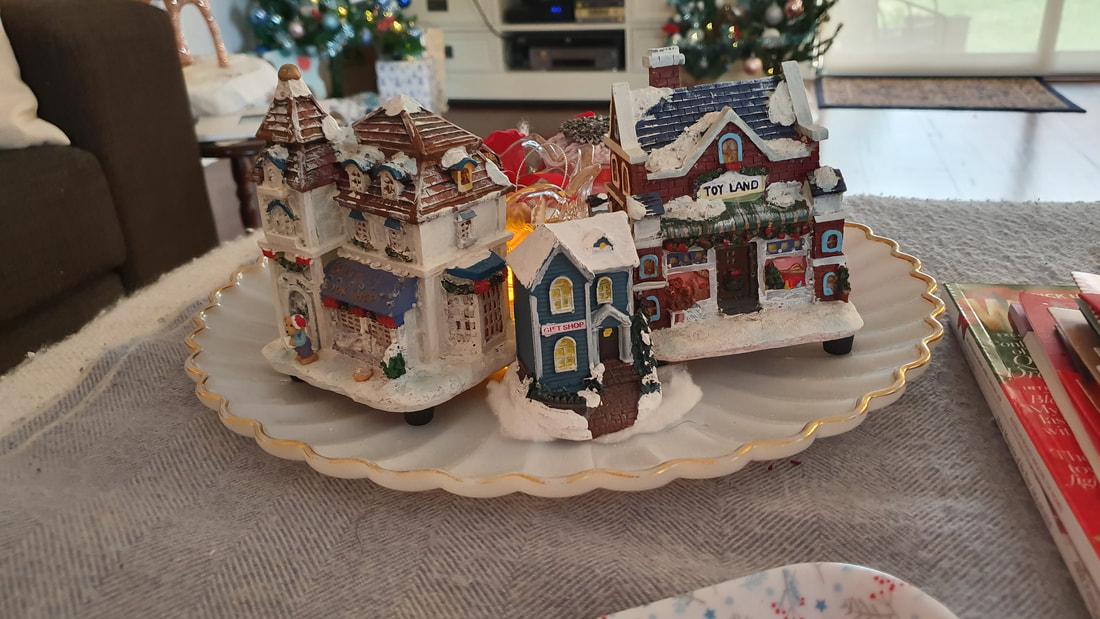
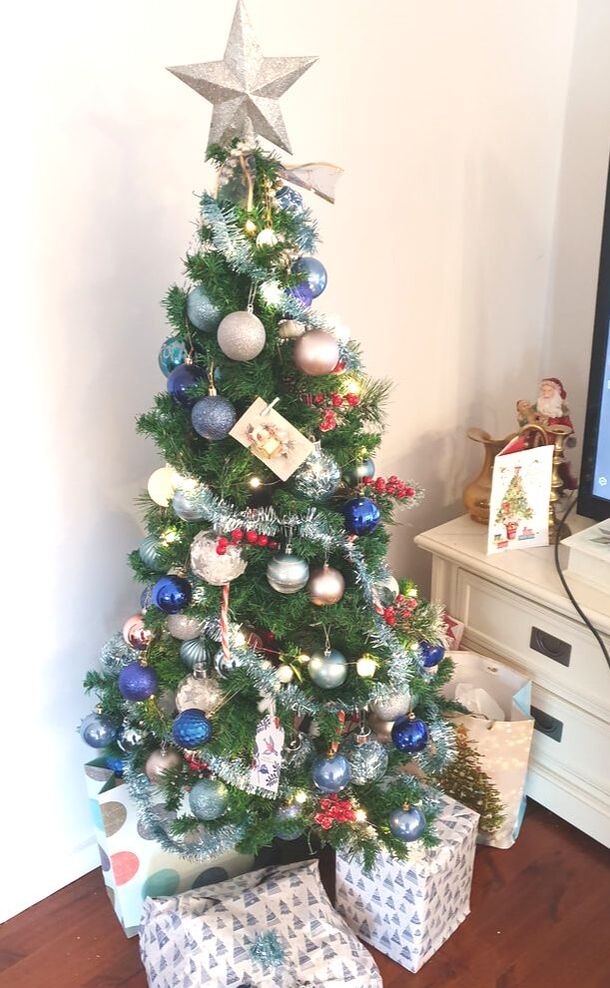
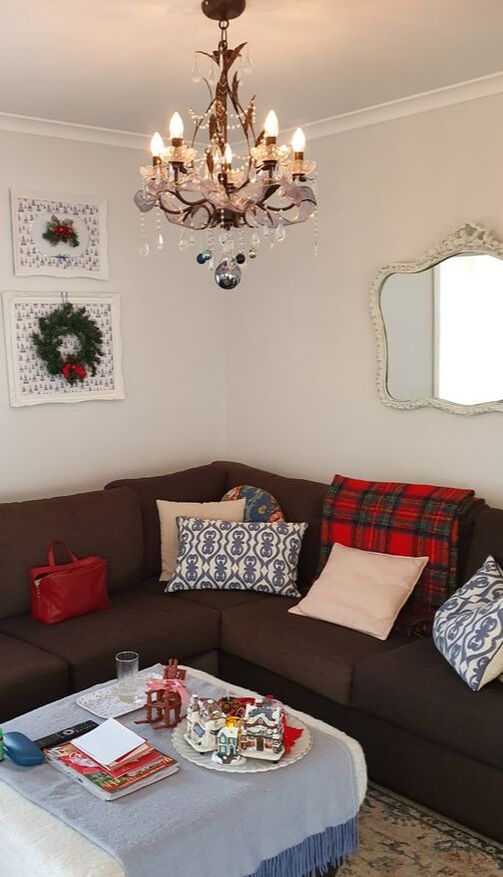
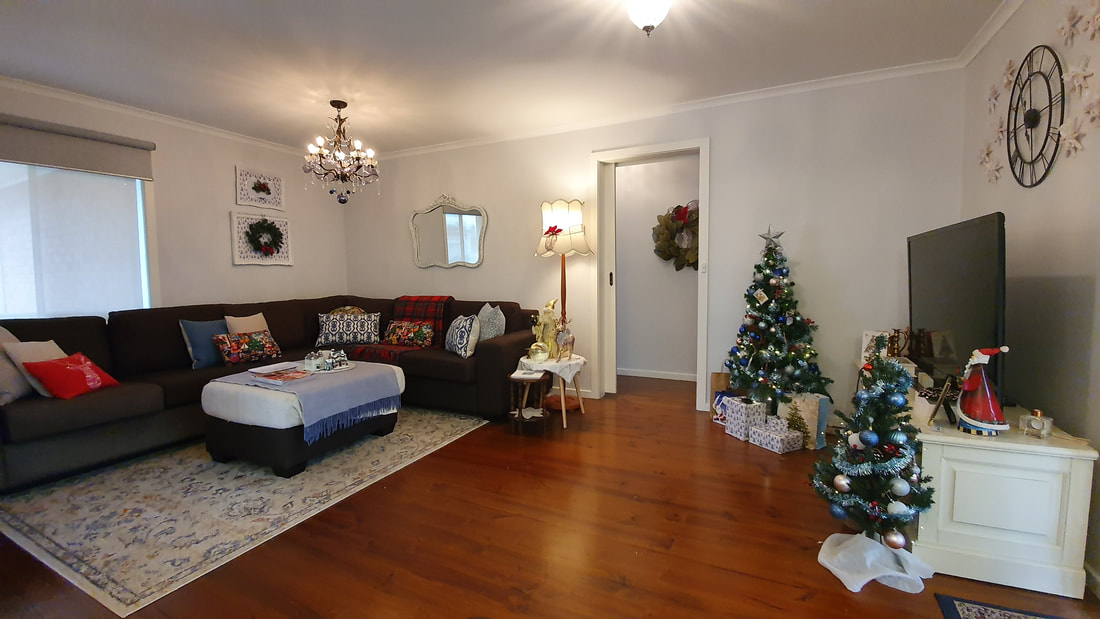
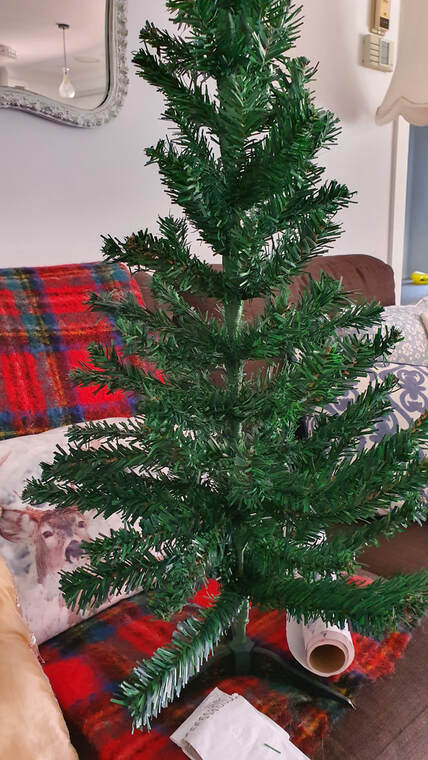
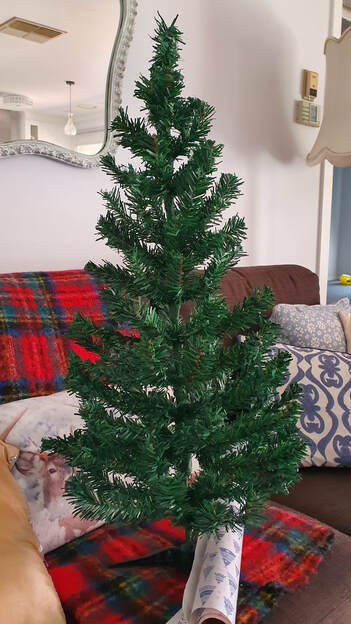
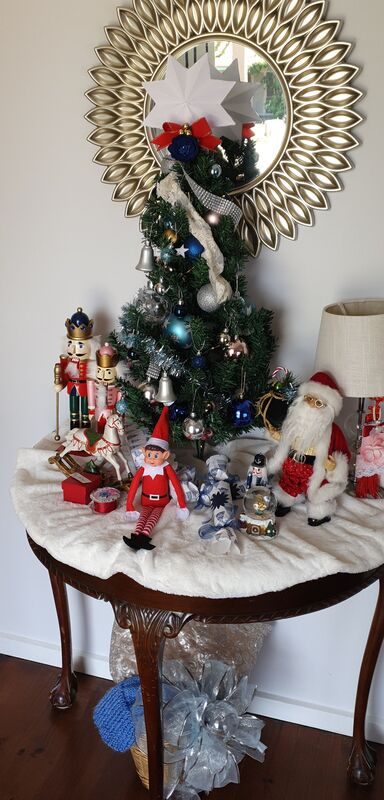
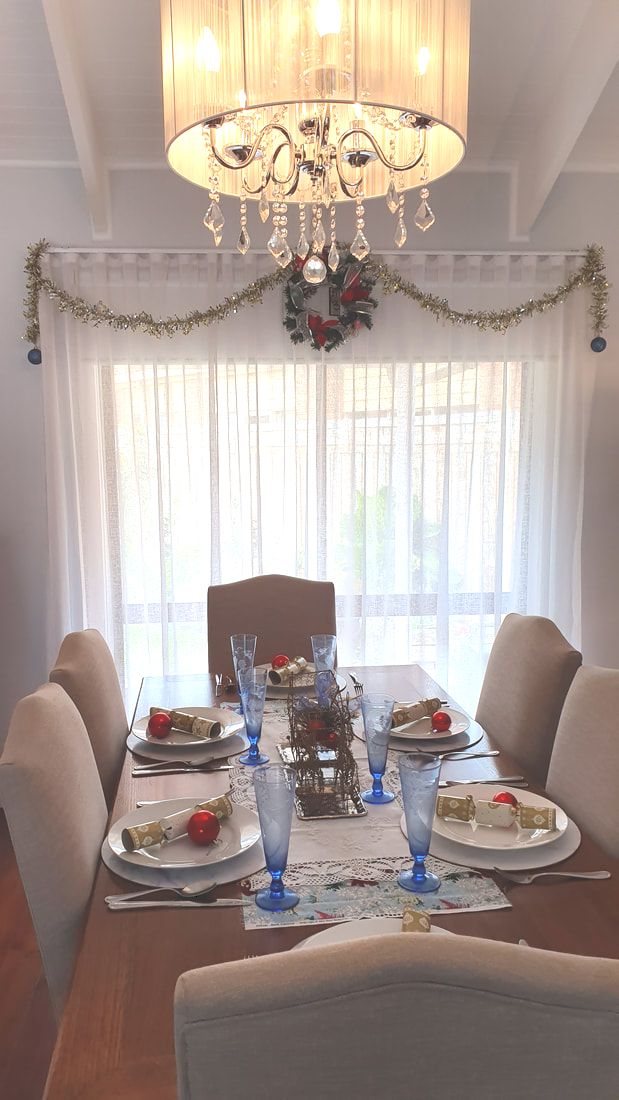
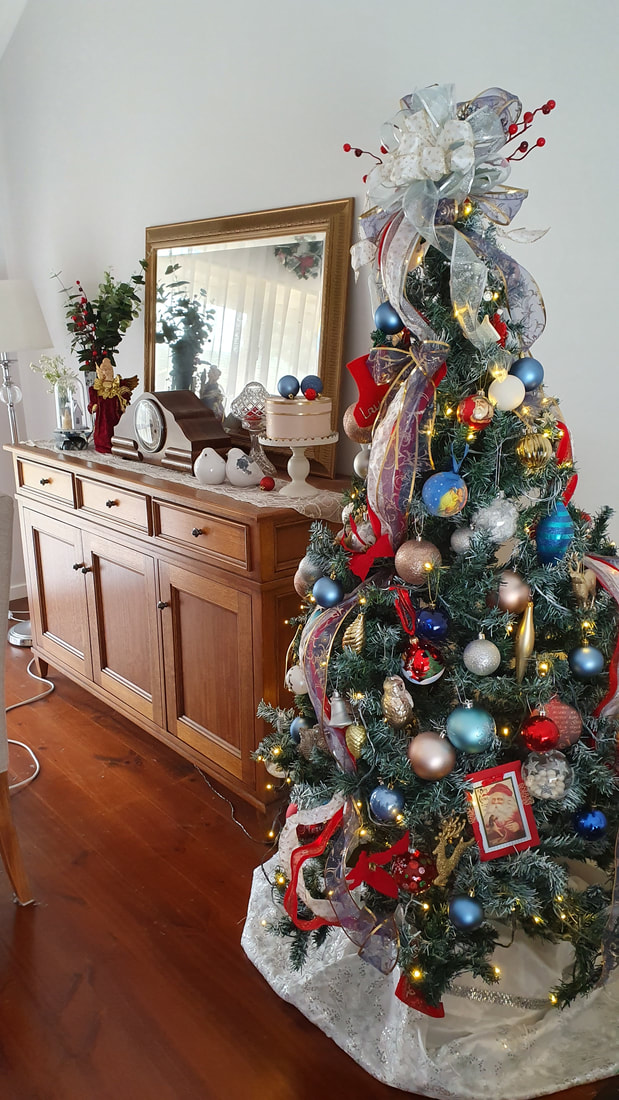
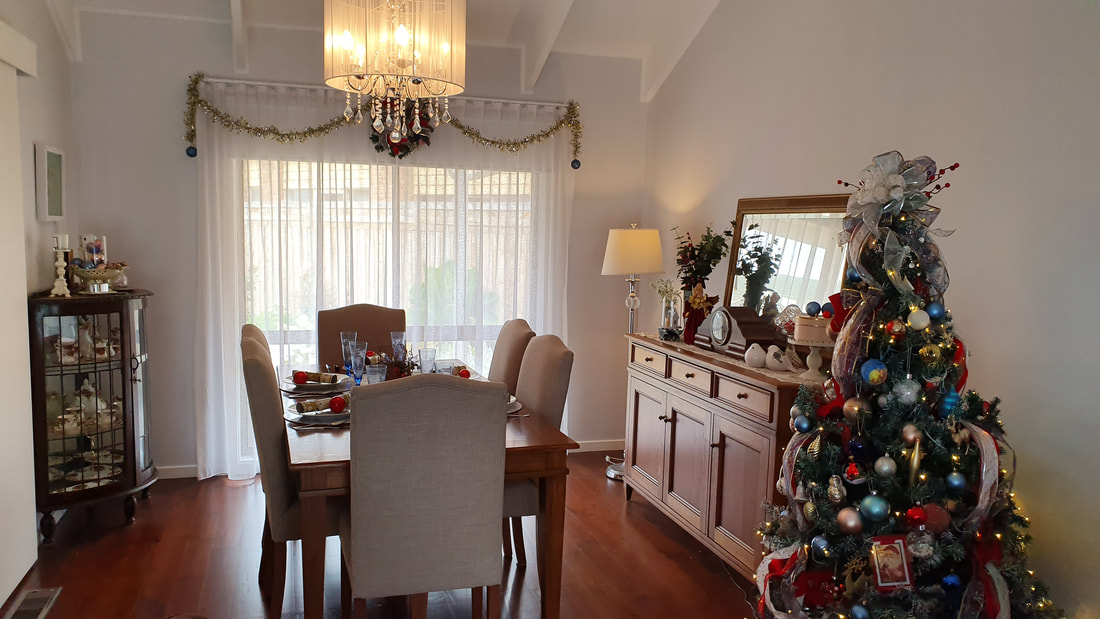
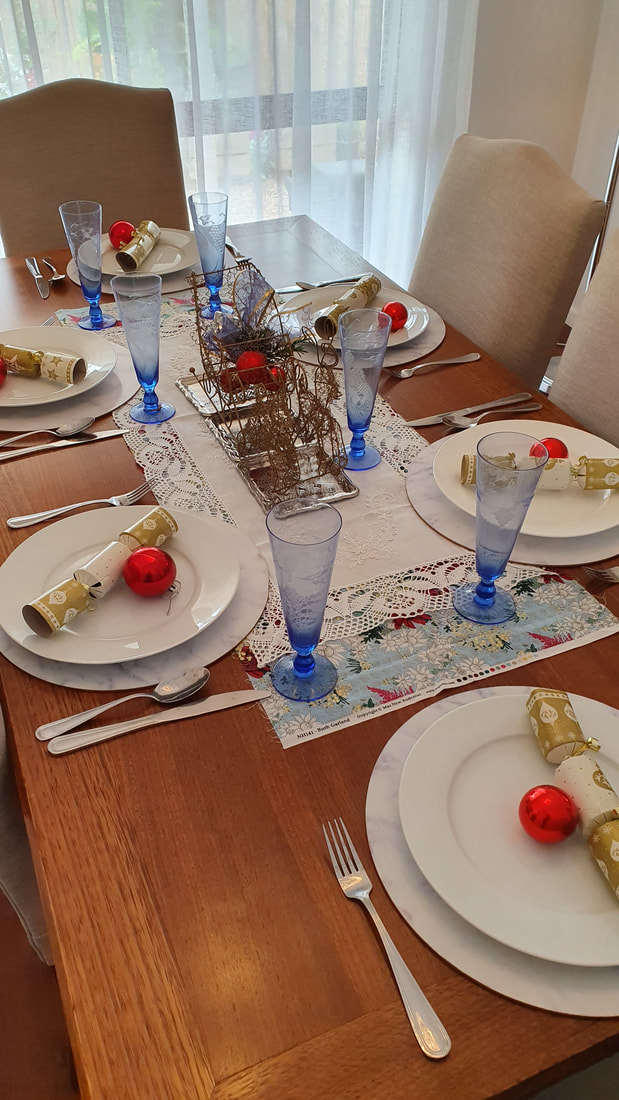
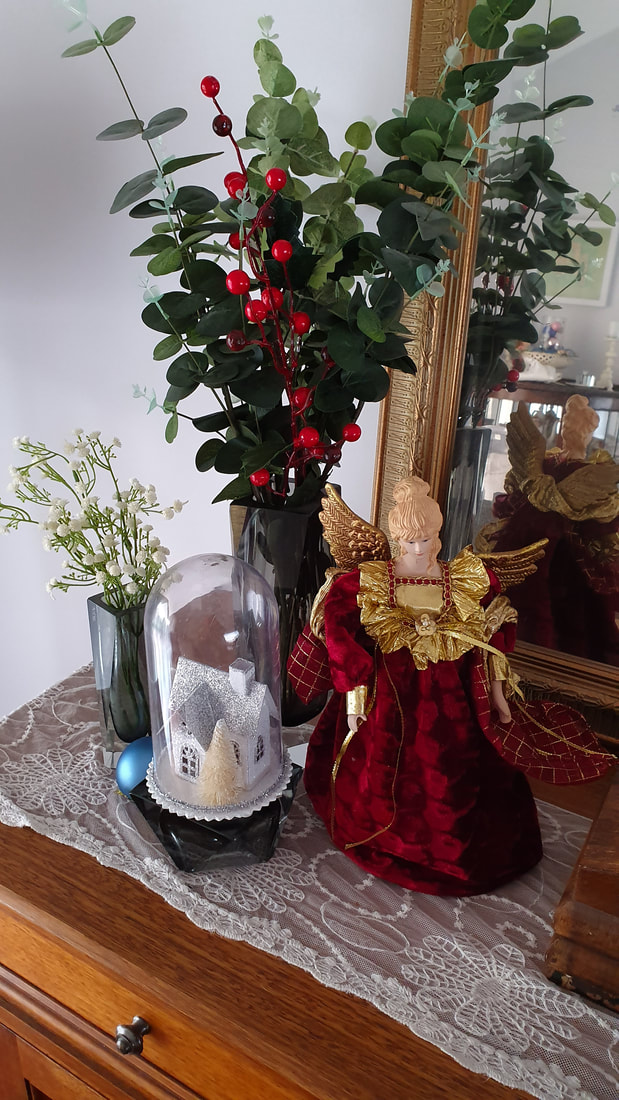
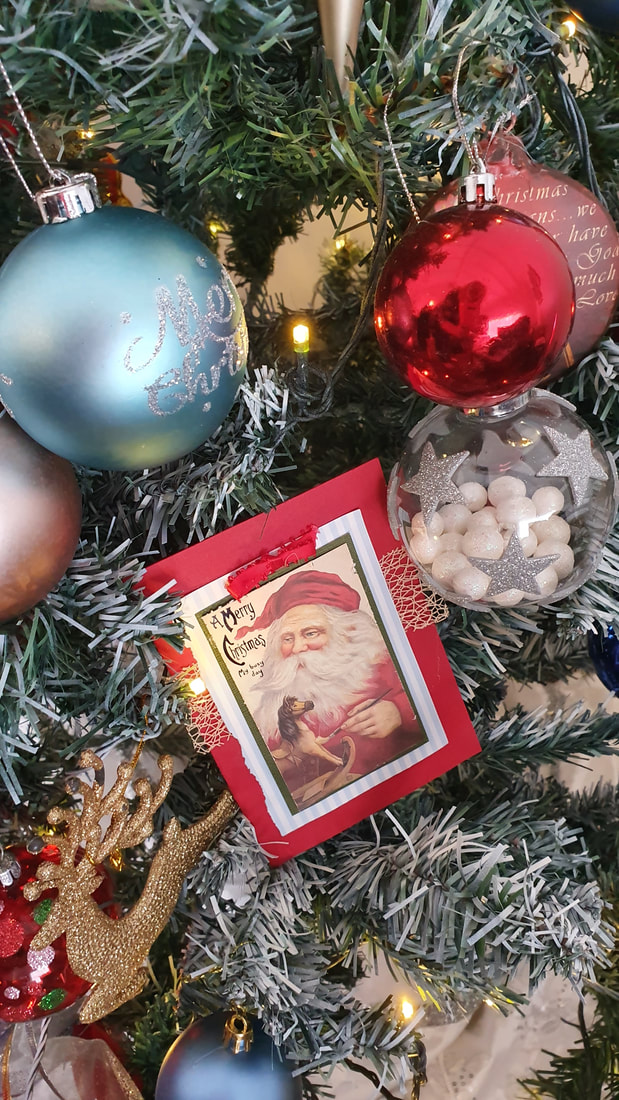
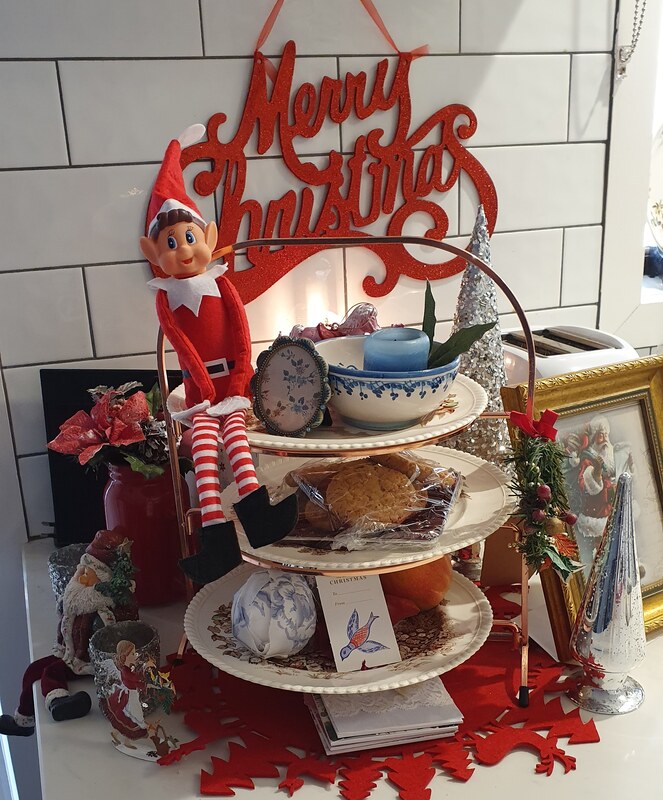
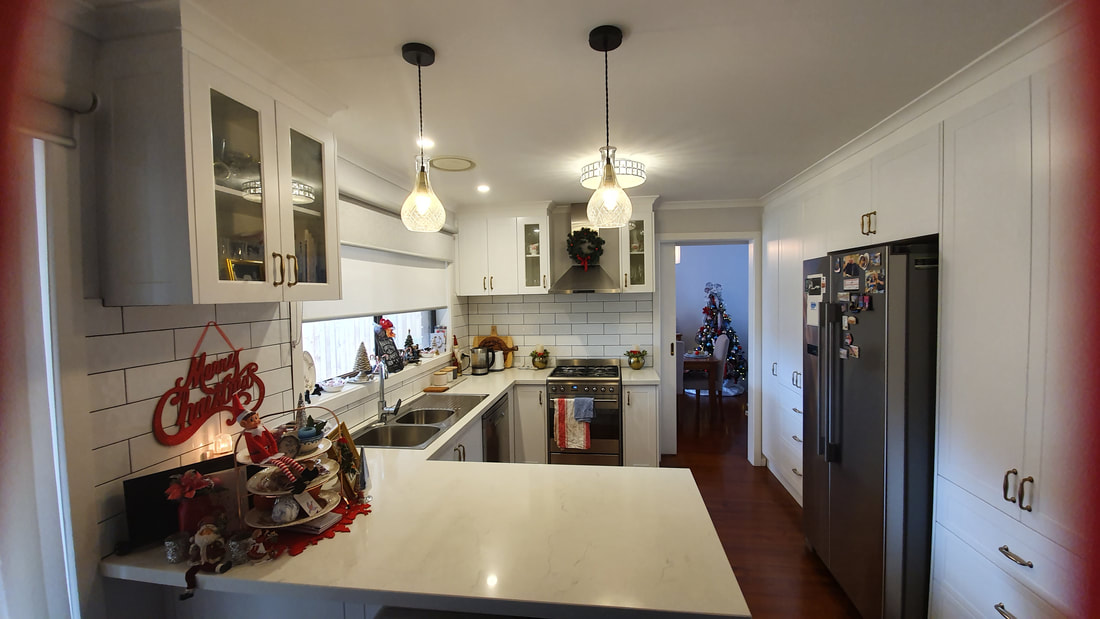
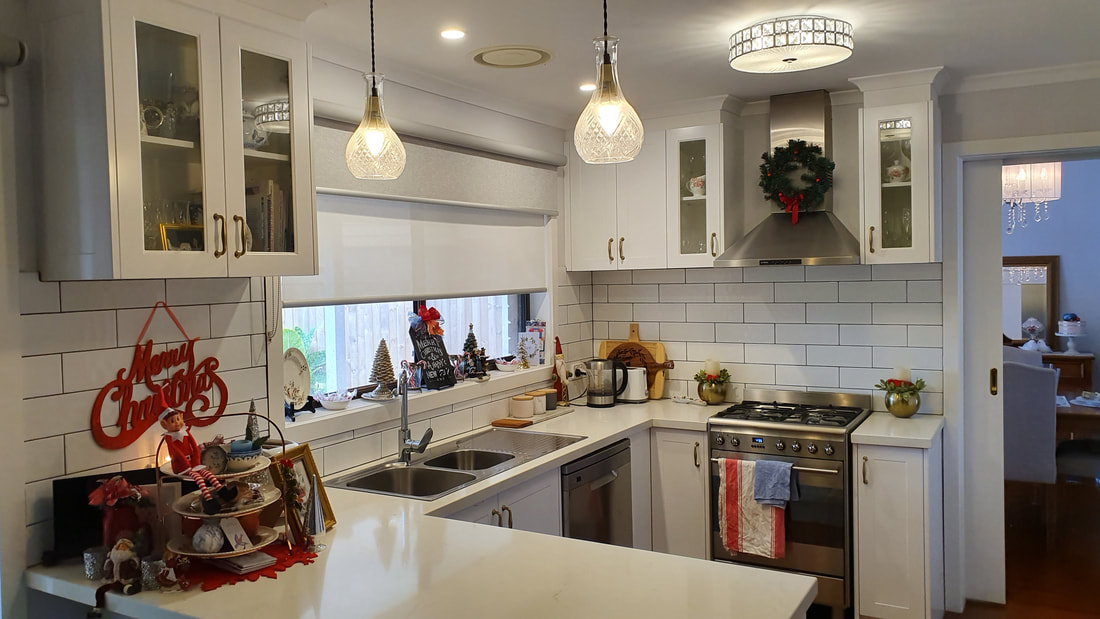
I opted for this vegetable frittata this year. The combination of red onion, red and green capsicum, sweet potato and zucchini and one other secret ingredient tasted great together. It baked to a nice firm texture that wasn't heavy but traveled well. It could be eaten comfortably using either fingers or a fork. Nearly all of it was eaten and I was asked for the recipe, which made me think it might be useful to post it here. Vegetable Frittata Ingredients One small red onion (diced) One medium green capsicum (diced) One medium red capsicum (diced) Half a medium sweet potato (peeled and sliced thinly) One medium zucchini (sliced thinly) half a small head of broccoli (chopped into small pieces) 100 gms tasty cheese (grated) 50 gms melted butter (or margerine or oil) quarter cup milk (I use lowfat) one doz eggs (beaten) Method Preheat a fan forced oven to 160C. Or without a fan 180C. Line a rectangle casserole or slice tray with baking paper and begin to layer the vegetables. First the onion and green capsicum, next is the sweet potato, then the zucchini. The last two layers consist of the red capsicum and the broccoli. Top this with the grated cheese. Add the butter and milk to the beaten eggs and combine. Pour this mix evenly over the vegetables and cheese. Cover with foil and bake for 45 minutes, remove the foil and bake a further 15 minutes until gold brown and set in the middle. Let stand for five minutes and then cut into serving size pieces. It tastes very nice at room temperature or reheated and is quite filling. when cut into 12 pieces each person will have one egg in a serve. I cut it into smaller pieces and got about 18 serves. I wanted to incorporate blue into my Christmas colours this year because I have a lot of blue in my decor already. The rug and cushions have shades of blue which I really love as it's timeless. Think of Willow Pattern China. But to make it Christmasy I also wanted to bring in some red and even touches oflight pink from last year. As I played with decorations in Kmart, trying them against each other to see how they'd go I discovered a sign that incorportated these colors. All I had to do was copy the combination and ratios of colour for an effect that looks pleasing. I noticed that there two both light and royal blue mixed with red and pink. The two shades of each color made the combination interesting. I found some wrapping paper with shades of blue Christmas trees and a pink star on top. I grabbed it, planning to wrap presents to put beneath the tree but also had a DIY in mind. I was inspired to use it to make these pictures similar to ones I'd seen on Olivia's Romantic Home. She framed pink stripped wrapping paper from a roll and hung a wreath in front. My version in Blues and Red combined with a wreath turned out better that I expected. I like the way it evokes a Hallmark Christmas feeling. I then decided to do another smaller one using some scrap booking supplies and a pick that I had on hand. Again it compliments the wreath and adds a traditional quality. I used blue and pink baubles on the tree and adding pops of red with berries. I took large berry picks apart and got about three bunches from each one. Pretty light blue tinsel to remind me of my childhood. We always had a small tree when I was growing up, about the size of the one on the left. I always wished for a big tree and love having one now that I have a home of my own. But I've set that up in the dining room because I've moved the television to the corner where I used to set it up. To add extra greenery and Christmas abundance, I set up two smaller trees as well. To make it feel like a forest I hung the peg stars that I made last year above the scene. I screwed a round hanger into the back of each one and hung them on the small clear Command Hooks. When shopping I found the tiny house in front. Blue and white it fitted my theme perfectly however my existing houses, Toy Land and Book Shop had a lot of yellow and light green so I painted over those bits with Warm White artists acrylic. I left the little pops of red on the awnings. As a base I utilized a large white and gold rimmed platter. Loving the blue on this tree and the complimentary presents wrapped below. I wanted the lights to be the same on all three trees so I used battery wire light strands. I've hidden the battery pack on top of one of the presents for easy switching on and off. Working with the blue cushions, throw and floor rug I added the village, DIY pictures, and decorated the chandelier with blue ribbon and baubles. The tartan mohair throw on the couch was a 21st birthday present that I've kept for all these years. Just a quick tip I wanted to share. When I fluffed the tree it looked very sparse and fake so I tried curving the wired branches up and seeing what would happen. I think the finished tree on the right looks heaps more natural. I couldn't resist including this vignette on the hall table. I adore these little elves and it inspired a toy room theme for the entry way. Tinsel! This how my mother always decorated the windows for Christmas and I'm bringing it back this year. The dining table has pops of blue and red that were easily added. I put this together in about ten minutes. I used my everyday marble print place mats (from Kmart) and white plates. I had the these crackers left over from last year and popped a red bauble next to each one. The blue glasses were handed down to me through family. The blue and red fabric is from my quilting stash and the white lace table runner was a gift from a dear lady in Cyprus. The big tree is in the dinning room and it's festooned with red and blue ribbon and decorations, spare baubles dotted through the room are an easy way to bring the eye around the the scene. I'll have the fabric hemmed nicely before Christmas night, when my guests will arrive. I love lace at Christmas. This runner is here all year round so I don't have to change it. An easy DIY is to take a hand made Christmas card and stick it to stiff cardstock with a string hanger attached. This was a gift I received several years ago from a writer friend. I added the blue striped paper to fit in with my theme. Christmas cuteness makes being in the kitchen so much more fun. Loving this cheeky elf. Red and blue continues in the kitchen. This year I used a command hook to hang a wreath over the stove. Simple red stripe and blue tea towels complement the look.
I hope you've enjoyed this Christmas tour and have fun decorating your home like I did. I really enjoy being at home at this time of year because, for me, my home feels like a warm hug. Wishing you all a festive and happy Christmas. Dora writes heart-melting, passionate romance. |
Romance author and lifestyle bloggerMy whole life is inspired by romance. I write romance novels of course but also love creating DIY's and decorating in a romantic style. I'm rejuvenating an old garden, including rescuing a couple of old rose bushes and planting new ones. Archives
March 2021
Categories
All
|

 RSS Feed
