
 Sewing a dress on Saturday afternoon, to wear on Saturday night, was something I though nothing of doing when I was seventeen. But other than taking up a hem or resewing a seam that has frayed from wear, it's been years since I've sewn my own clothes. I've bought fabric and patterns on sale but haven't actually jumped in at the deep end and tackled a large sewing project. When I was a student, I sewed from necessity. Dresses were expensive but fabric was cheap. Now it's the opposite, you can buy a dress cheaper than it costs to make it yourself. But I long to feel the thrill of wearing something I've created. Some YouTubers I watch have great tutorials on sewing and it's given me the bug to unpack the sewing machine and actually make up a simple dress. For economy purposes, I'm using a cheap craft fabric that I picked up on sale years ago. I like that it's cotton though, as I think it will be light and cool as the last hot days of Summer stretch into Autumn, here in Melbourne. But my northern hemisphere friends are eagerly awaiting the warmer days of Spring to arrive. I can imaging wearing this romantic dress to pick the first blooms of the season with a basket slung over my arm and a pretty shade hat to guard my complexion. 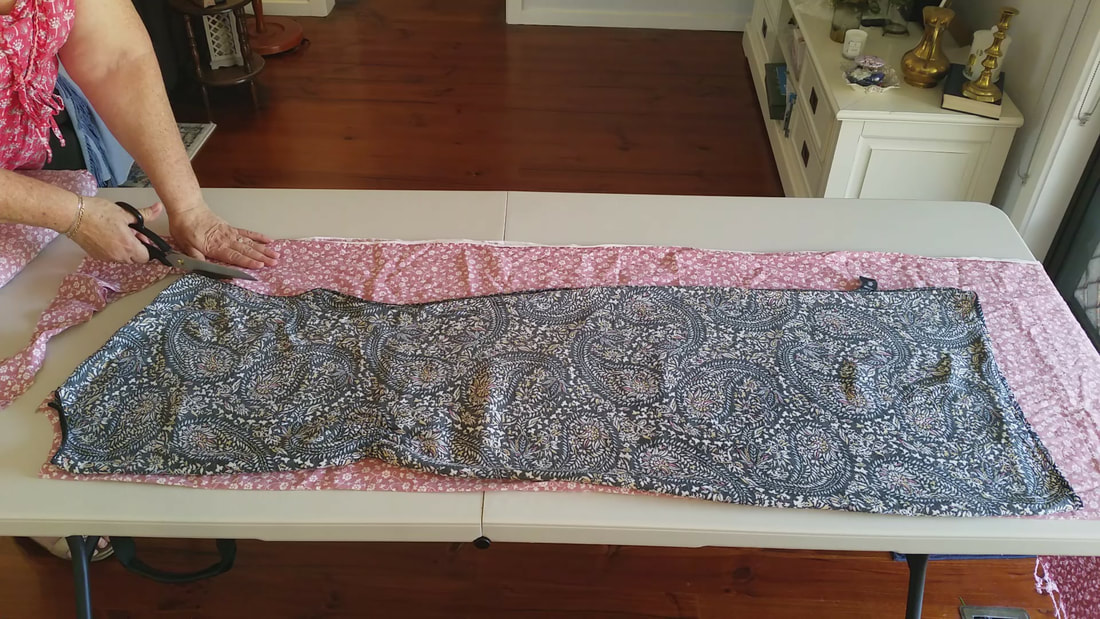 The first step is to wash, dry and iron the fabric. Cotton is likely to shrink, so make sure this has happened before cutting out the fabric. Cut out the pattern using a loose fitting dress that only has four seams, the shoulders and side seams. Fold the dress in half with the back facing out. Place the fold on the fold of the fabric. Cut around it leaving a 1cm seam allowance. Add 4 cm to the bottom for hemming. I didn't because I wanted the new dress to be shorter. Next, fold the dress in half with the front facing out so the v neckline is visible. Place that on the fold of another piece of fabric and tuck the back under at the neckline, revealing the v. Cut around leaving a 1cm seam allowance all around. If you want the dress to be longer or shorter simply add or subtract that amount when cutting out. If a shorter dress is desired fold the bottom up to where you want it. A tip is to put it on and insert a pin where you want the hem to be. 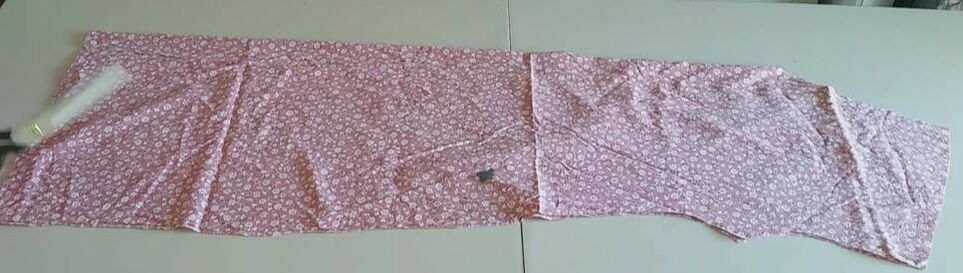 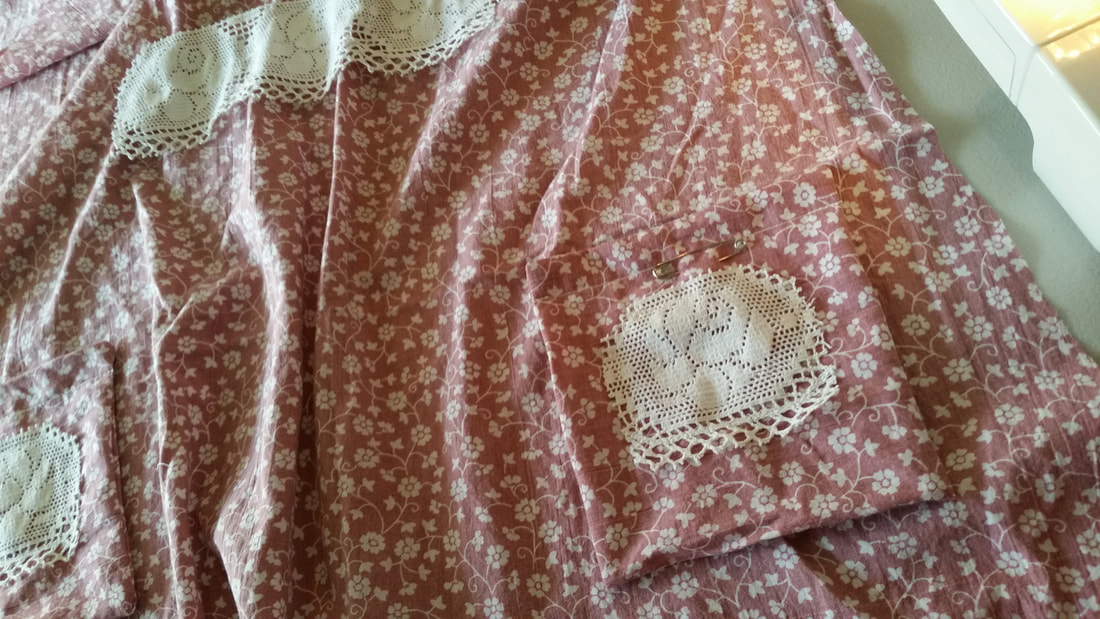 Because I had a stain on my fabric I decided to add pockets so had to make sure it would sit under a pocket placement before cutting it out. To make the pockets, measure a square by eye and cut it on the fold so that makes a rectangle. Turn it wrong sides out and stitch around leaving a gap to turn it out. Sew straight stitch about an inch from the fold. This will be the top of the pocket. The double layer of fabric will give it added structure and strengthen it. Last I sewed on a lace embellishment with zig zag stitch. Top stitched the pockets into place on the front panel. I sewed the pockets to the front before sewing up the seams because it was easiest that way. 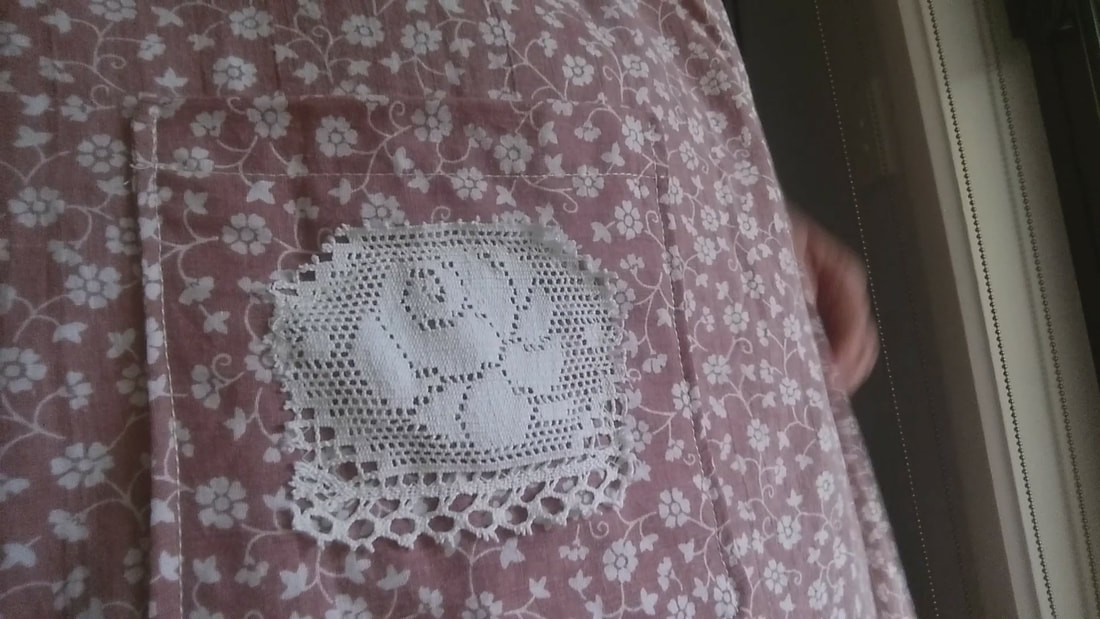 Also on the front panel I hand stitched a gathering thread under the bust and pulled it in. I sewed a thick panel of lace over it. However, when I tried it on after the dress was made up, it wasn't gathered enough so I put it on the sewing machine and bunched the lace up as I sewed straight stitch at the top and bottom of the lace panel. This gave it the look I was after. You could instead treat the front the same way as the back, sewing a length of elastic on the wrong side, if you don't want lace. Instructions are following. 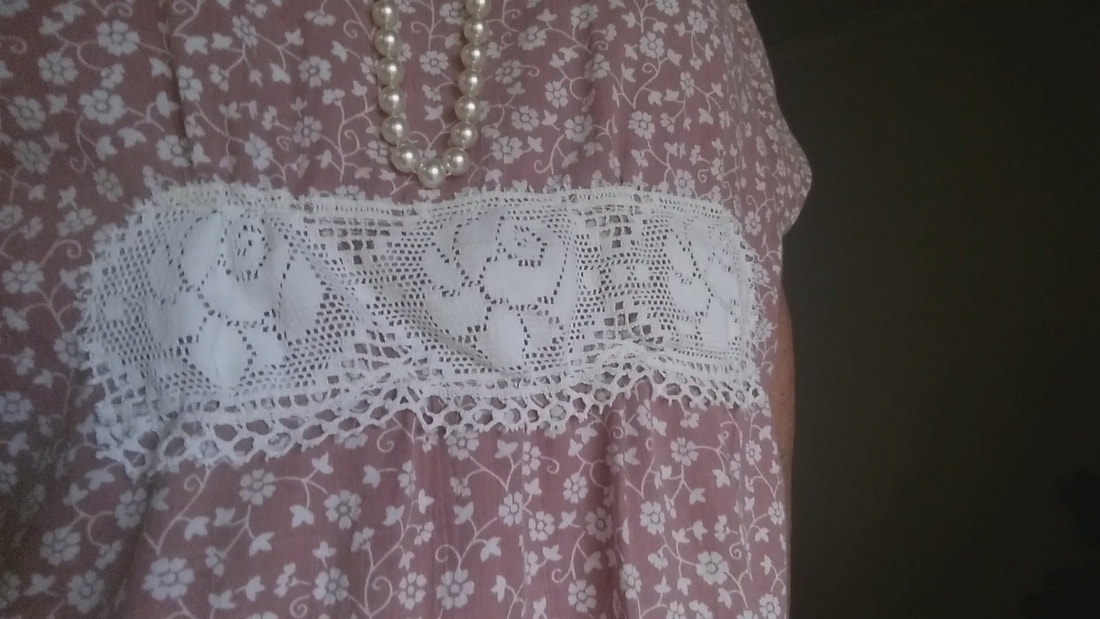 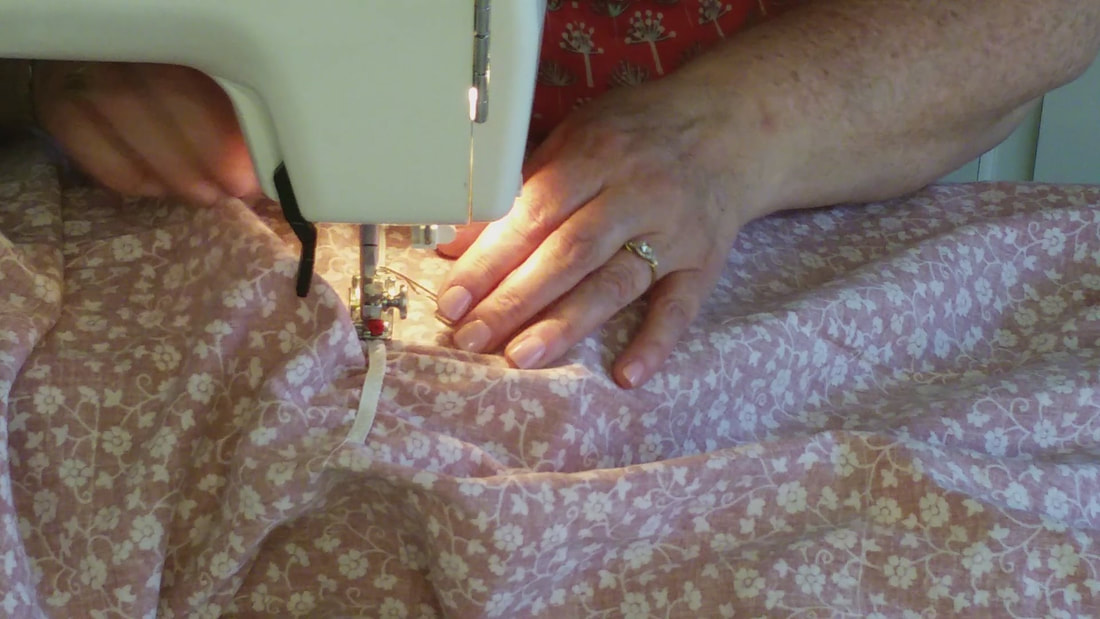 I sewed a piece of elastic to the back panel to pull it in like the original dress does which gives the dress shape. Work out where to place the start of the elastic by stretching it out and centering it over the back panel. Keep holding the left edge in place and let go of the other end. Pin the left edge to the fabric. This is where you'll begin stitching. Start sewing the elastic and then stretch it as you sew to create the gathers. 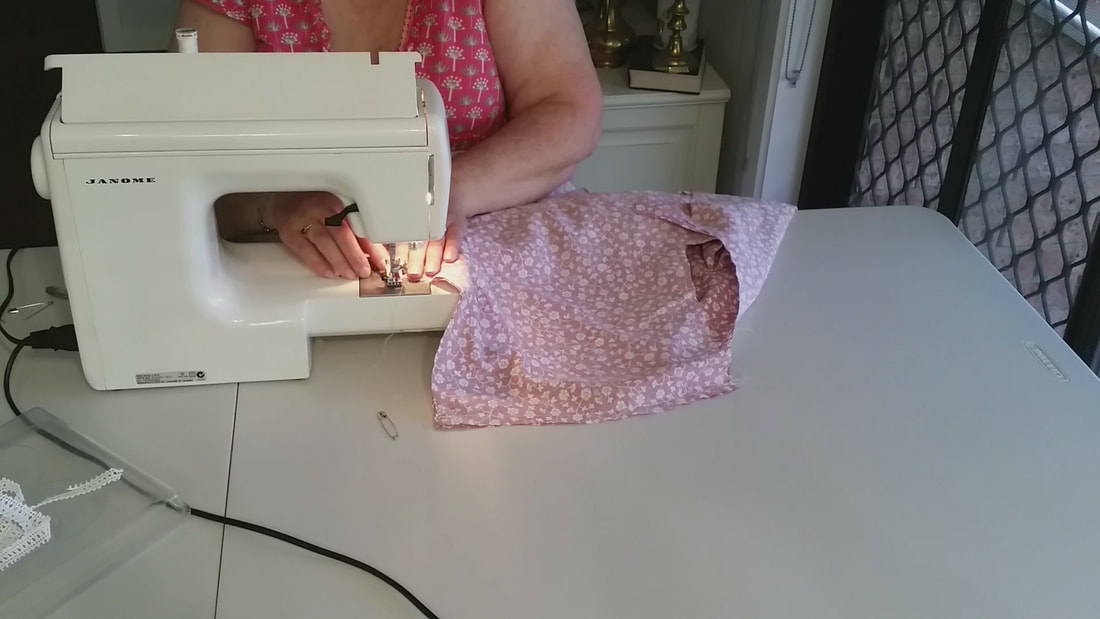 Sewing the front and back panels together can be done in any order but I like to sew the same direction for each seam. Start under the armhole and stitch down to the hem. I don't flick it over and sew up, but start at the other arm hole and sew down so that the dress falls evenly. I used quilting clips to hold the seams together until they were sewn but pins work great too.  As this is a pull over your head style of dress you don't have to worry about buttons or zips however I did add lace for interest and to bind the neckline. I sewed the lace to the wrong side and flipped it over to the right side and top stitched it down. You could sew it to the right side and fold it inward and stitch if you don't want lace to show or use bias binding. 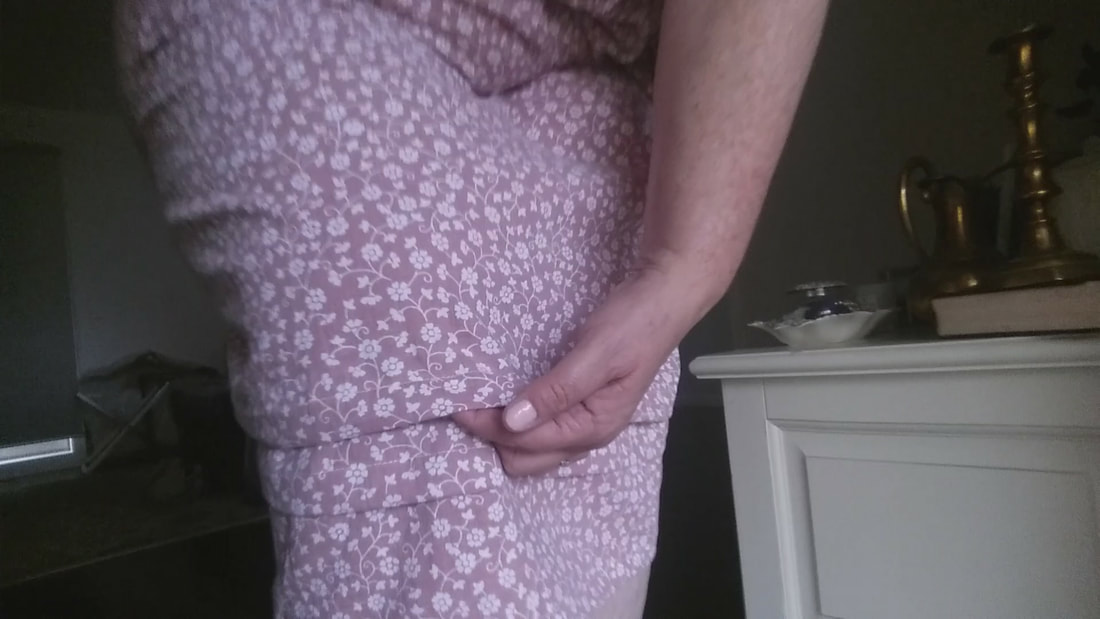 I hemmed the dress turning it over about 2cm and then another 2cm and stitching it down on the machine using straight stitch. The arm holes were hemmed the same way but turning it over half a cm twice and stitching down. After trying it on it felt too plain at the hem and too long, so I added interest by sewing two bands of folded over fabric, parallel with the hemline. I made them the about the same width as the hem and the top stitching on the pocket so that elements were repeated and made the design cohesive.
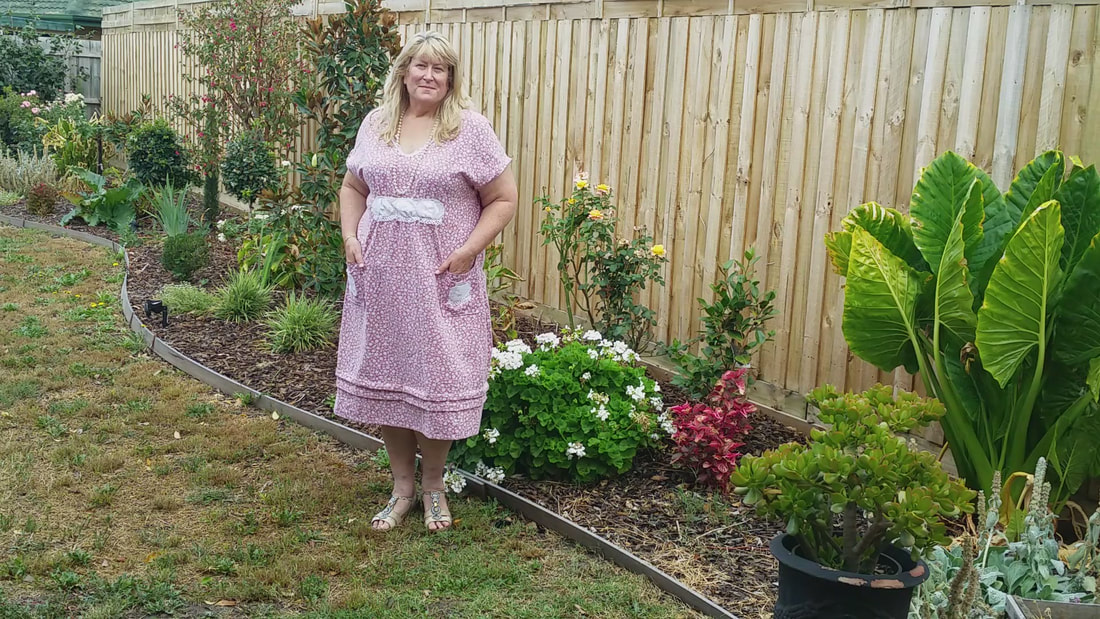
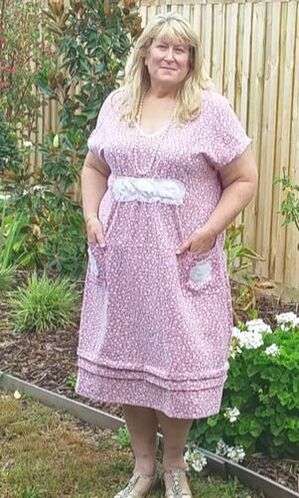
Here's the finished dress. I added lace because felt the all over small print needed something to lift it. I also like to accessorize with a strand of pearls.
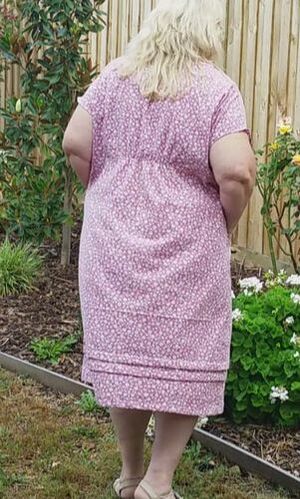
I've worn this dress quite a bit since I made it a couple of weeks ago. It's so comfortable and roomy. Being cotton, it's cool and breathes in the hot weather. Anyone could make a version of this dress, the lace could be left off. It would be beautiful with a matching bias binding around the neck and sleeves. Because you make it from a dress you already own, it will fit any size. Use a shift or caftan style dress already in your wardrobe that you can pull on over your head. If you'd like it more fitted, elastic can be added all the way around under the bust line or at the waistline, whichever suits you best. The hemline detail required measuring and careful pinning to keep the lines accurate but this feature and for that matter, the lace wouldn't be needed on a larger print. A short stint working in the office of a fashion house was part of the inspiration for the book I have recently finished revising. Ruby is a fashion designer and, like me, grew up making her own clothes. I hope to have her story for sale this year. If you haven't read the Katrina or Natalie's stories you can find them here. Dora Bramden Heart melting, passionate romance. Comments are closed.
|
Romance author and lifestyle bloggerMy whole life is inspired by romance. I write romance novels of course but also love creating DIY's and decorating in a romantic style. I'm rejuvenating an old garden, including rescuing a couple of old rose bushes and planting new ones. Archives
March 2021
Categories
All
|
 RSS Feed
